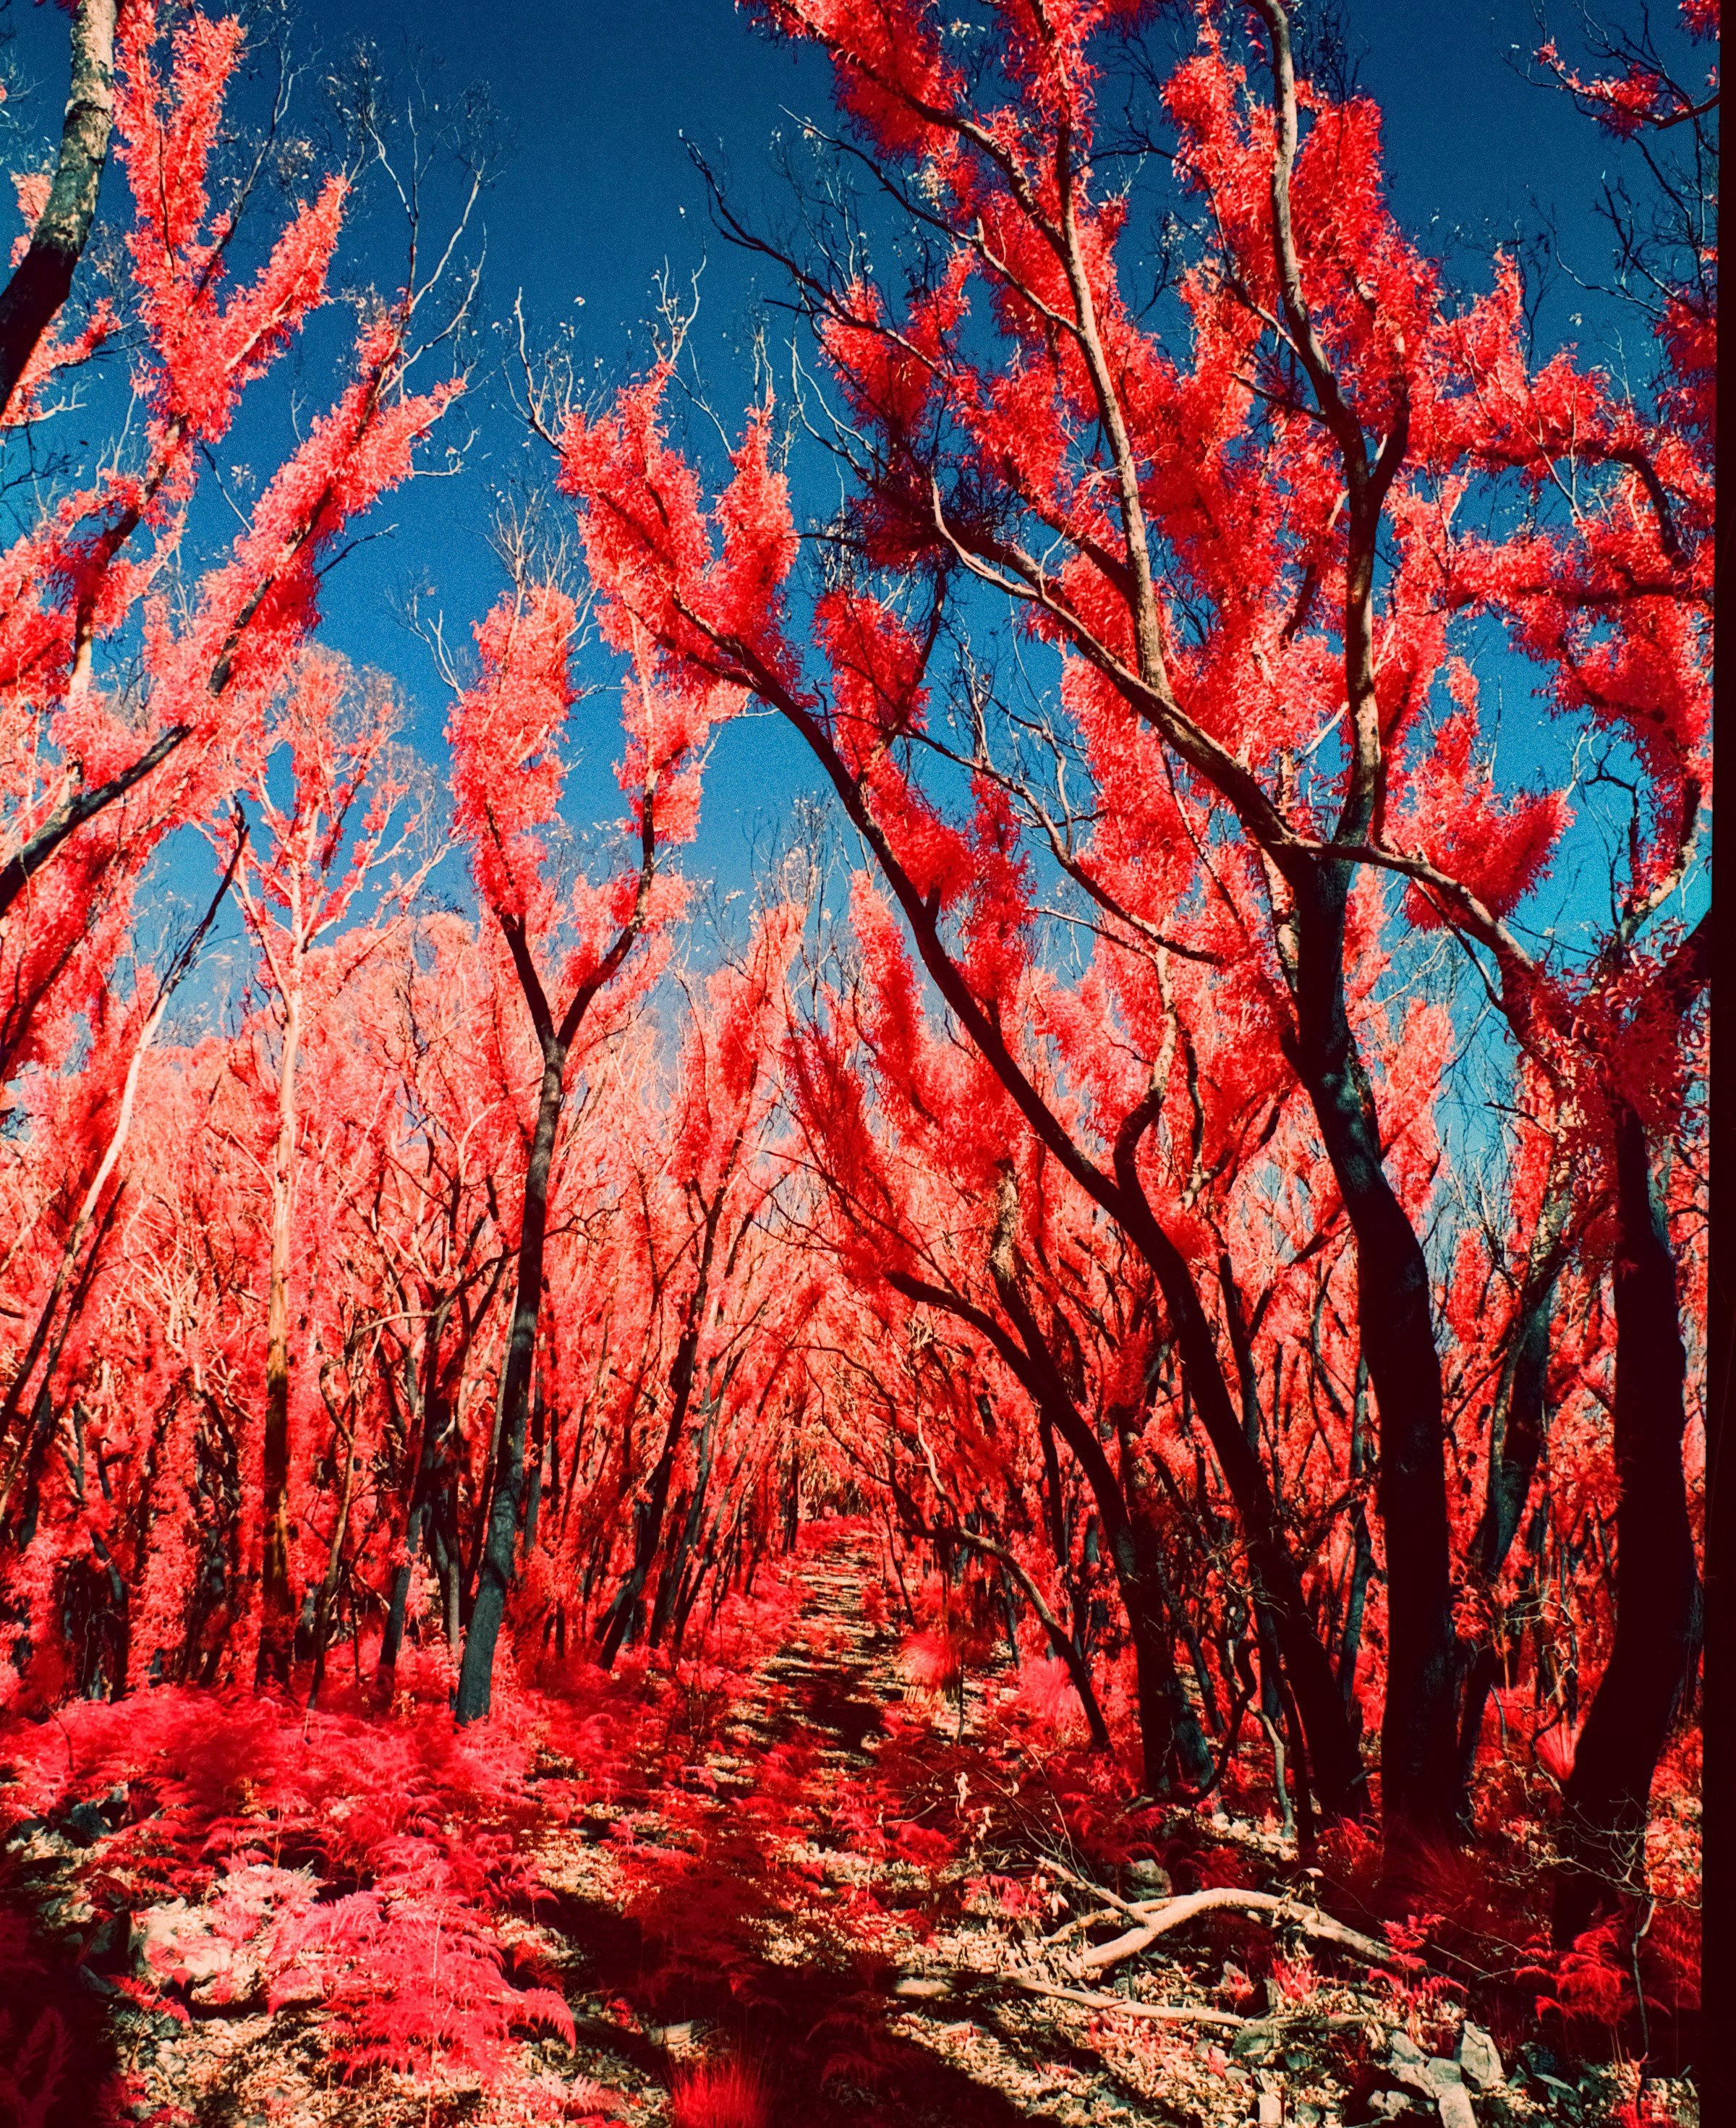
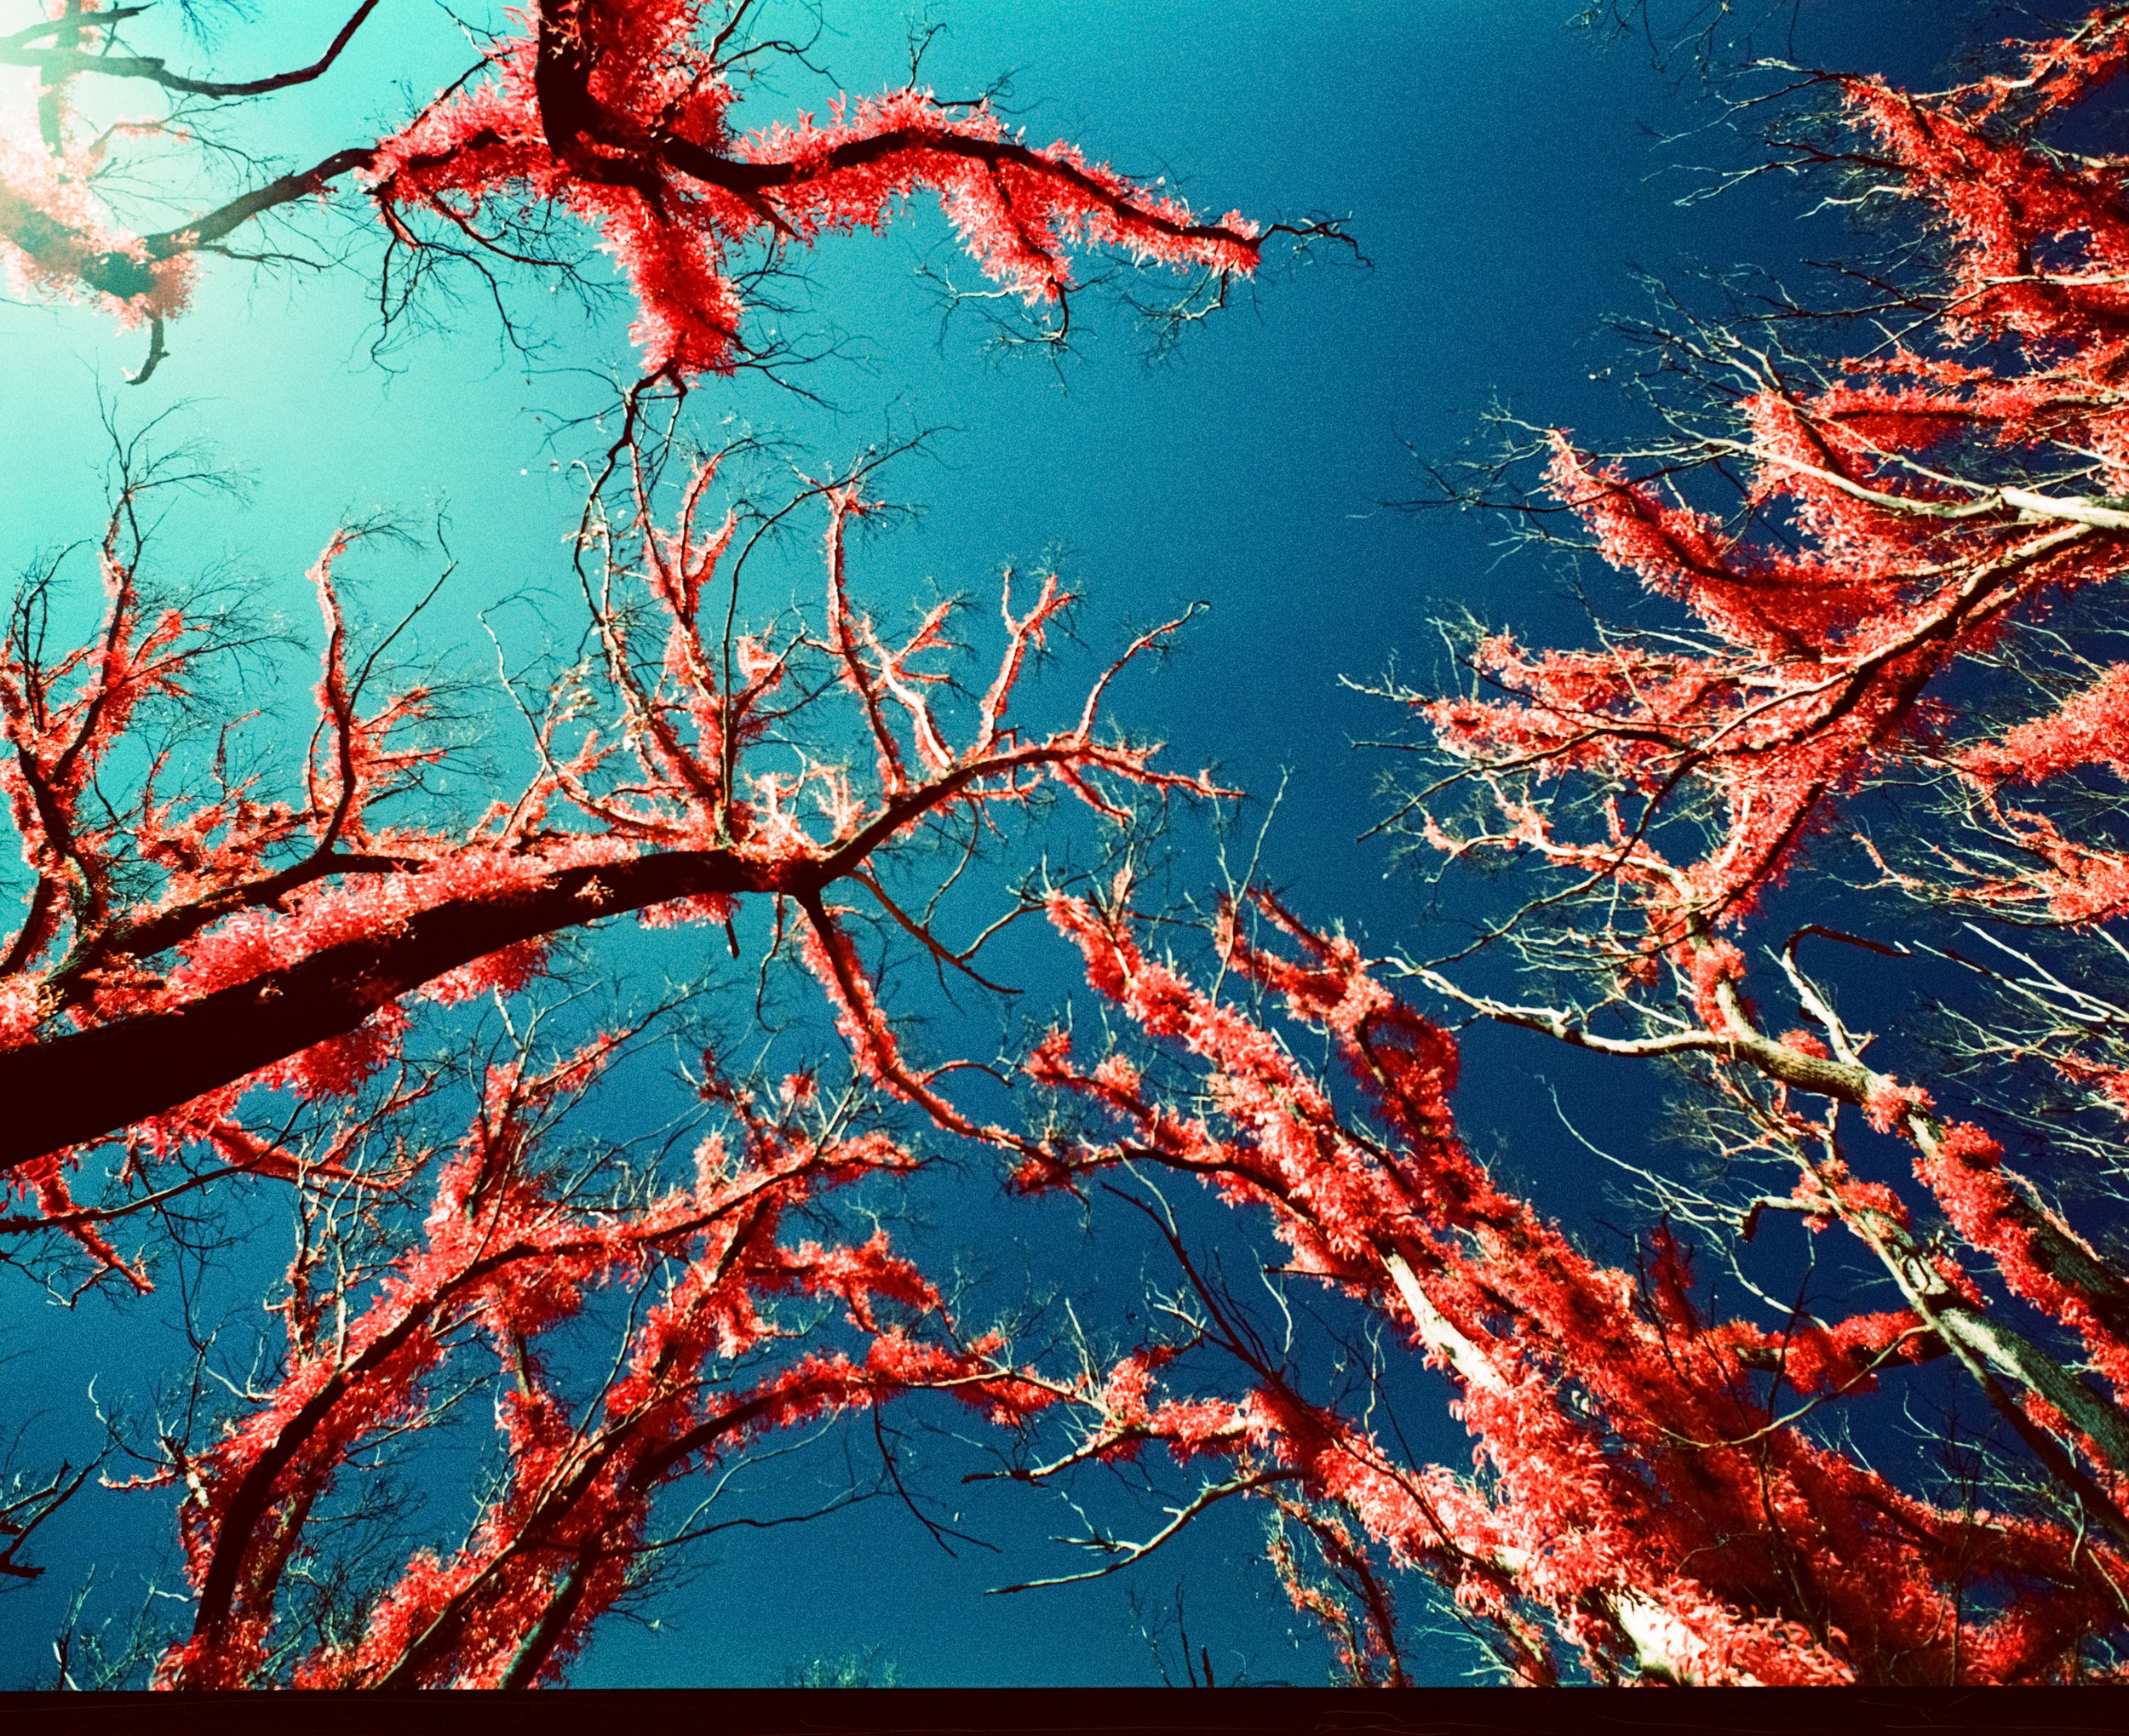
Guide for shooting Kodak Aerochrome colour infrared film
This page is a guide for how to shoot Kodak Aerochrome, an infrared sensitive, false-colour film originally designed by Kodak for camouflage detection. In this guide I detail my experiences in using this film and how to get the best out of it, including which filters to use and how to meter for it.
Ever since I started shooting Aerochrome, I had wanted to write a guide to shooting Kodak Aerochrome that consolidated all the advice I had both received, discovered in my research, or found out through my own experience. You can also check out the project I’ve been shooting on Aerochrome called Karrikins here; if you find this information helpful, the best way to support me would be to purchase a print which are available for sale in my store, or consider sending me a few dollars via paypal.me/robertwalwyn.
Note this page is still under development and will be updated in the future.
What is Kodak Aerochrome
Kodak Aerochrome is an infrared sensitive, false-colour film that was originally designed by Kodak for military use, and in particular for camouflage detection. Aerochrome doesn’t refer to just a single film emulsion - in fact there were many different iterations manufactured over the years since the early 1940’s until the film’s eventual demise (described in further detail below). The latest and most modern iteration of this film, Kodak Aerochrome III 1443, was ultimately discontinued in 2009.
CIR film had many useful applications, with its initial target use in camouflage detection. It has been used to great effect by many artists, with notable examples including Karl Ferris’ images of Jimi Hendrix, Elliott Landy’s images of Bob Dylan, and of course Richard Mosse’s absolutely stunning Infra and The Enclave series (which I am fortunate enough to own copies of both of his beautiful books) - check out this Youtube link that shows some of Richard’s work here.
But what does the phrase ‘infrared sensitive, false-colour film’ mean? Infrared (from the Latin ‘infra’, meaning ‘below’) light refers to wavelengths of electromagnetic radiation that are ‘below red’, i.e. longer wavelengths than the visible red light that is at the edge of the spectrum the human eye can perceive. The fact that a film is ‘infrared sensitive’ just means that the film is sensitive to (and therefore can be exposed by) these wavelengths of light that are invisible to our eyes.
In normal colour positive films (e.g. Kodak E100 or Fujifilm Velvia 50) there are three colour emulsion layers within the film that are sensitised to the three primary colours (red, green, and blue). When the film is processed, each layer produces a dye of the complementary colour (e.g. red produces cyan, green produces magenta, and blue produces yellow). When you then look at the processed film on a light table, it would then resemble the scene you photographed.
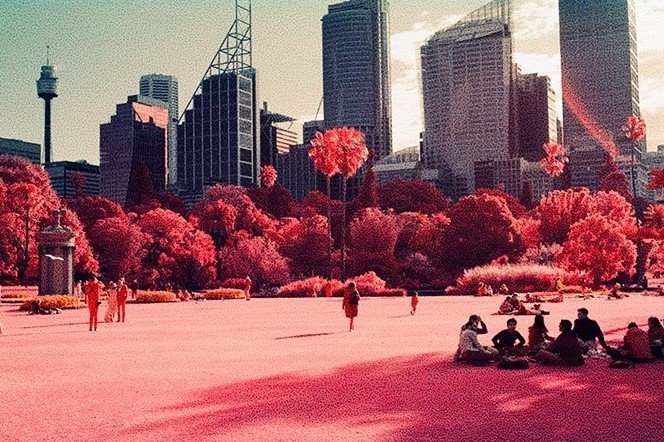
The false-colour part of the phrase refers to the fact that Kodak’s engineers sensitised the emulsion layers of Aerochrome such that the colour of the dyes formed when the film is processed is not complementary to the original wavelength of light. In essence, the false-colour effect is achieved through a colour shift; as opposed to a normal colour positive film, Kodak Aerochrome film is referred to as a false-colour infrared sensitive film because the film foregoes a standard blue sensitive layer, and replaces it with an infrared sensitive layer. The film is sensitive to ultraviolet, visible and infrared light to varying extents, but primarily skewed towards the visible/infrared part of the spectrum. In the final photo, infrared light appears as the colour red, green light appears as blue colour, and red light appears as green. Aerochrome is sensitive to wavelengths of light beyond the visible spectrum (i.e. what the human eye can see, which is up to ~740 nm). In these images, when you see that magenta/red color, it is the result of the highly-infrared reflective leaves reflecting both infrared light (which appears as the color red) and green visible light (which appears as the color blue). It is the relative ratio of this reflectance (and the specific color filter used in front of the lens) that results in the leaves showing up as magenta.

Examples of Aerochrome film photographed on a lightbox as top: E6-processed to produce a positive slide, middle: C41 processed to produce a negative, and bottom: traditional E6 film (Fuji Velvia) with ‘normal’ colours.
TL;DR for how to shoot Kodak Aerochrome
Check which film stock you have (Aerochrome III 1443 (E6), Aerochrome II 2443 (E6), Aerochrome 2443 (E4), Kodak EIR (35mm, E6), Kodak IE (35mm, E4), etc.) as that affects the ISO you will set your meter to and the development processes available.
Decide which camera you will shoot it with, ensuring it doesn’t have internal IR sensors that will fog the film. Mechanical cameras (at least in terms of film advancing) are best, particularly if you have tested it to ensure no light leaks/the light seals are good.
Decide which development process you will use. The more modern emulsions that were able to be processed in E6 (to give positive slides) include Aerochrome III 1443, Aerochrome II 2443, and Kodak EIR; these ones can also be processed in C41 (to give negatives). Some of the older emulsions (Aerochrome 2443 E4 and Kodak IE) can likely only be processed in C41 in the current day given E4 process is obsolete. The choice of development process is dictated by personal preference of colours and knowledge on film’s storage history - E6 gives the classic look, but is riskier if the film is starting to fog from heat/age, in which case C41 is the safer choice.
Decide on which filter you will use (some filtration is necessary for all false colour infrared films); filter choice will depend on desired look, but generally suggest using a yellow #12, dark yellow #15, orange #16, or orange #21 - anything outside of this realm might result in too strong colour cast. Deeper coloured filters (#16 or #21) will require a slight increase in exposure.
If the film has been stored in a freezer (recommended), allow it to warm to room temperature for several hours before opening the canister to prevent any condensation on the film.
Ensure the film is handled in as near to complete darkness as possible. Don’t assume a film changing bag is opaque to IR light, I typically try and load and unload my film in a changing tent in a darkened bedroom to minimise any potential light leaks/fogging. The 120 medium format rolls (with backing paper) are generally a bit safer to handle in subdued light (and could even be loaded in shade in daylight), but 35mm rolls will likely be at least partially fogged by doing this as the felt trap on the canister is transparent to IR and the rolls are prone to light piping.
Metering for the film will depend on your camera/external meter available, but generally I have found setting the ISO to its base ISO and metering through the filter with the camera’s spot meter, aimed at the lushest green leaves in a given scene (setting it to 0 on the meter for that spot), gives well exposed foliage. Average full scene meter readings also work well in my experience. The base ISO (already including the filter factor of a yellow #12 filter) is 400/320 for Aerochrome 1443 (developed in E6/C41, respectively), and 200/160 for Kodak EIR (in E6/C41, respectively).
Shoot scenes that are well lit - ideally from the front or side. Avoid scenes and times of day that are too contrasty (e.g. bright midday sun with harsh shadows). It is possible to shoot on cloudy or even rainy days, but the IR effect will be more subdued (but can still look great).
Ensure that your lab is competent and has experience handling and developing colour infrared films (in your chosen E6/C41 process), as a lot of minilab developing equipment will have IR sensors, and some labs even use IR night vision goggles in a darkroom, both of which will fog the film.
My background with Aerochrome and how I purchased it
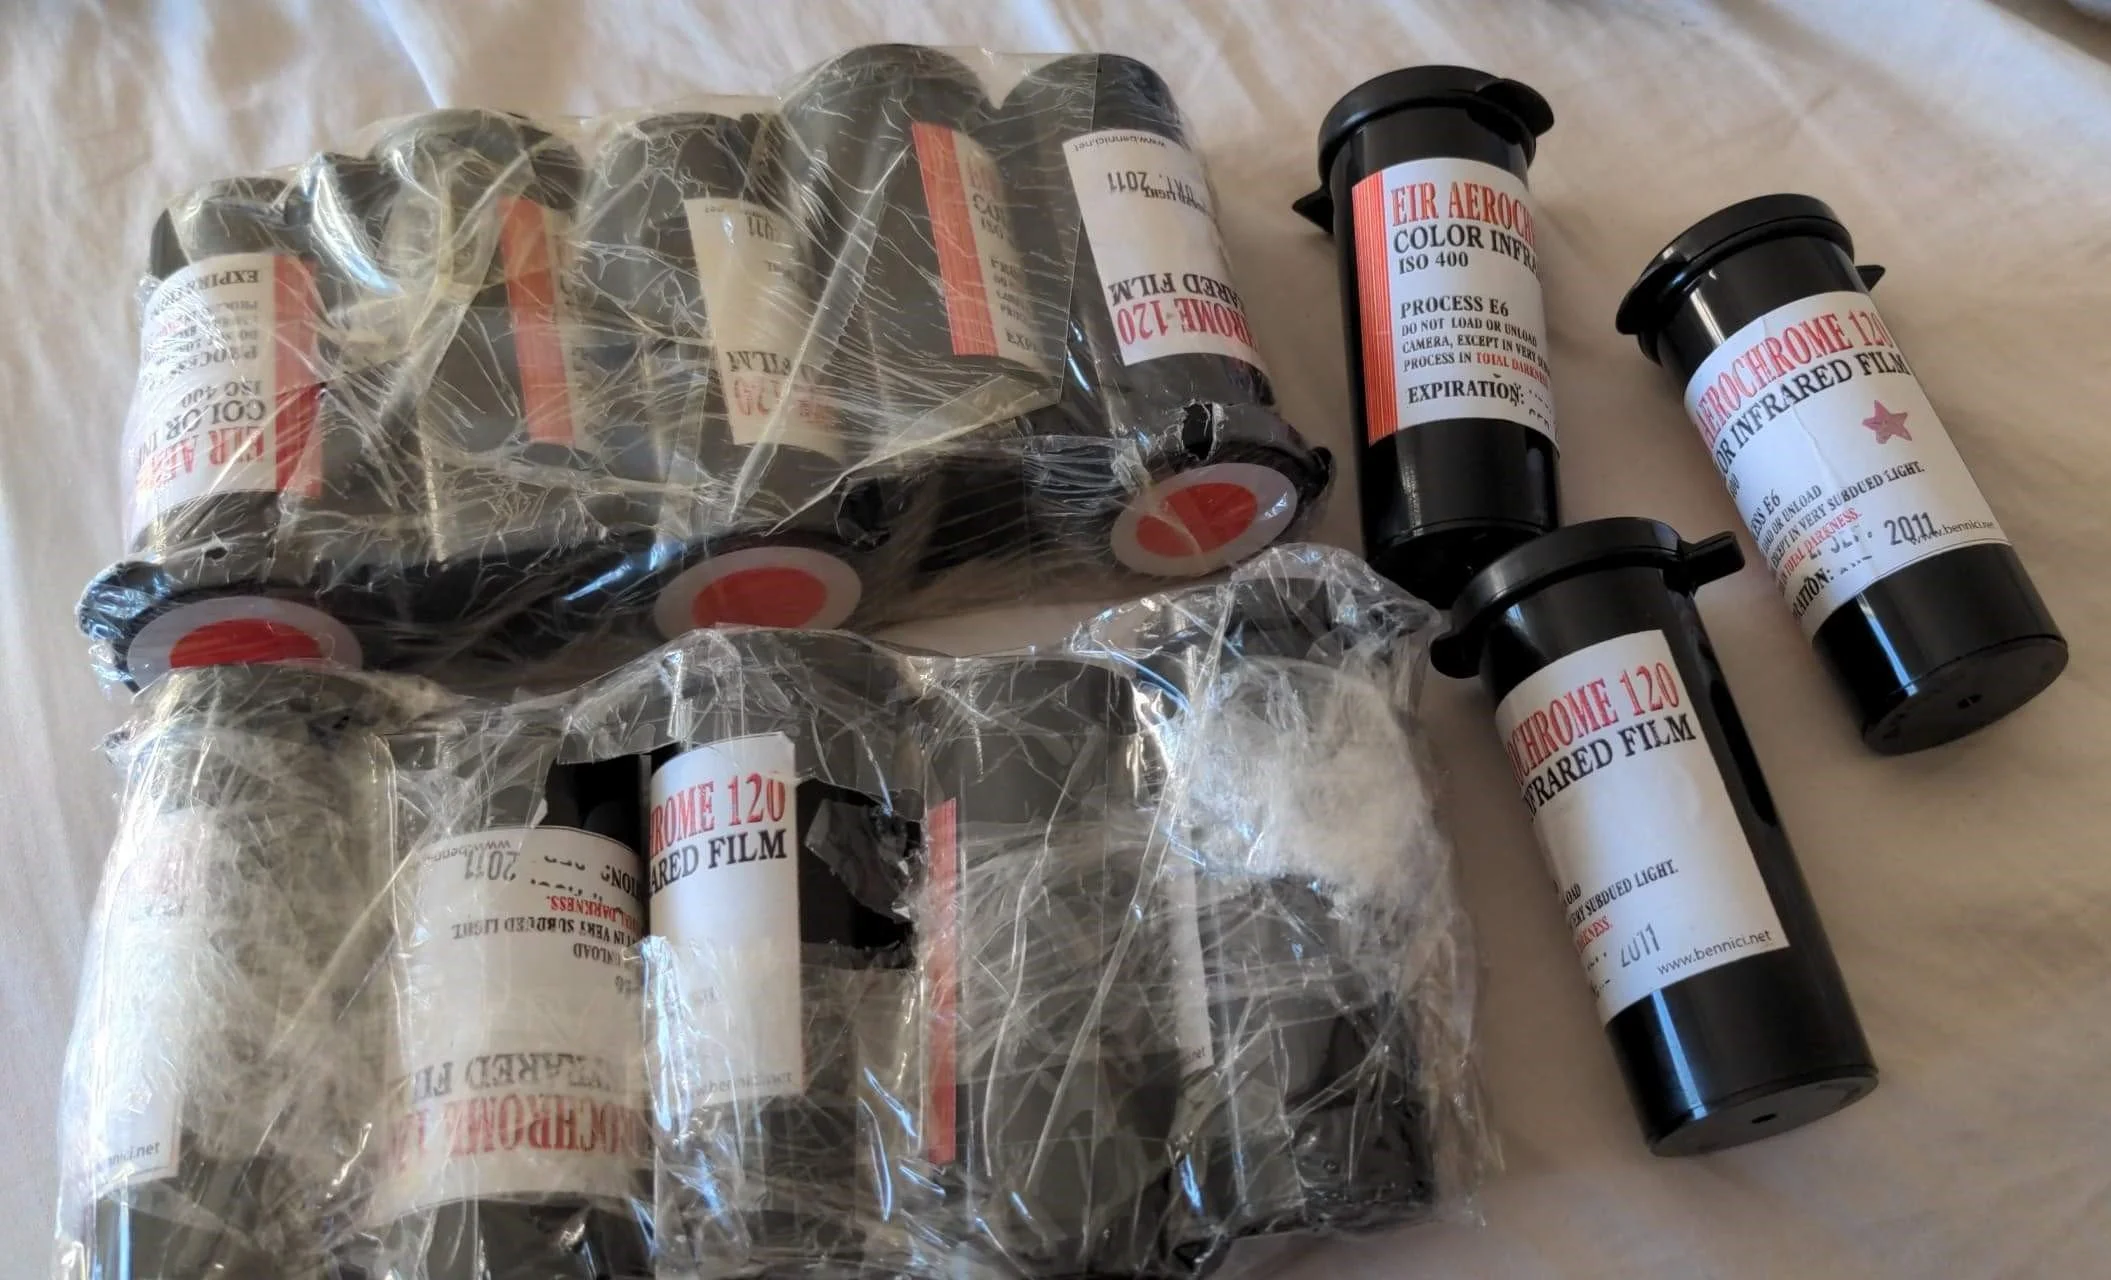
The medium format rolls of Kodak Aerochrome III 1443 hand-rolled by Dean Bennici.
Years ago, I had seen Richard Mosse’s beautiful and haunting images of the conflict in the Congo, with lurid shades of pinks and reds where the rolling hills and dense jungle should have been verdant. At that stage, I learned about Kodak Aerochrome, but due to the price of the rolls I had seen on eBay, which were way out of my budget, I never looked further into it. It was only in about 2019 that I must’ve seen some images on Instagram, and that really drove me to research it further.
As far as I’m aware, there was only ever one source of medium format (120) rolls of Aerochrome 1443: Dean Bennici, a US photographer now living in Germany (his website is www.aerochrome.shop). Dean discovered Aerochrome just around the time it was being discontinued and took up the difficult task of cutting down the bulk aerial rolls of film (which could be 5” or 9.5” wide) by hand in the dark and re-spooling them on 120 backing paper so that they could be used in medium format cameras. Dean is the man who brought Aerochrome to the popular masses - and I highly recommend you check out his website and work, he has some great tips on his site and lots of examples of images with portraits/other filters that I haven’t shot much with.
There were several other major sources of Aerochrome for consumers: the Film Photography Project (FPP) used to sell 35mm re-rolled Aerochrome III 1443 which was good, and the analog collective at one point had a bulk roll of Aerochrome II 2443 (which appears to be a short lived version nearly identical to Aerochrome III 1443 - see below for more details).
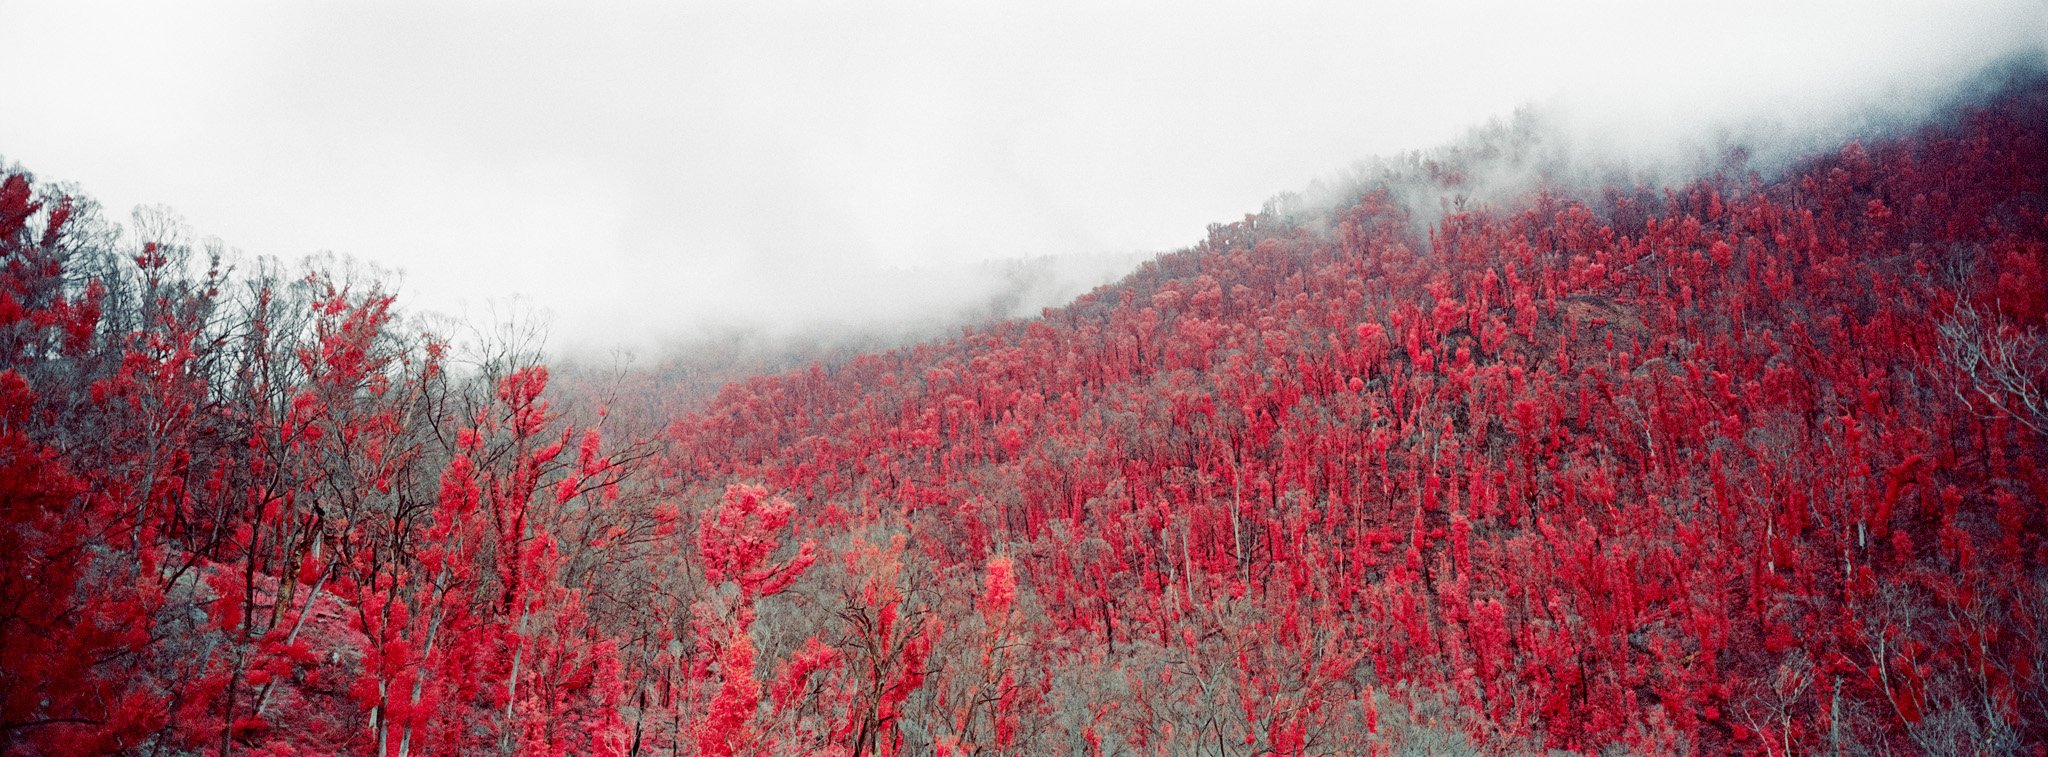
Back in early February 2020, I purchased five rolls of Aerochrome from Dean for 40 euros a roll, which at the time I thought was ludicrously expensive (but in hindsight and when considering current eBay prices was an absolute bargain). I was drawn to this film both from its fascinating history and, of course, the very alien but beautiful-looking results it can produce. I had always been pretty intrigued by infrared photography and the fact that the film was recording wavelengths of light our eyes can’t see. I knew a little bit about the history of the film from what I had learned reading about Richard Mosse’s projects Infra and The Enclave, but it wasn’t until the serendipitous decision to shoot that first roll of Aerochrome on the bushfire regrowth (see my Karrikins project) that I really got hooked. I was hoping that bright green new regrowth snaking up the trees would look beautiful on Aerochrome. It was really only after I got the first roll back and received some feedback on the images that I thought this could make for a really special project.
Kodak Aerochrome 1443 was available in bulk 35mm rolls, 70mm, 5”, and 9.5” wide rolls and there was also the Kodak Ektachrome Infrared (EIR) that only came in 36-exp 35mm cannisters. The most difficult part now is being able to find some of this stuff (and for a reasonable price); it has become extremely elusive and expensive since Dean’s supply ran out in ~March 2021. Unfortunately now the only places you will be able to find it for sale is on eBay for exorbitant prices, although sometimes on Dean’s website if he secures new stock, but be prepared to pay potentially 200-300 euros (or say 400 USD) a roll…I would stay clear of any rolls on eBay that don’t know how the film was stored or don’t have recent test shots from the same batch, particularly do not recommend buying any 35mm rolls that have been taken out of their canister for photos, as they will likely have been fogged during that process.

A portion of my rare film stash as of January 2022 when I had to defrost my film freezer.
I am fortunate enough to have about 25 rolls of Aerochrome left in 120, a couple of boxes of 4×5 sheets, some ultra rare 16mm Aerochrome motion picture stock (!!!) and a handful of rolls in 35mm (mostly the other similar but different emulsion Kodak released in 35mm only, Kodak EIR). I was extremely lucky to buy the film when I did. Once I got the results back from the first roll, I poured as much money as I could find into securing some additional rolls, as I knew how unique and rare it was.
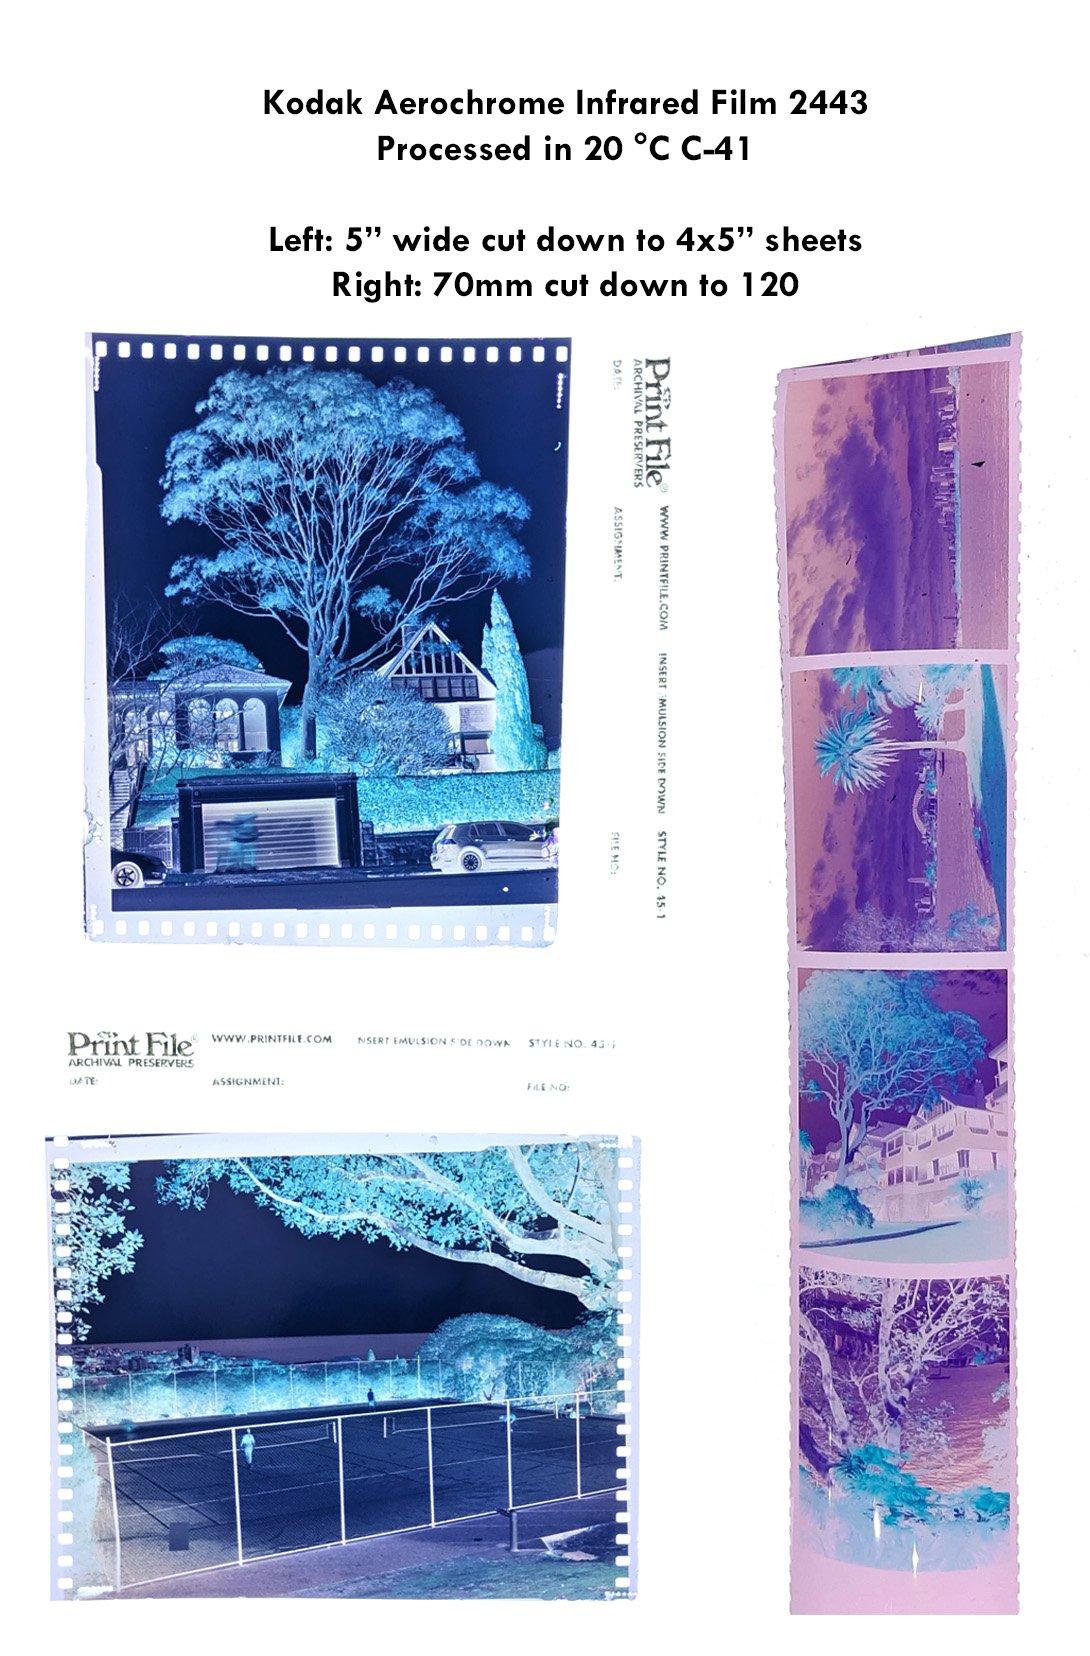
I also got really lucky and managed to find a stash locally in Australia from a deceased photographer’s estate, including two bulk rolls (which had been frozen their entire life!) of an older emulsion of Aerochrome 2443 (which needs slightly more complex development than just standard C41/E6), in a 5” x 600ft long bulk roll, as well as a 70mm x 100ft roll. I purchased the bulk 5” wide roll with my friend Steve Frizza, who is the owner of Rewind Photo Lab here in Sydney, where I get all my Aerochrome developed. He is helping cut it down into 4×5” sheets in the dark.
The limited supply has definitely influenced my approach to this project. It’s extremely painful to waste a frame, given that on a 120 roll shooting 6×7, each image may cost anywhere from $10-15 (likely much more now!) including processing. It really makes me consider each shot more and whether it is something that is worth burning one of the finite number of shots I have left. I’ve still got enough of the stock left to continue this project and do some slightly more experimental shots, but I also want to keep enough in reserve for future holidays and projects.
How to Store Aerochrome
If you’re lucky enough to have some of this rare film, you then need to be aware of how sensitive infrared film is to heat. From what I understand, when Kodak used to ship their color infrared film, it would come in a styrofoam cooler filled with dry ice.
Films should be frozen for any long-term storage (ideally in their sealed boxes/canisters, and then inside a sealed ziplock bag to prevent any moisture/ice inside the boxes), and this should limit the degradation and extend its useful life by years, noting all stock of Kodak Aerochrome III 1443 expired around 2010/11 already, and I think the latest Kodak EIR I have seen expired around 2008. The film should be taken out of the freezer ideally at least a few hours before before you plan to shoot it and allowed to gradually warm up to room temperature over several hours before opening the sealed canister (in darkness) for loading your camera, as otherwise I have heard reports you can get spotting of moisture on the images.
When shooting, ideally you would finish the roll somewhat quickly (in the order of a month or so), to minimise the time it is out of the fridge and also minimise any time between exposing the film and developing, where the latent image could fade. However, examples exist of it being shot over the course of say 6-months without any major ill-effect. Minimise exposure to extreme heat, but know that I have been able to travel with this film where it has not been refrigerated for several weeks and the images developed great.
Development of Aerochrome III 1443 and Kodak EIR: choice of E6 or C41
Aerochrome III 1443 (and Kodak EIR) was originally designed to be processed in AR-5 (or AN-6 for negatives) chemistry (for the large aerial bulk rolls) for scientific purposes; however it is processable in both E6 and C41 chemistry to produce a slide or a negative respectively. When considering how best you should meter for and shoot your rolls of Aerochrome, it fully depends on how well stored you know the film to be (e.g. whether it has been frozen its whole life?) and whether you intend to process in E6 to produce a slide or process in C41 to produce a negative.
Some examples I could find on Flickr of Aerochrome/EIR processed in AR-5 are shown here: overall, seems like E6/C41 just give stronger colours and crucially, are actually available development processes.
The choice of which is better is a subjective one, there is something truly beautiful about the positive slides, but over time my preference has shifted towards the C41 processing for a few reasons, but primarily the improved dynamic range and flexibility (particularly if there is any risk the film is slightly fogged from storage). C41 Aerochrome generally comes out with a clearish base (see earlier image) which gives you increased flexibility to interpret the colours how best you see when inverting the scan, whereas in E6, the colour cast is baked in. This is particularly important if the Aerochrome hasn't been that well stored/might be fogged, as you can get very strong colour casts in E6 from fogged Aerochrome that you can much more easily work around if you process it in C41. Note you need to ensure your lab has the ability to develop infrared film without causing any issues regardless of which process you choose (some developing machines have infrared sensors within them which will completely fog the film).
It is also worth checking with your lab whether they are able to do custom C41 processing as the recommendation per a Kodak datasheet was essentially to pull-process this film (hence why you give it slightly more exposure than if you are processing in E6, see metering section): “To achieve results like Process AN-6, use a development time of 3 minutes 45 seconds at 92°F (33.3°C)”. While this temperature reduction and development time increase (given default C41 process is 100°F (37.8°C) for 3 minutes 15 seconds) is not something I have specifically tried, I have been informed from my lab guru (Steve Frizza at www.rewindphotolab.com.au here in Sydney) that he typically sticks with default C41 temperature and a 15% reduction in development time to account for the continuous agitation as a result of processing in a Jobo tank. Based on some conversations I had with Richard Mosse where he was rather coy about it, and having seen some of his images which were clearly negatives, I suspect Richard Mosse did a similar approach with slight overexposure of the film, and partial pull processing in C41 to help alleviate any fogging.
In future, as the film continues to age, it may be worth trialing these development conditions as they probably help cut through any fog that will get worse and worse over time.
E6-processed Aerochrome

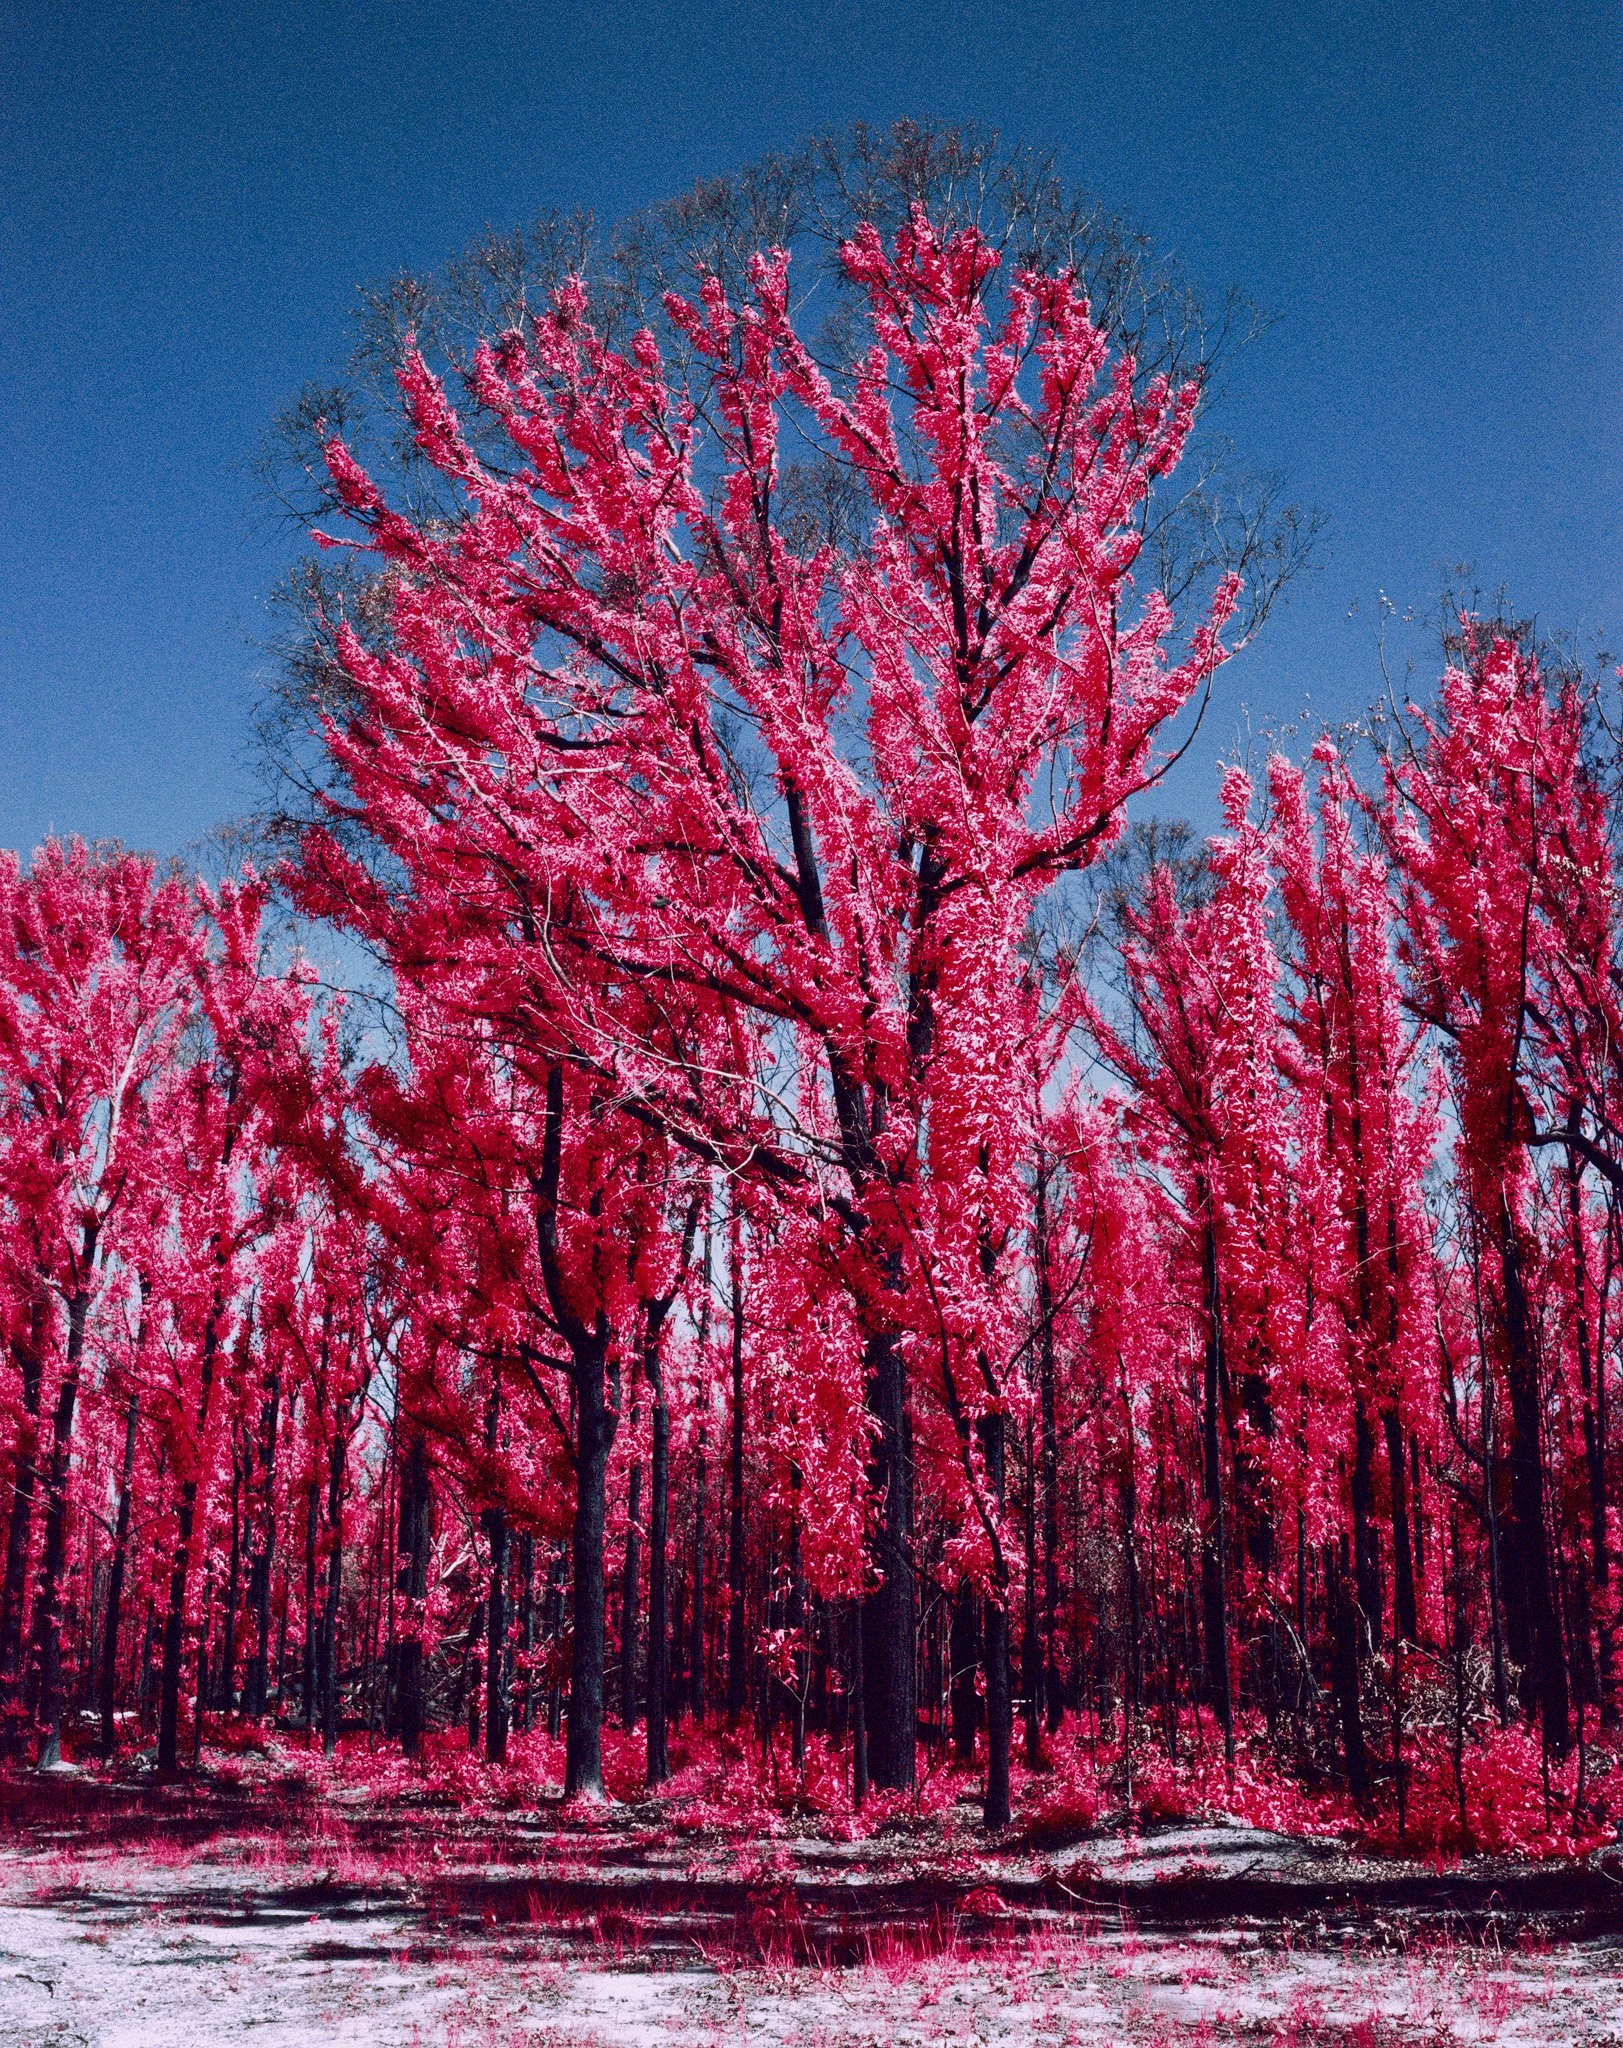


C41-processed Aerochrome


Choosing which camera to shoot Aerochrome with
I strongly recommend doing some research on the camera you are planning to use before committing to it. You need to look out for cameras with automated film advance, as these often use small IR LEDs and sensors in order to determine how much film to advance, which may cause fogging of the image area depending on the camera. For example, the Canon 1N or Hasselblad Xpan I cameras are known to have IR sensors which may cause issues, whereas the updated versions, the Canon 1V and Hasselblad Xpan II, were specifically upgraded to limit this issue. The issue is particularly bad in certain cameras, for example the Fujifilm GA645/GA645zi type cameras, which have an IR sensor that will expose the centre of your image in a big long streak. Affected images will have a big streak of red/magenta (if developed in E6) or green (if developed in C41) - see earlier C41 negatives to see the effect from the IR sensor in the Canon 1V (again only affects sprocket hole area, but other cameras will affect the image area too). Examples of what this looks like across the image can be seen searching Flickr for “Aerochrome GA645” - example linked here. I have seen some examples of what fogging looks like if the development machine has IR sensors - it appears like three wide red lines running along the entire length of the developed E6 film; an example can be found here on Lomography’s page.
Cameras I have used successfully with shooting Aerochrome: Pentax 67, Pentax 67ii, Pentax 645NII, Mamiya 7ii, Mamiya 645 AFD II, Hasselblad Xpan II/Fuji TX-2, Canon 1V.
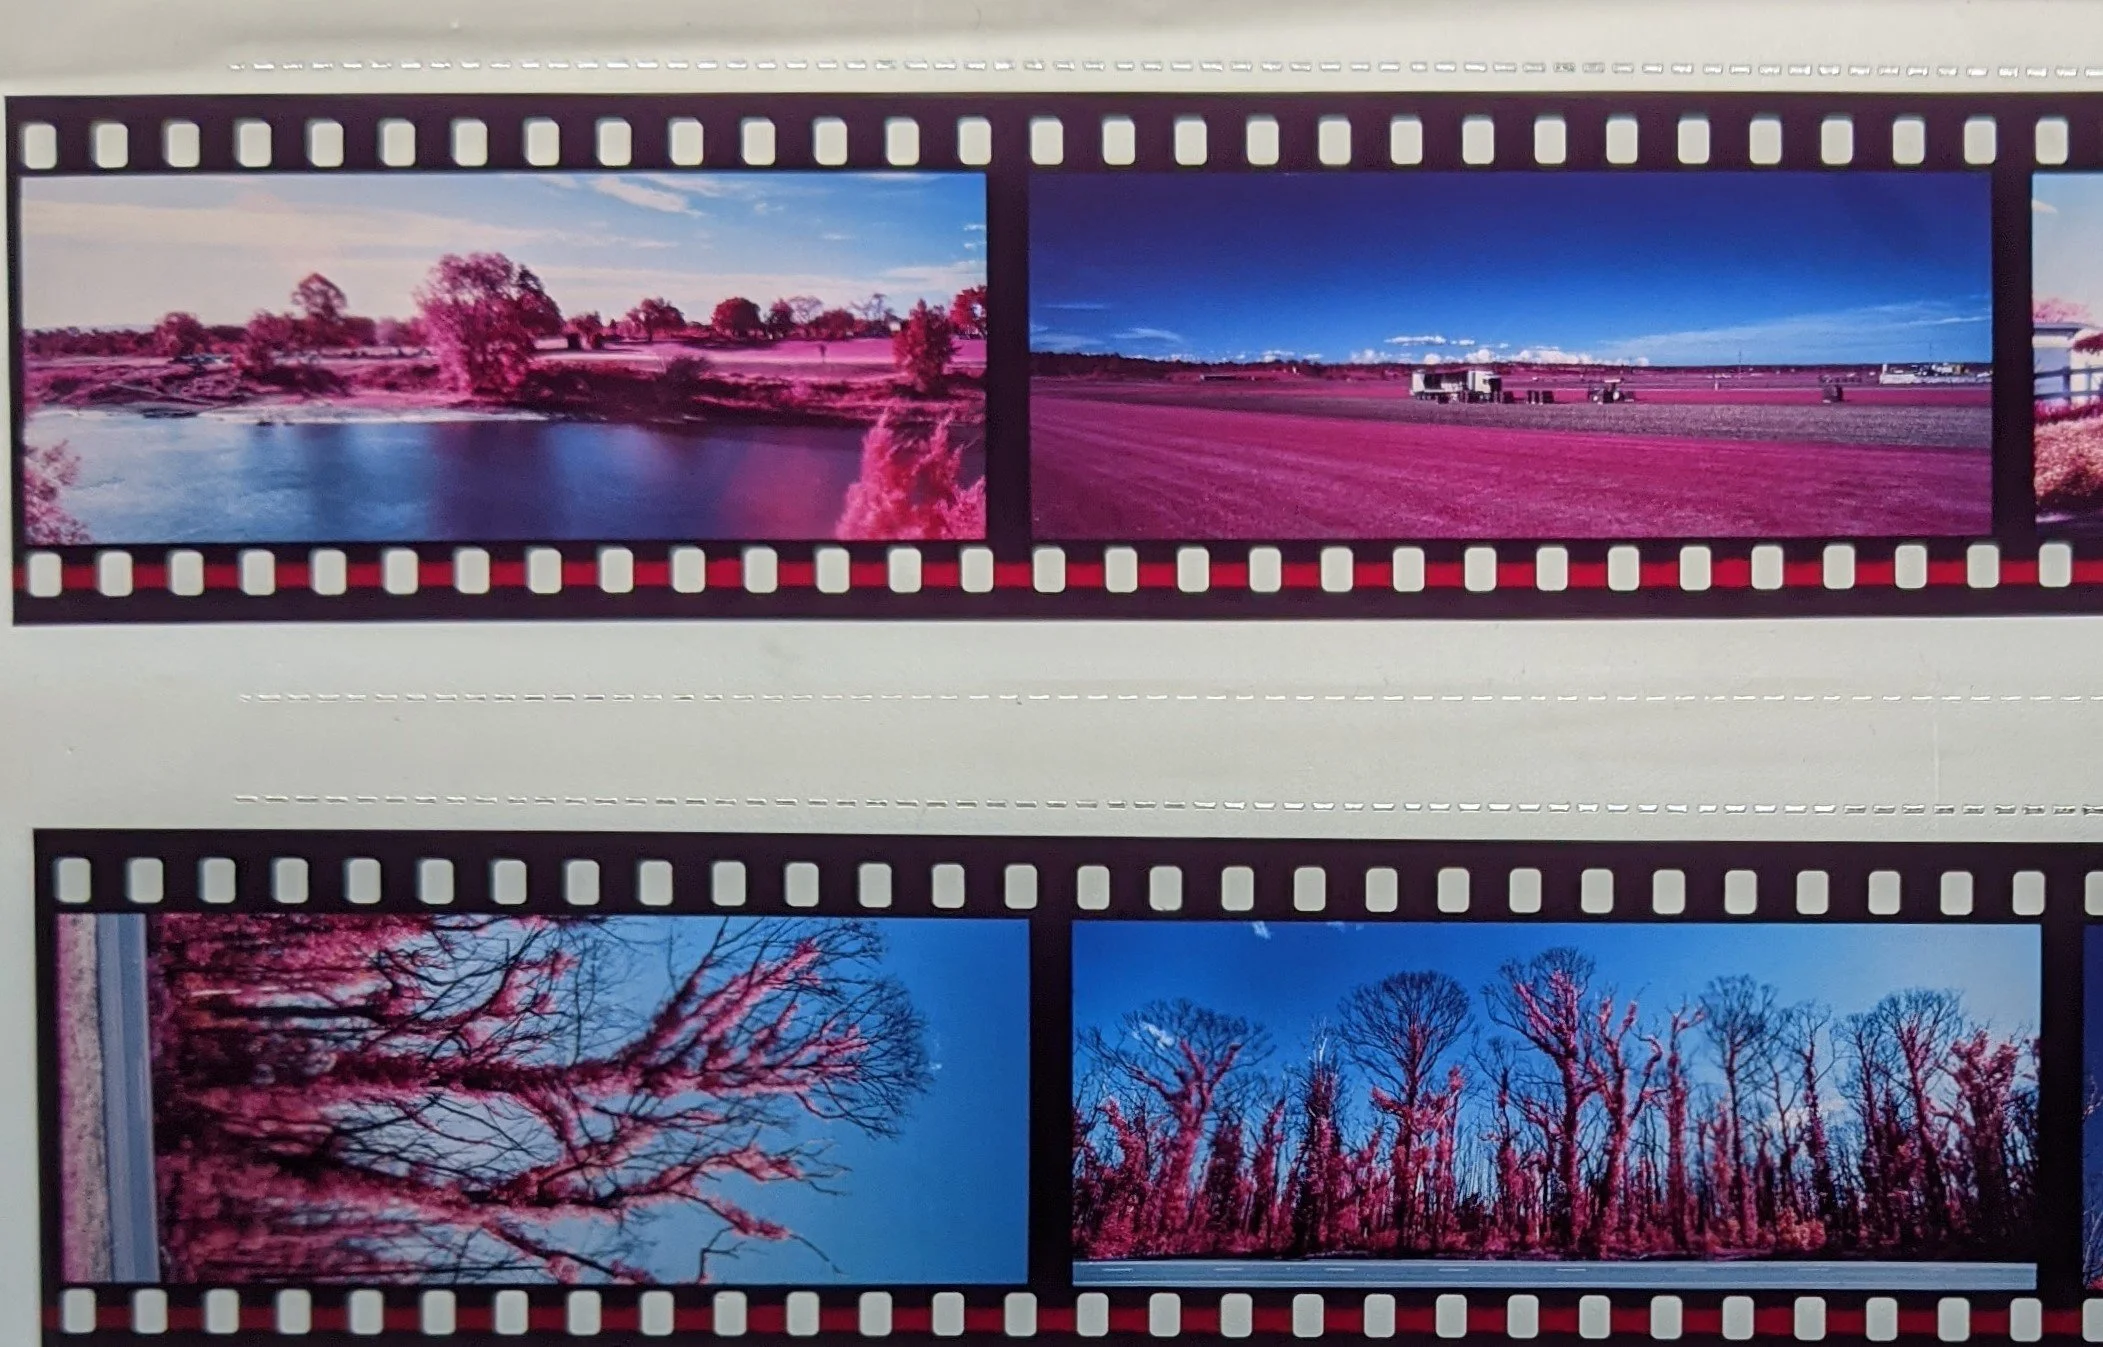
Example of the fogging (red line) caused by the IR sensor in my Fujifilm TX-2 (Xpan II) which can be seen is contained to the sprocket holes only and doesn’t affect the image area.
What Filters to Use?

Common filters that I use for shooting Aerochrome. From left to right (Wratten filter numbers given with “#”): Hoya K2 yellow (#8), Tiffen yellow (#12), B+W 023 dark yellow (#15), B+W 099 ‘colour infrared filter’ (#16, equivalent to the B+W 040 filter), and B+W 041 red-orange filter (#22).
When shooting Aerochrome, it is necessary to use a filter of some sort. Typically a yellow filter (or even other colours such as orange/red) is typically placed in front of the lens to limit the exposure of each layer of the film emulsions to its intended spectral region - the yellow filter reduces the blue sensitivity of each of the layers (which are all inherently sensitive to blue).
For E6 processing:
Yellow #12 (or lighter) lets through a bit too much blue light and gives overall blue colour cast to the image, and foliage shows up as magenta. Not my preference for colour balance.
Yellow #15 gives a nice balanced image, that tends to be a tad cool, but not nearly as cool as a #12. Foliage is a nice magenta colour.
Orange #16 filter (e.g. B+W 040 or 099 IR filter), overall warmth of the image is probably most neutral balance, foliage has nice magenta colour and skies turn a deep natural blue.
Orange #21 starts getting a bit deep, foliage tending towards red, and skies tending towards cyan.
Orange #22 foliage turning red, skies will be deep blue/cyan, quite a nice look but basically the edge of my preference.
Red #25, image comes out predominantly yellow in colour, with pops of red from the foliage.
720 nm filter (R72); any image at all would be monochrome magenta; strongly not recommended.
Overall, I would generally stay clear of anything 'lighter yellow' than a yellow #15 for E6 (my two preferred filters for most pleasing colour balance on E6 are the dark yellow #15 or the orange #16 filter [e.g. B+W 099 or 040 filters].
For C41, the above descriptions generally seem to hold, but with perhaps a bit more flexibility in the colour based on how you scan/invert the negatives. I tend to use a yellow #12 or yellow #15 as to me seems like the negatives have a bit more colour information (that is actually useful) and don't have the same blue cast issue. But anywhere between Yellow #12, Yellow #15, Orange #16 are all nice.
You can see some more examples on Dean Benicci’s page linked here. You should definitely not use a R72 filter (which is a very very deep red filter used for black and white infrared films) as you will likely end up with no image or a blown out image comprised of only one colour (magenta). You should also definitely not shoot without a filter, it will result in a monochrome pink image which somewhat defeats the whole purpose of shooting Aerochrome.
Some other test examples are shown below and also linked here on Flickr.
How to Meter for Kodak Aerochrome III 1443 (or Kodak EIR)
For metering, it’s important to understand that whilst Aerochrome has a nominal ISO of 400, this is entirely a starting point and will fully vary based on various factors such as the films age, the development process/conditions you choose, the time of day/weather, the season, your lattitude, etc. Of key importance is that the nominal ISO rating is 400 already including the use of a yellow #12 filter, i.e. you do not need to compensate for the #12 filter if you are using an external handheld meter (i.e. not metering through the filter). Note that Kodak EIR (only available in 35mm) is a slightly different film that has a nominal ISO rating of ISO 200 (compared to Aerochrome’s 400), so keep this in mind if this is what you are shooting.
Generally what I do (for E6 processing of Aerochrome) is set my Pentax 67II’s TTL meter to ISO 400 (but you might want to try up to ISO 500 using this method given it sometimes feels like it's slightly overexposed - see below tests) and meter using the camera’s meter through the filter that is attached to the lens. Using the camera’s spot meter mode on the brightest green leaves in a scene, I set that to 0 exposure (i.e. neutral gray).
I have also applied a similar approach using a handheld Sekonic L758 spot meter where I either meter through the filter (with ISO set to 400) or increase the exposure by 2/3 of a stop for an Orange B+W 040 filter (e.g. ISO 250) if I am not going to spot-meter through the filter (and for a yellow filter (e.g. #12 or #15), I suggest no compensation from ISO 400 as described above (and you may even have to rate the ISO higher like ISO 500 given your camera’s meter will read through the filter and decrease the exposure when this is not needed). I have obtained similarly nice results by just setting the Pentax’s TTL meter to ISO 400 and using a weighted average meter reading, but generally try and make sure that your meter is not getting tricked by either the sky being a large portion of the image, but similarly not entirely made up of shadows in the foreground, as both scenarios would throw off the meter reading. You can similarly measure the exposure with an incident meter set to ISO 400 and then with no filter compensation if you are using a yellow #12 or #15 filter or ~ 1/2 to 2/3 of a stop if you are using an orange #16 filter.
Try and avoid any backlit scenes, and aim for scenes where the entire scene is well let by the sun (semi-side lighting or with the sun at your back will be the best). I'd also highly advocate the use of a polariser in addition to whichever filter you decide on, it can be particularly good in reducing the reflections on leaves etc. (which enhances the pink/red trees on Aerochrome) and also darkening the blue skies (which often appear blown out on Aerochrome unless the lighting is good - see section further below with examples of images taken with the polarizer). Aerochrome is really not much more difficult than shooting a slide film such as Fujifilm Velvia; you just need to understand how limited the dynamic range is and what types of contrasty scenes you would be better off avoiding shooting.
The above comments also fully depends on whether you intend to shoot for E6 slide processing (which the above is written for), or if you plan on having it processed in C41 to produce a negative. The C41 negatives have increased flexibility (in how you interpret the colours upon inversion) as well as slightly increased dynamic range (highlights don't blow out as quickly). For C41 I would do the same techniques as above, just giving it an extra 1/3 of a stop of light (i.e. slight overexposure compared to E6) - which would be equivalent to setting the ISO to 320 and following the metering technique I described.
Note often for whatever reason the scans I get from my lab have the infrared off the foliage showing as much more red than it looks on the E6 developed slide, on the slides it looks much more pink. The blues look similar on the slides though.

Aerochrome exposure tests - developed in E6. From these tests, the best results to my eyes were the -1/3 of a stop yellow #15 or -1/3 of a stop orange #16 filter. This would have been equivalent to initially setting ISO 500 on the meter, and then just metering through the filter, but you can see even just using the base ISO of 400 and trusting the evaluative meter for the whole scene gave a decent exposure in both cases.
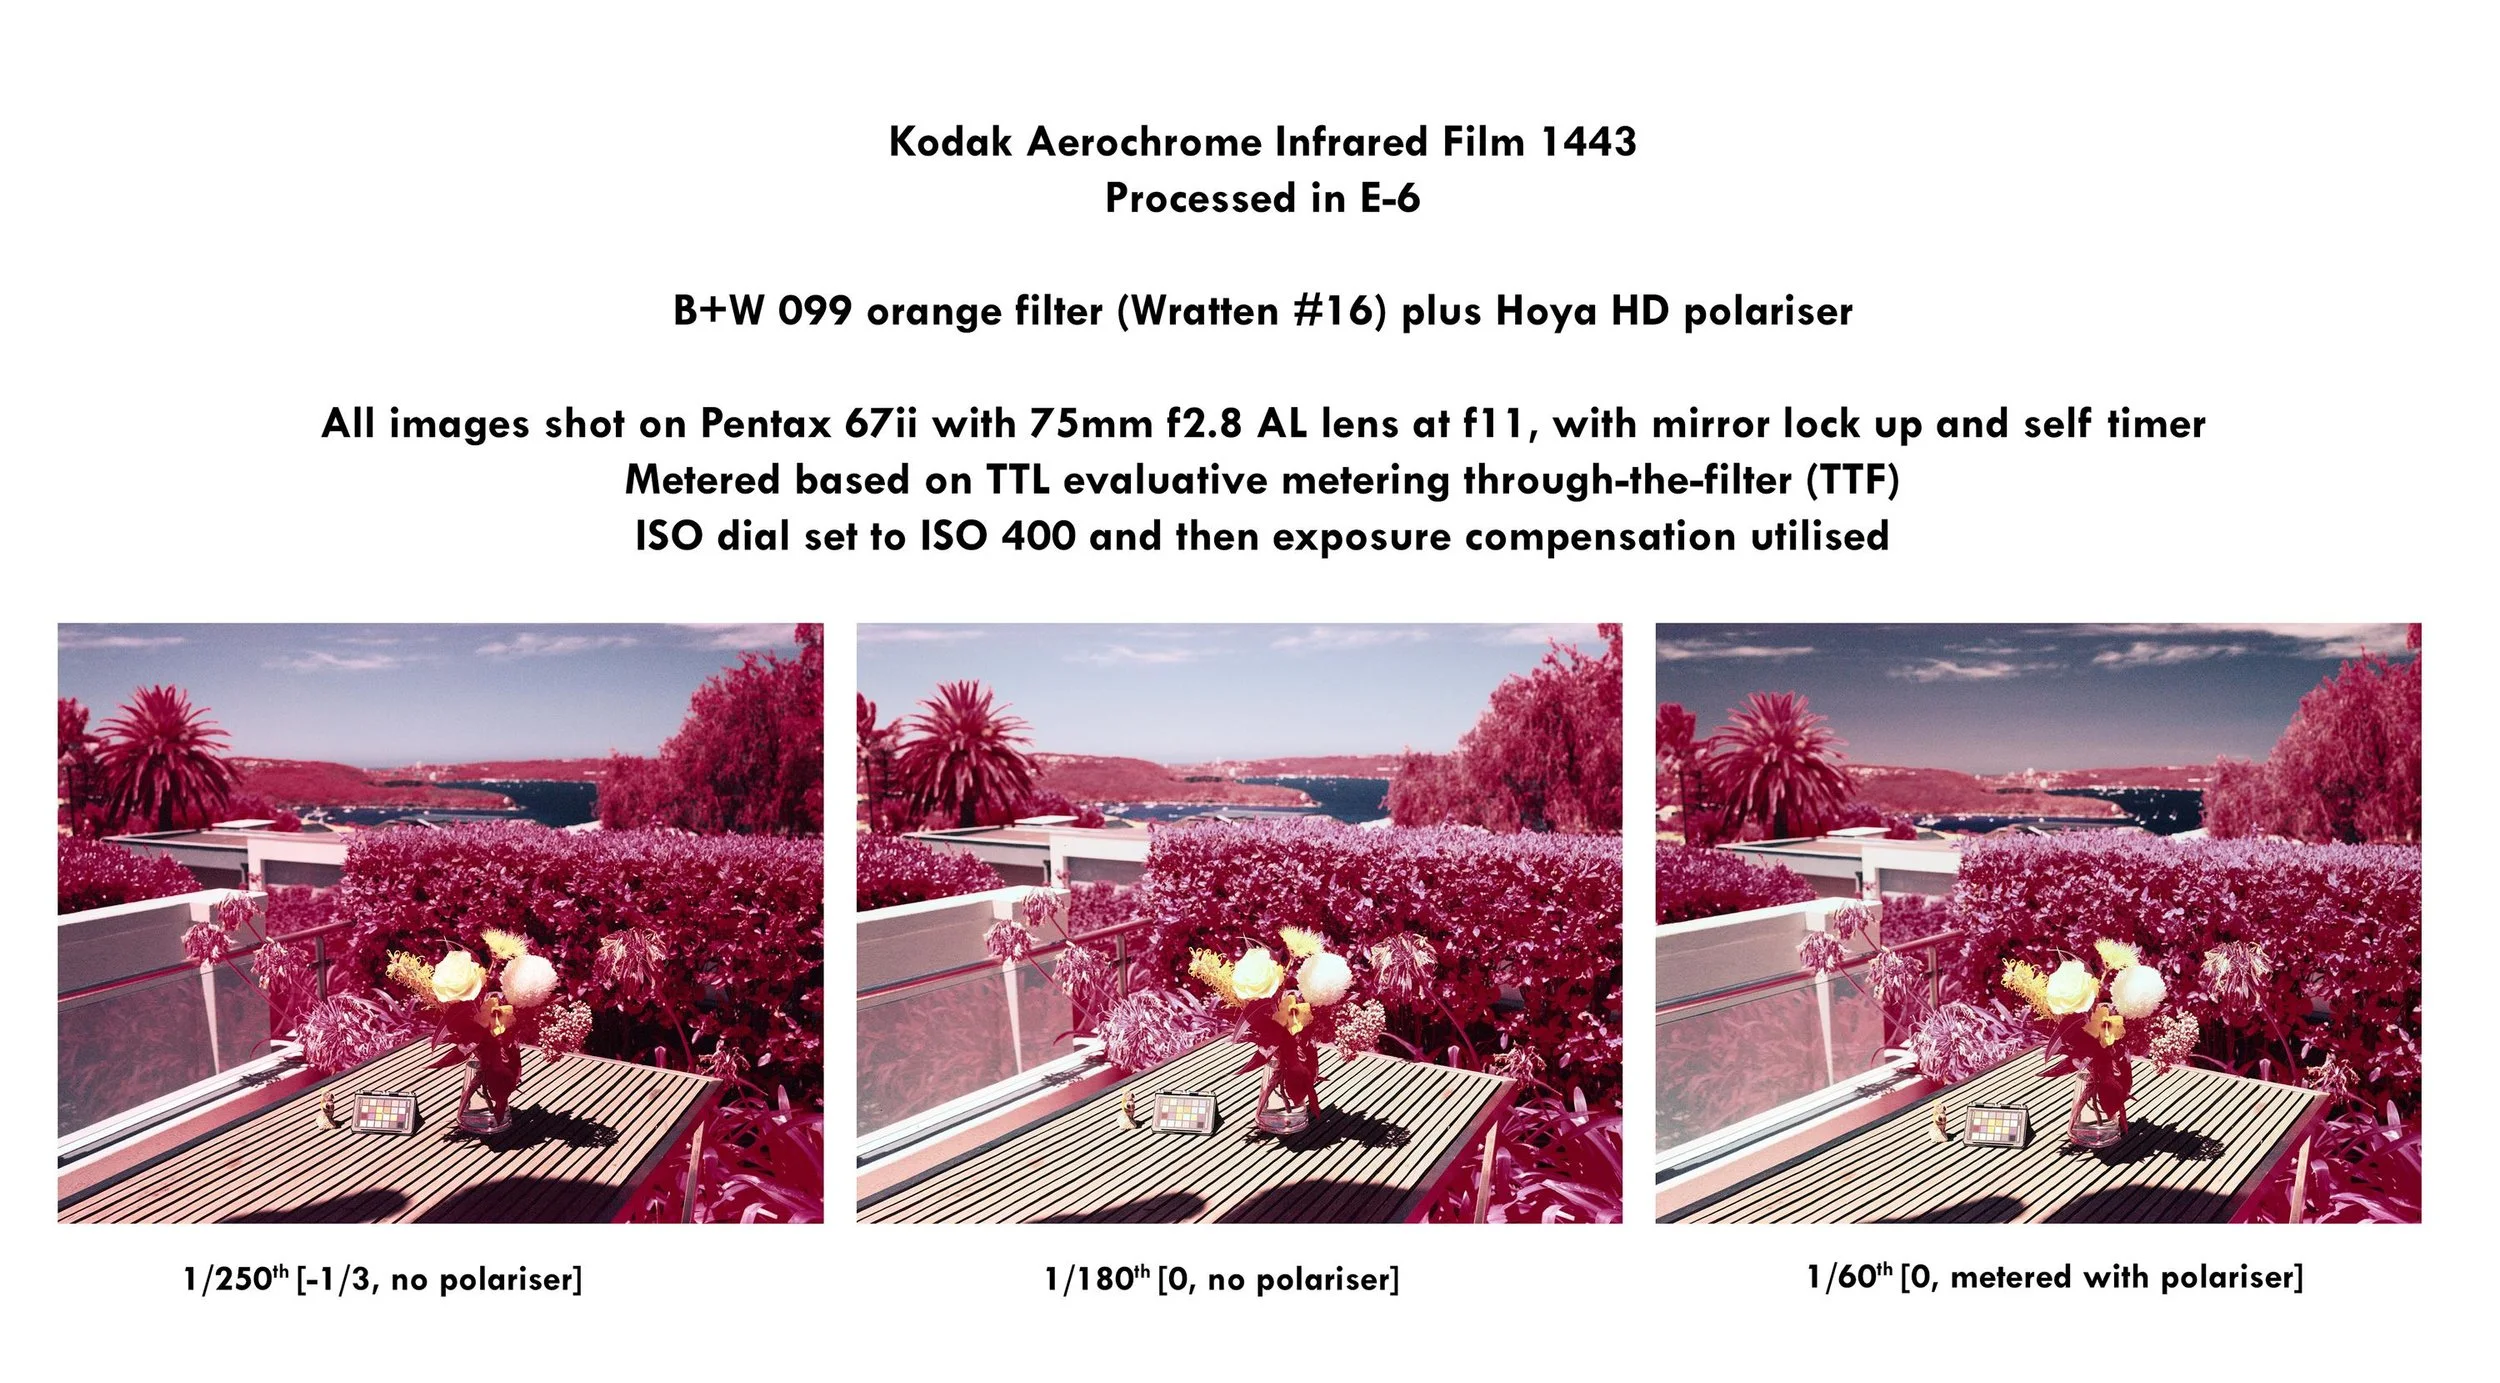
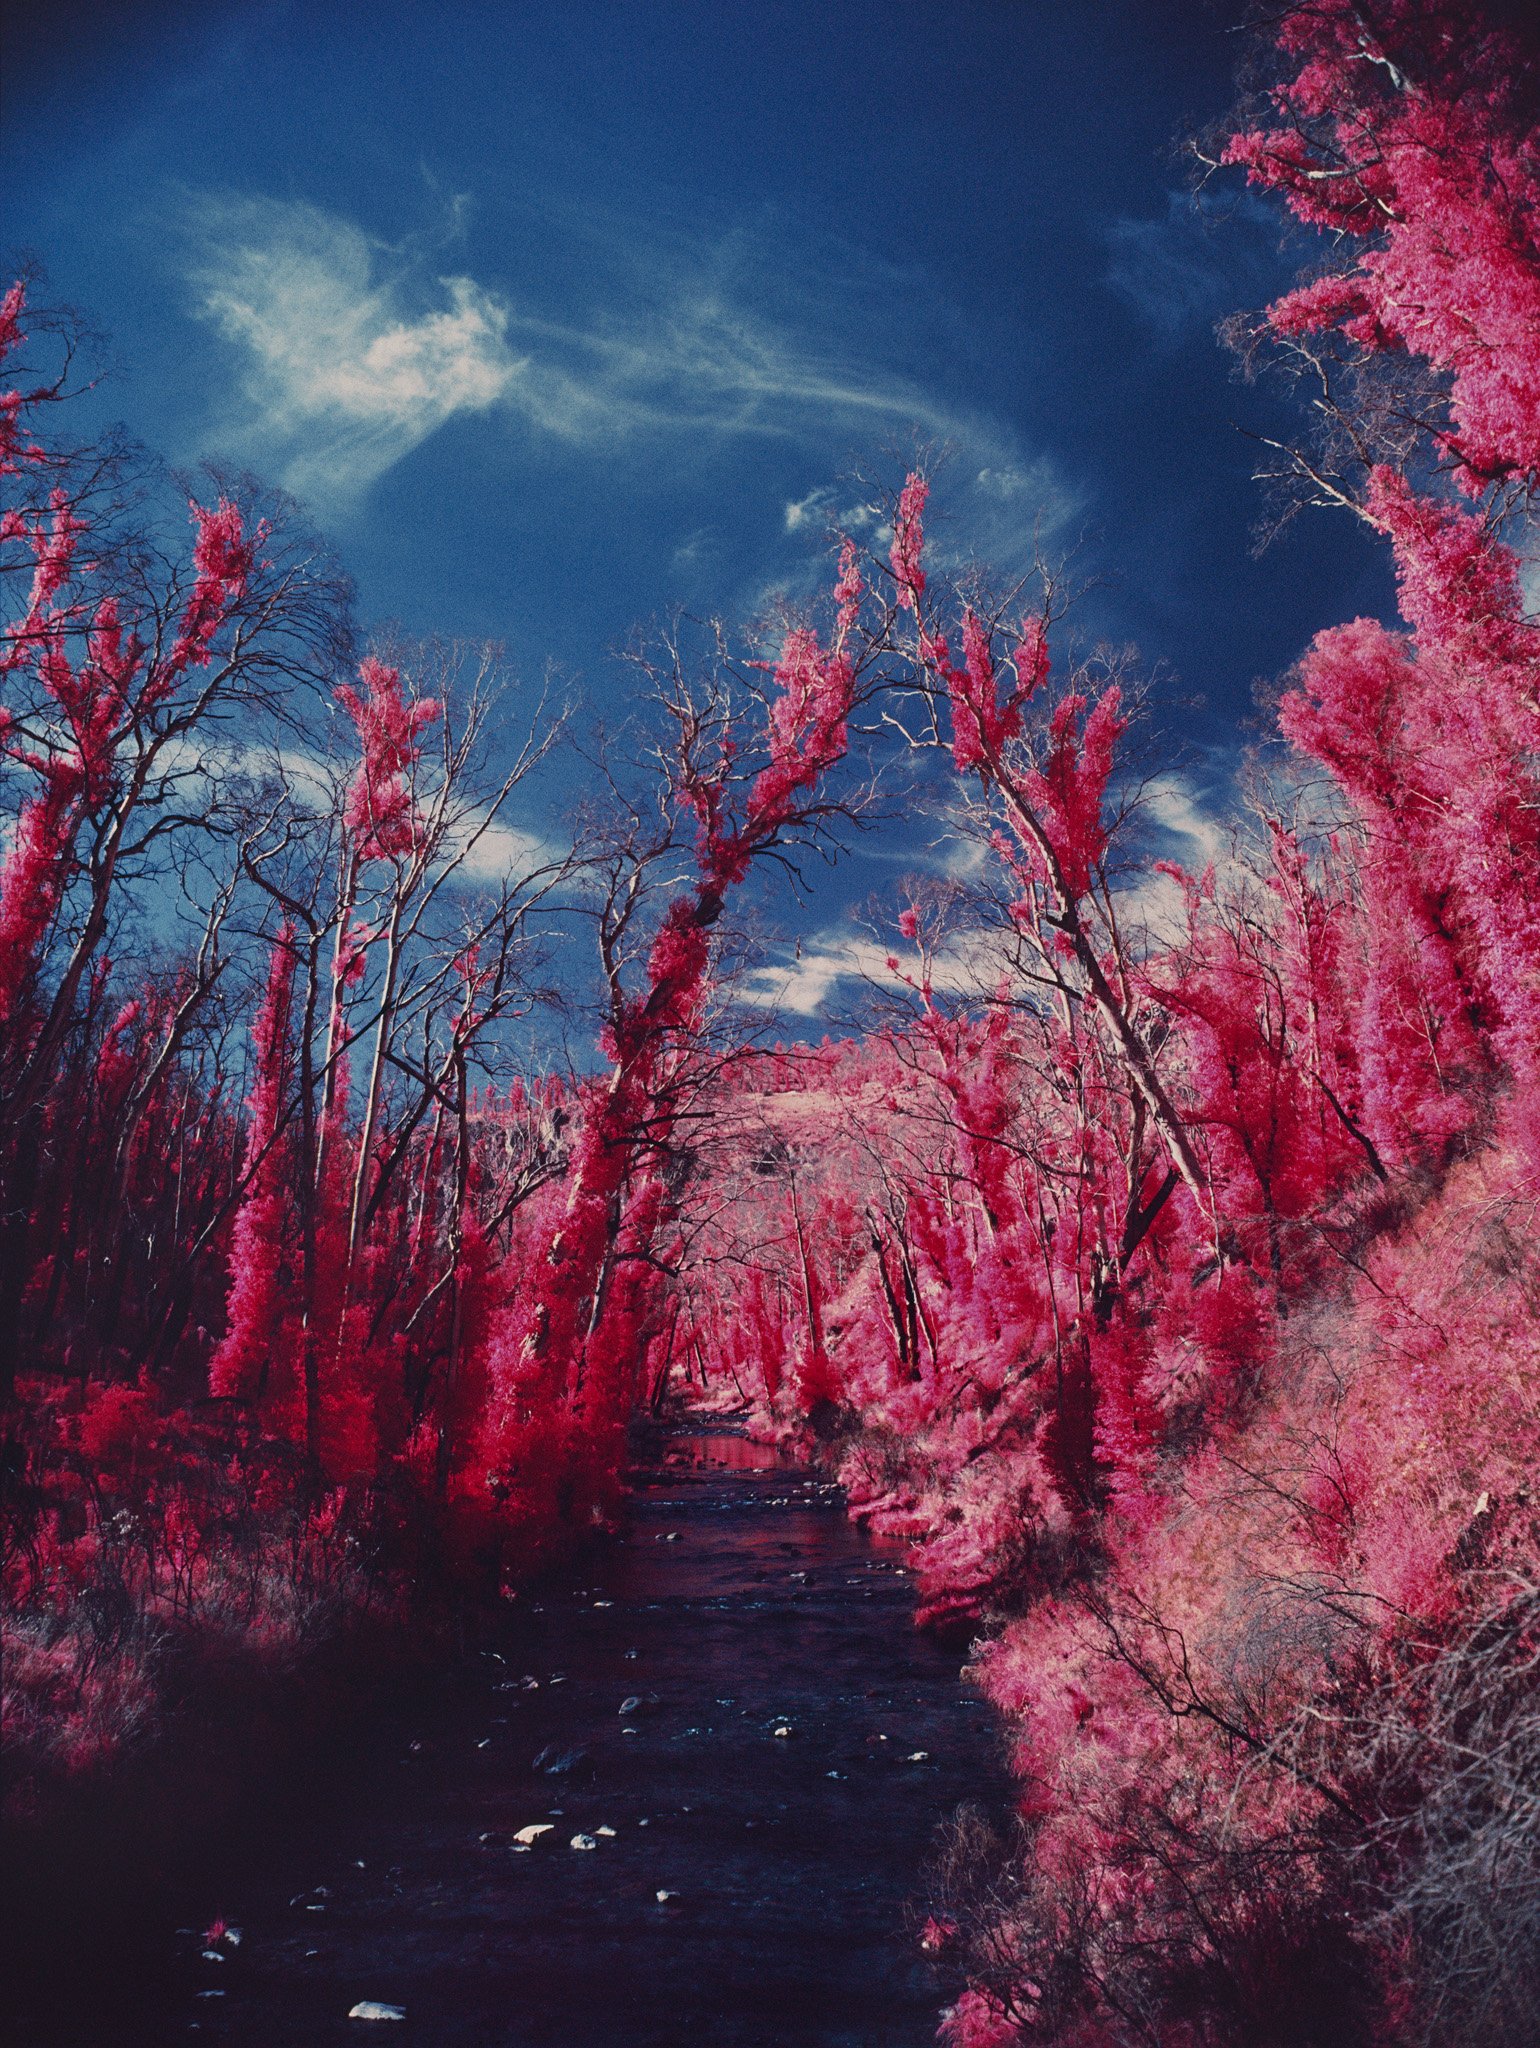
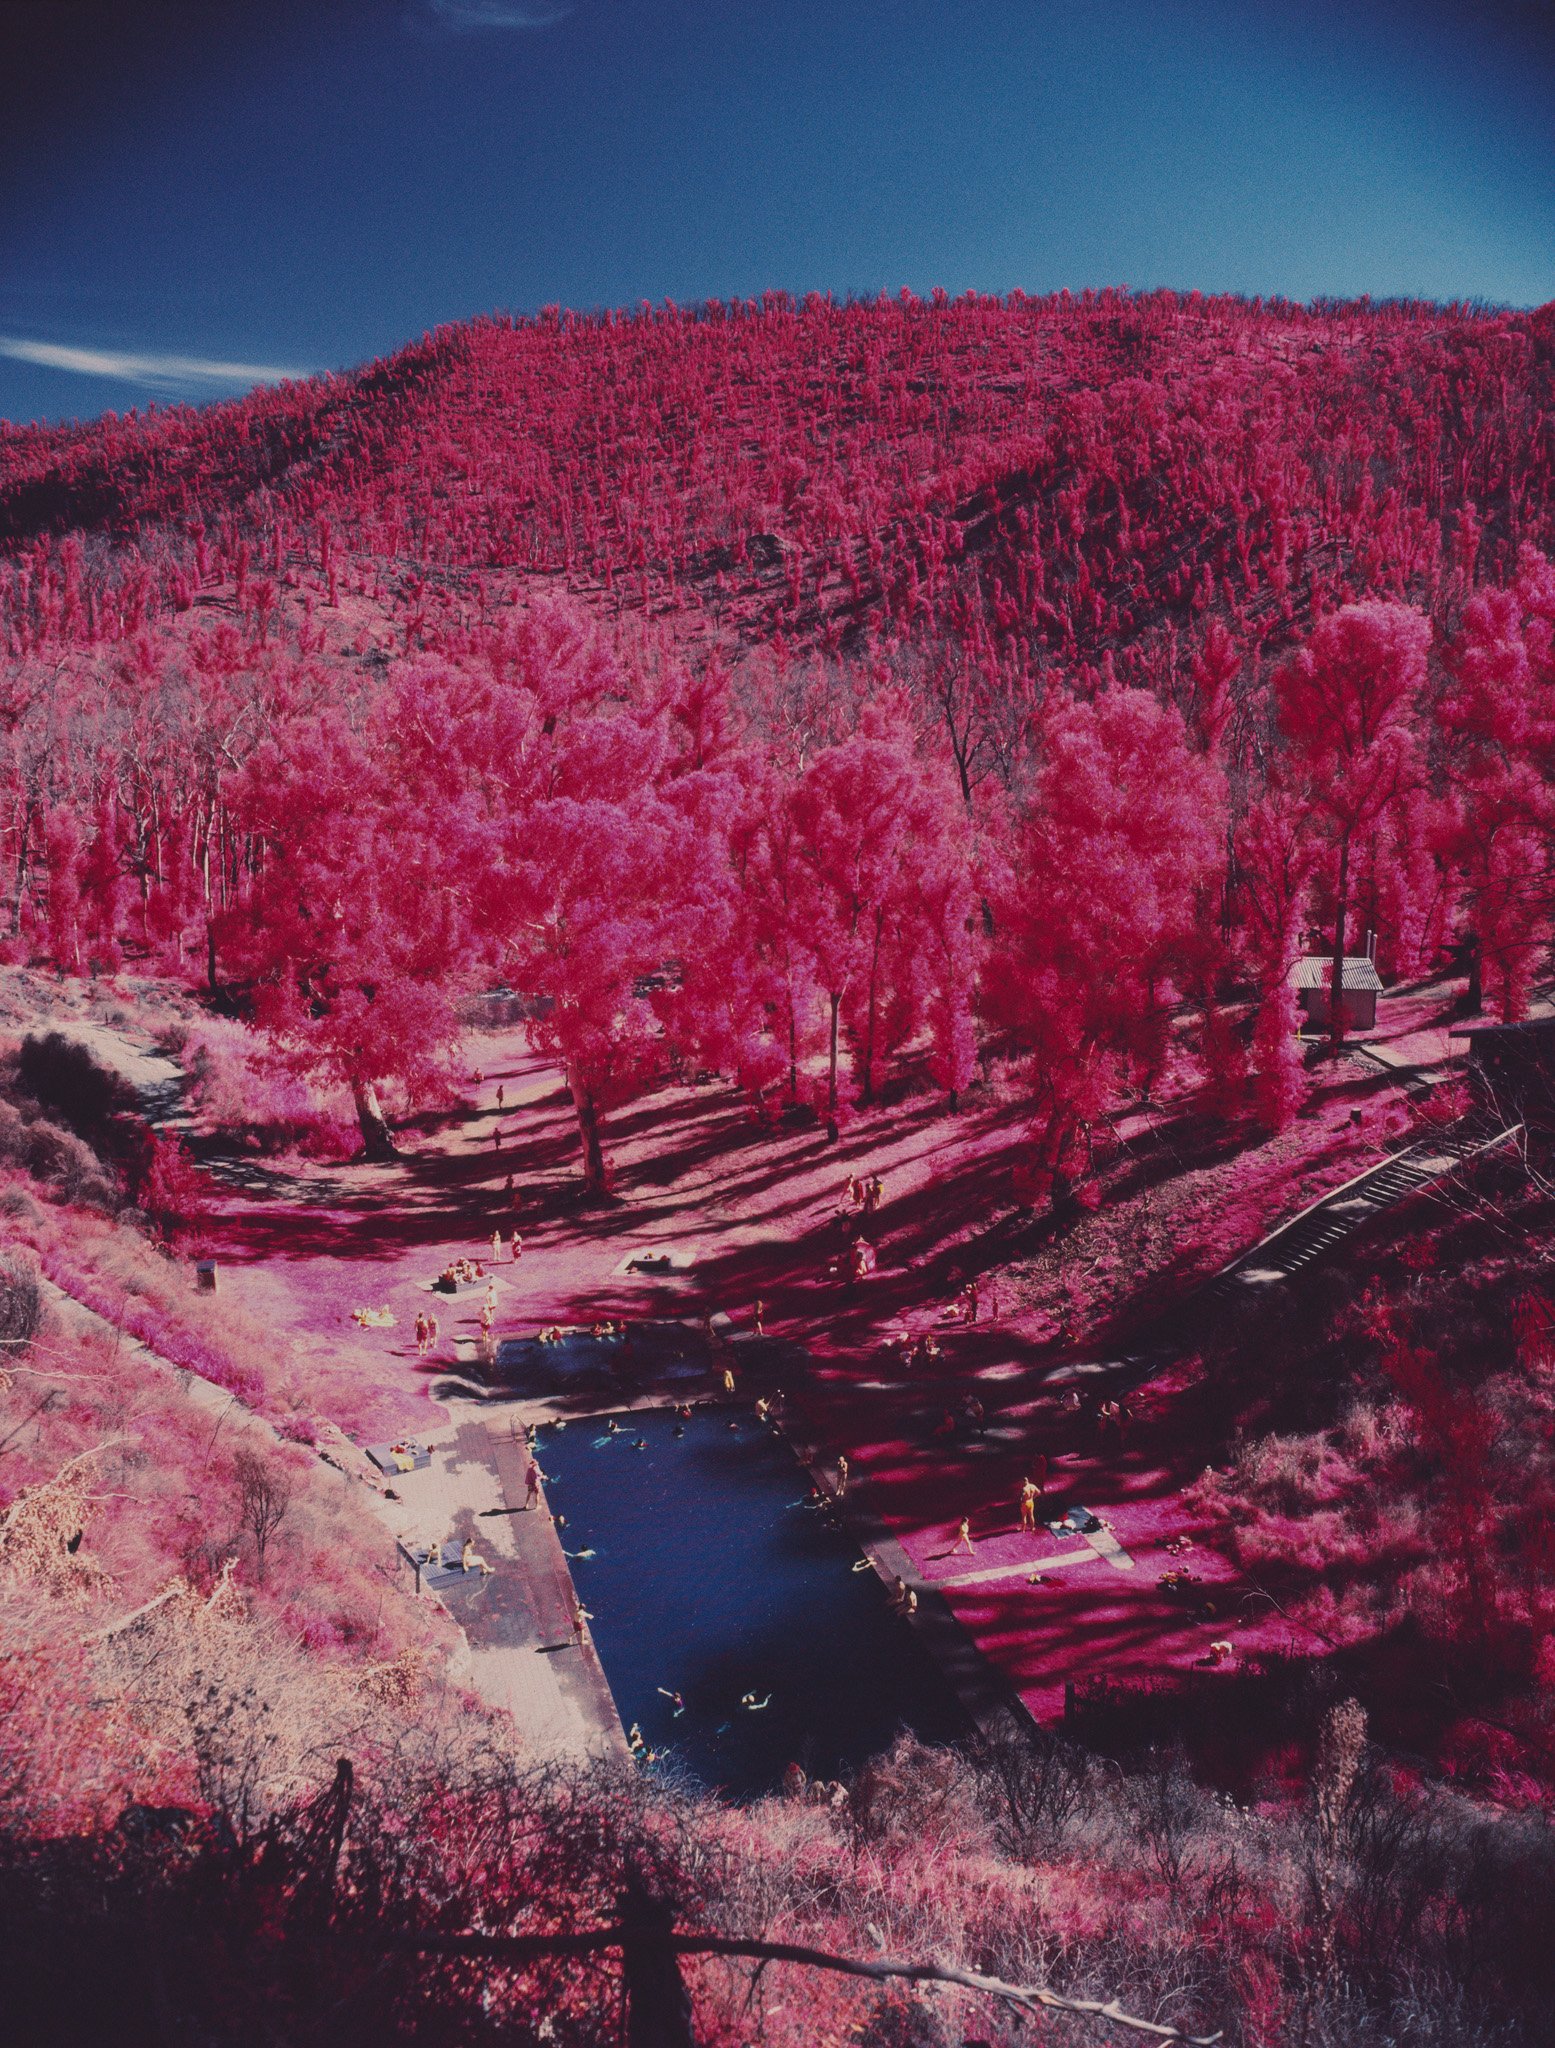
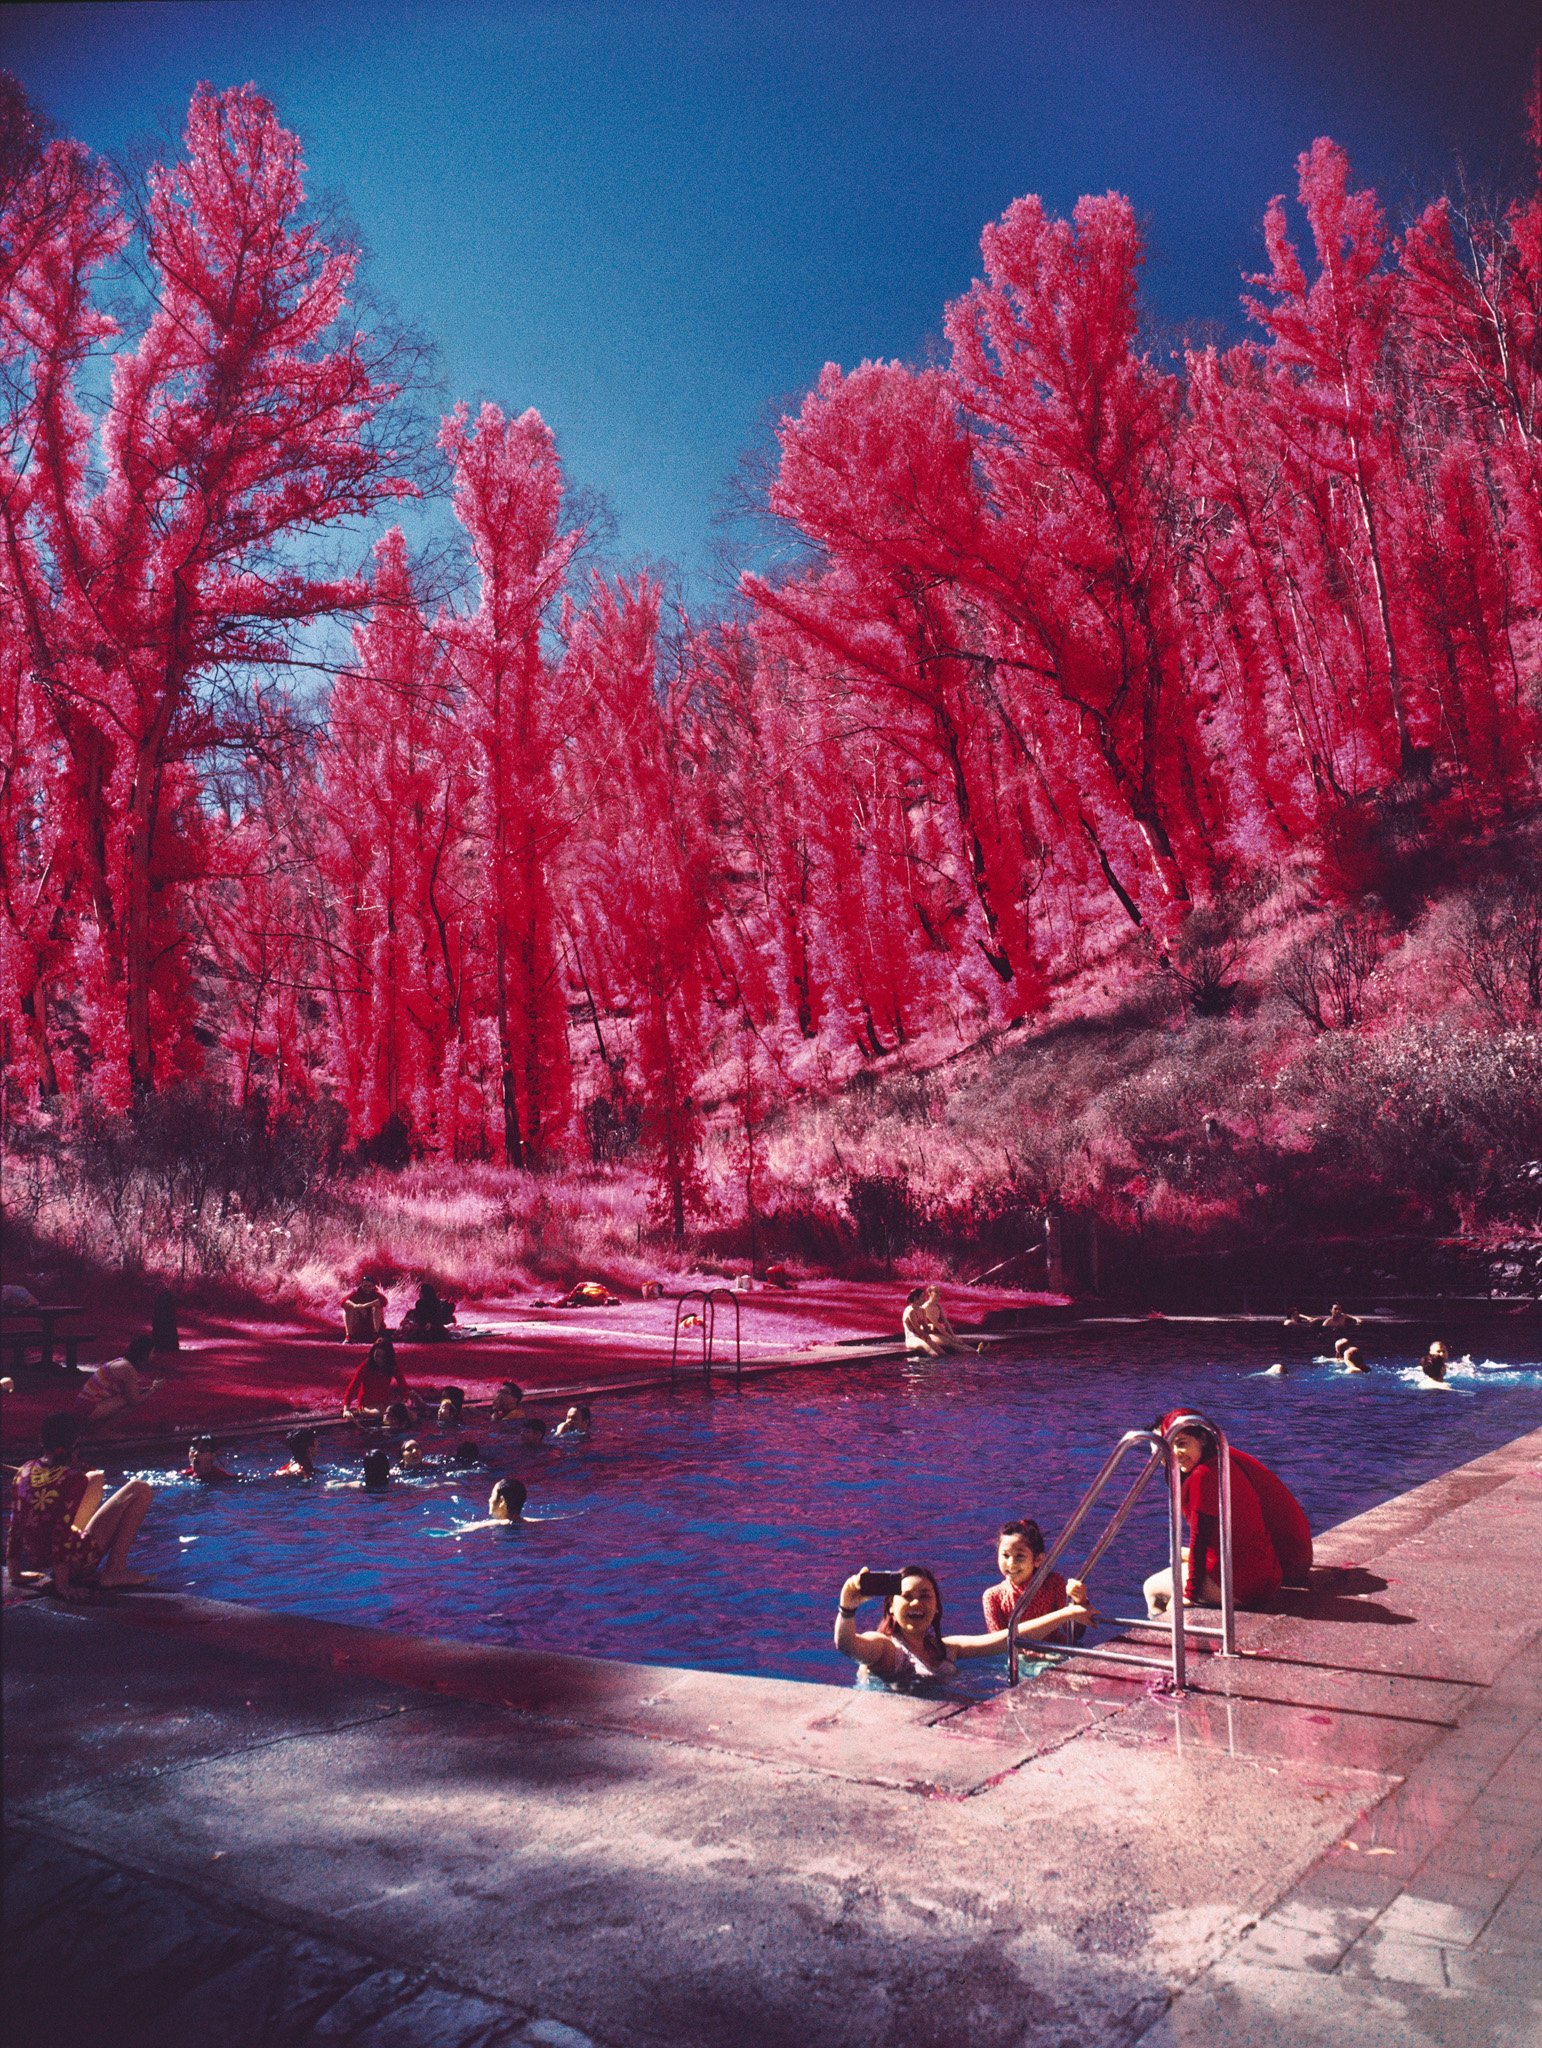
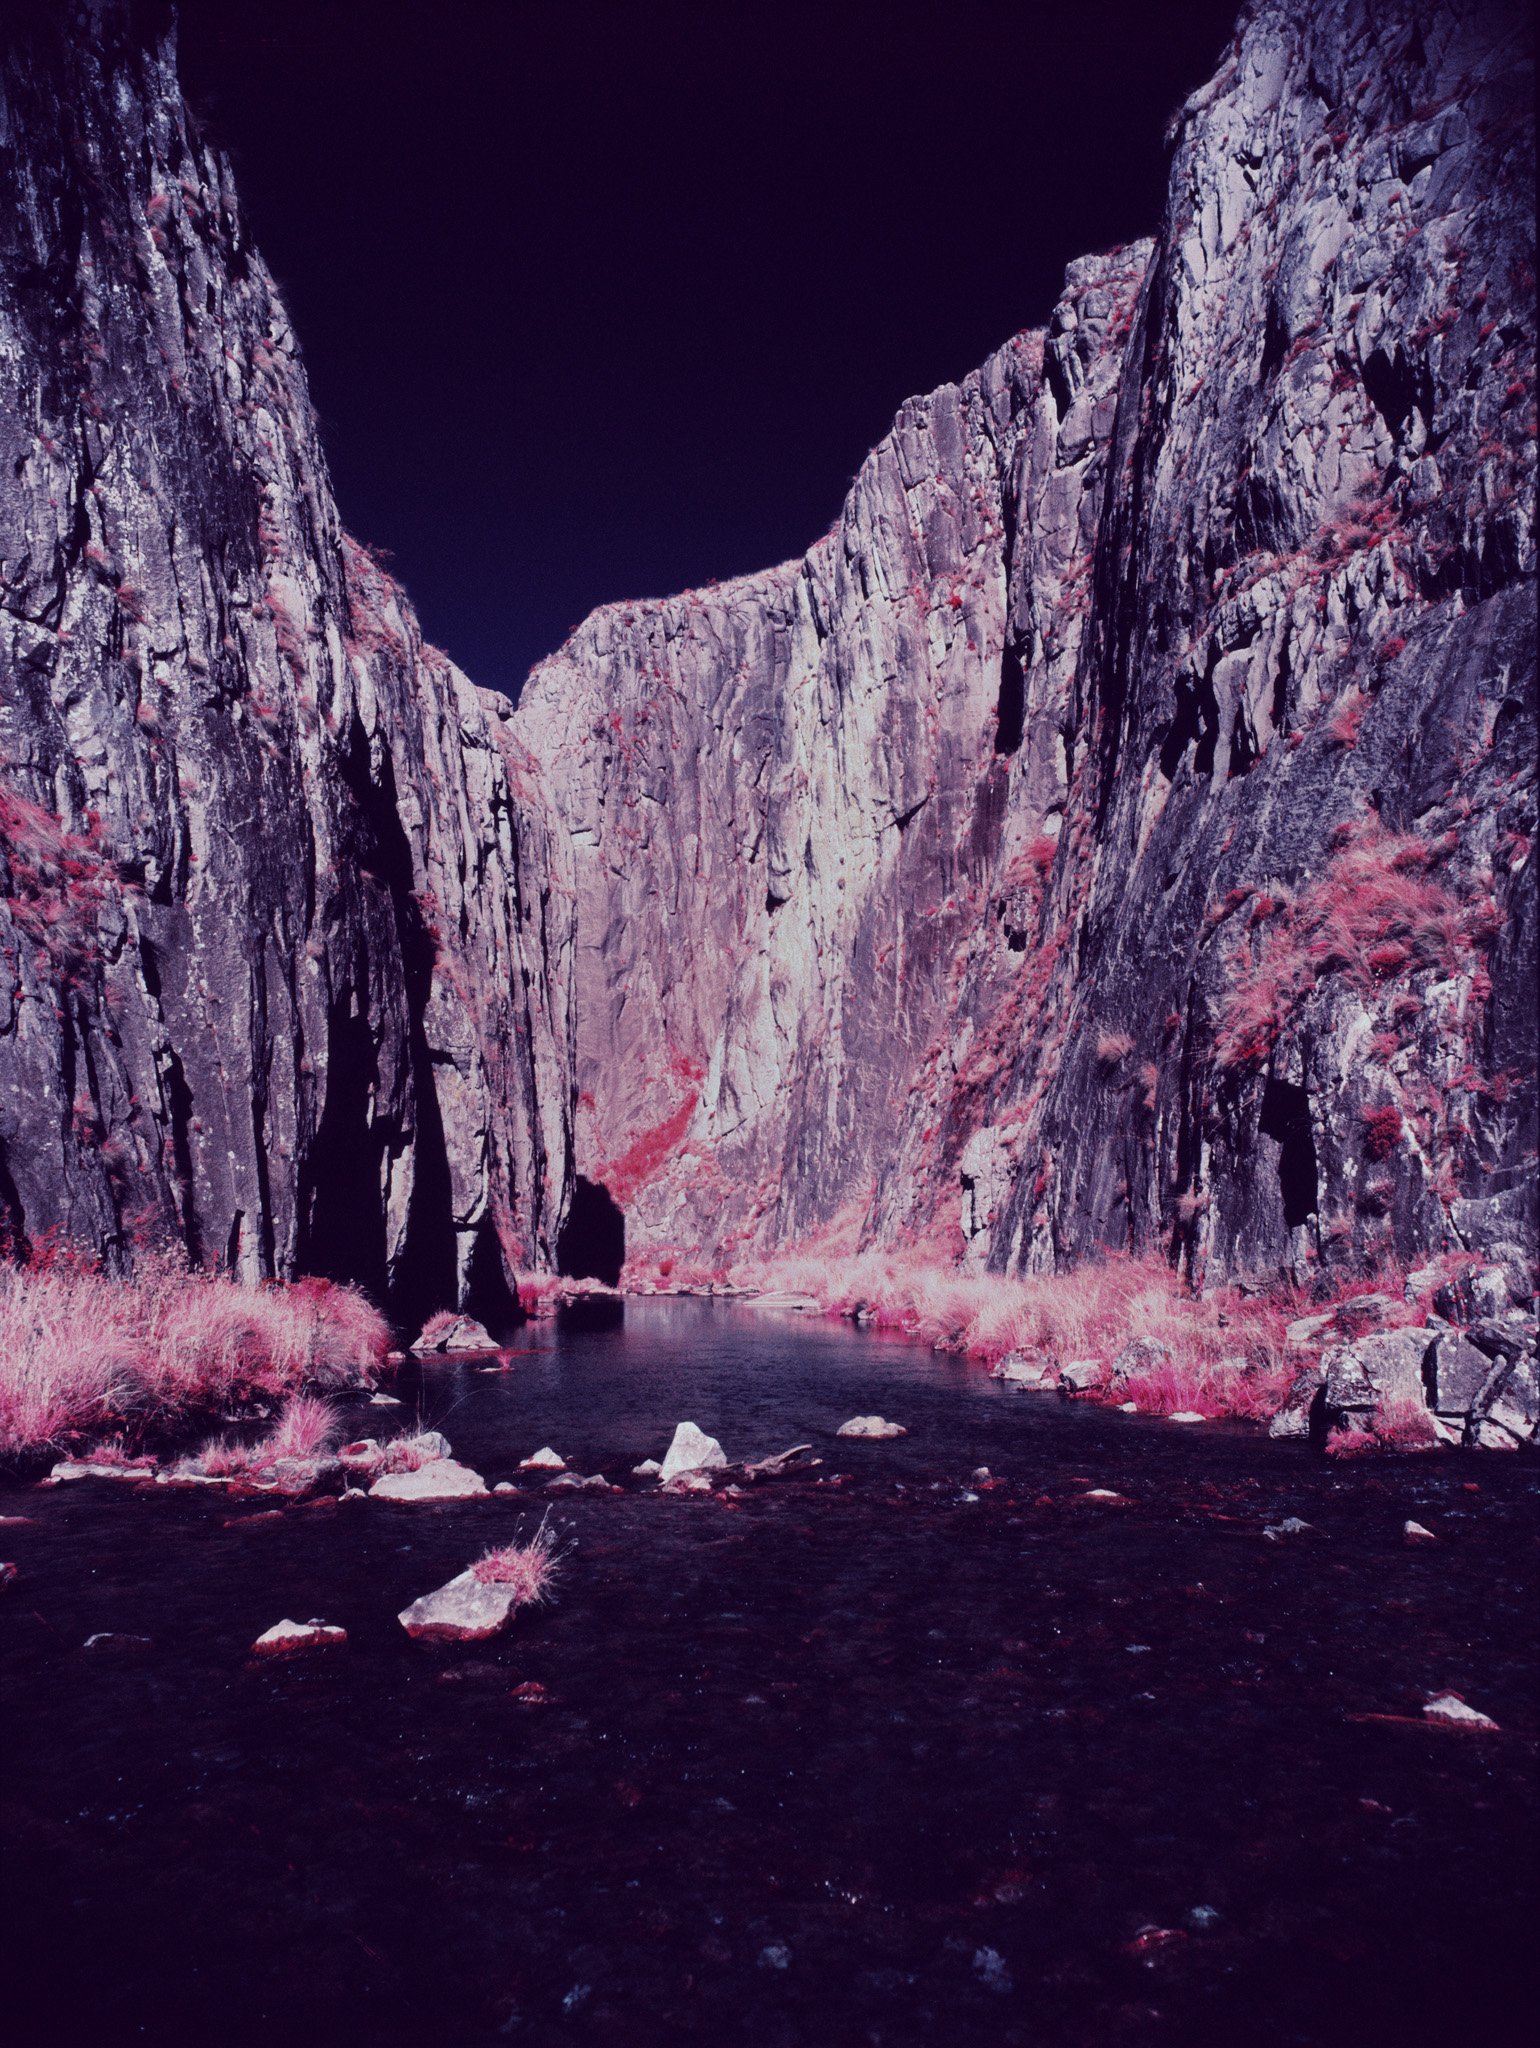
You can see the polarising filter really darkens the sky - the exposure for that polariser shot was probably 1/3 of a stop over, based on the other results
Below you can see the comparison shot on digital (1/200th, f10, ISO 400, with polariser).
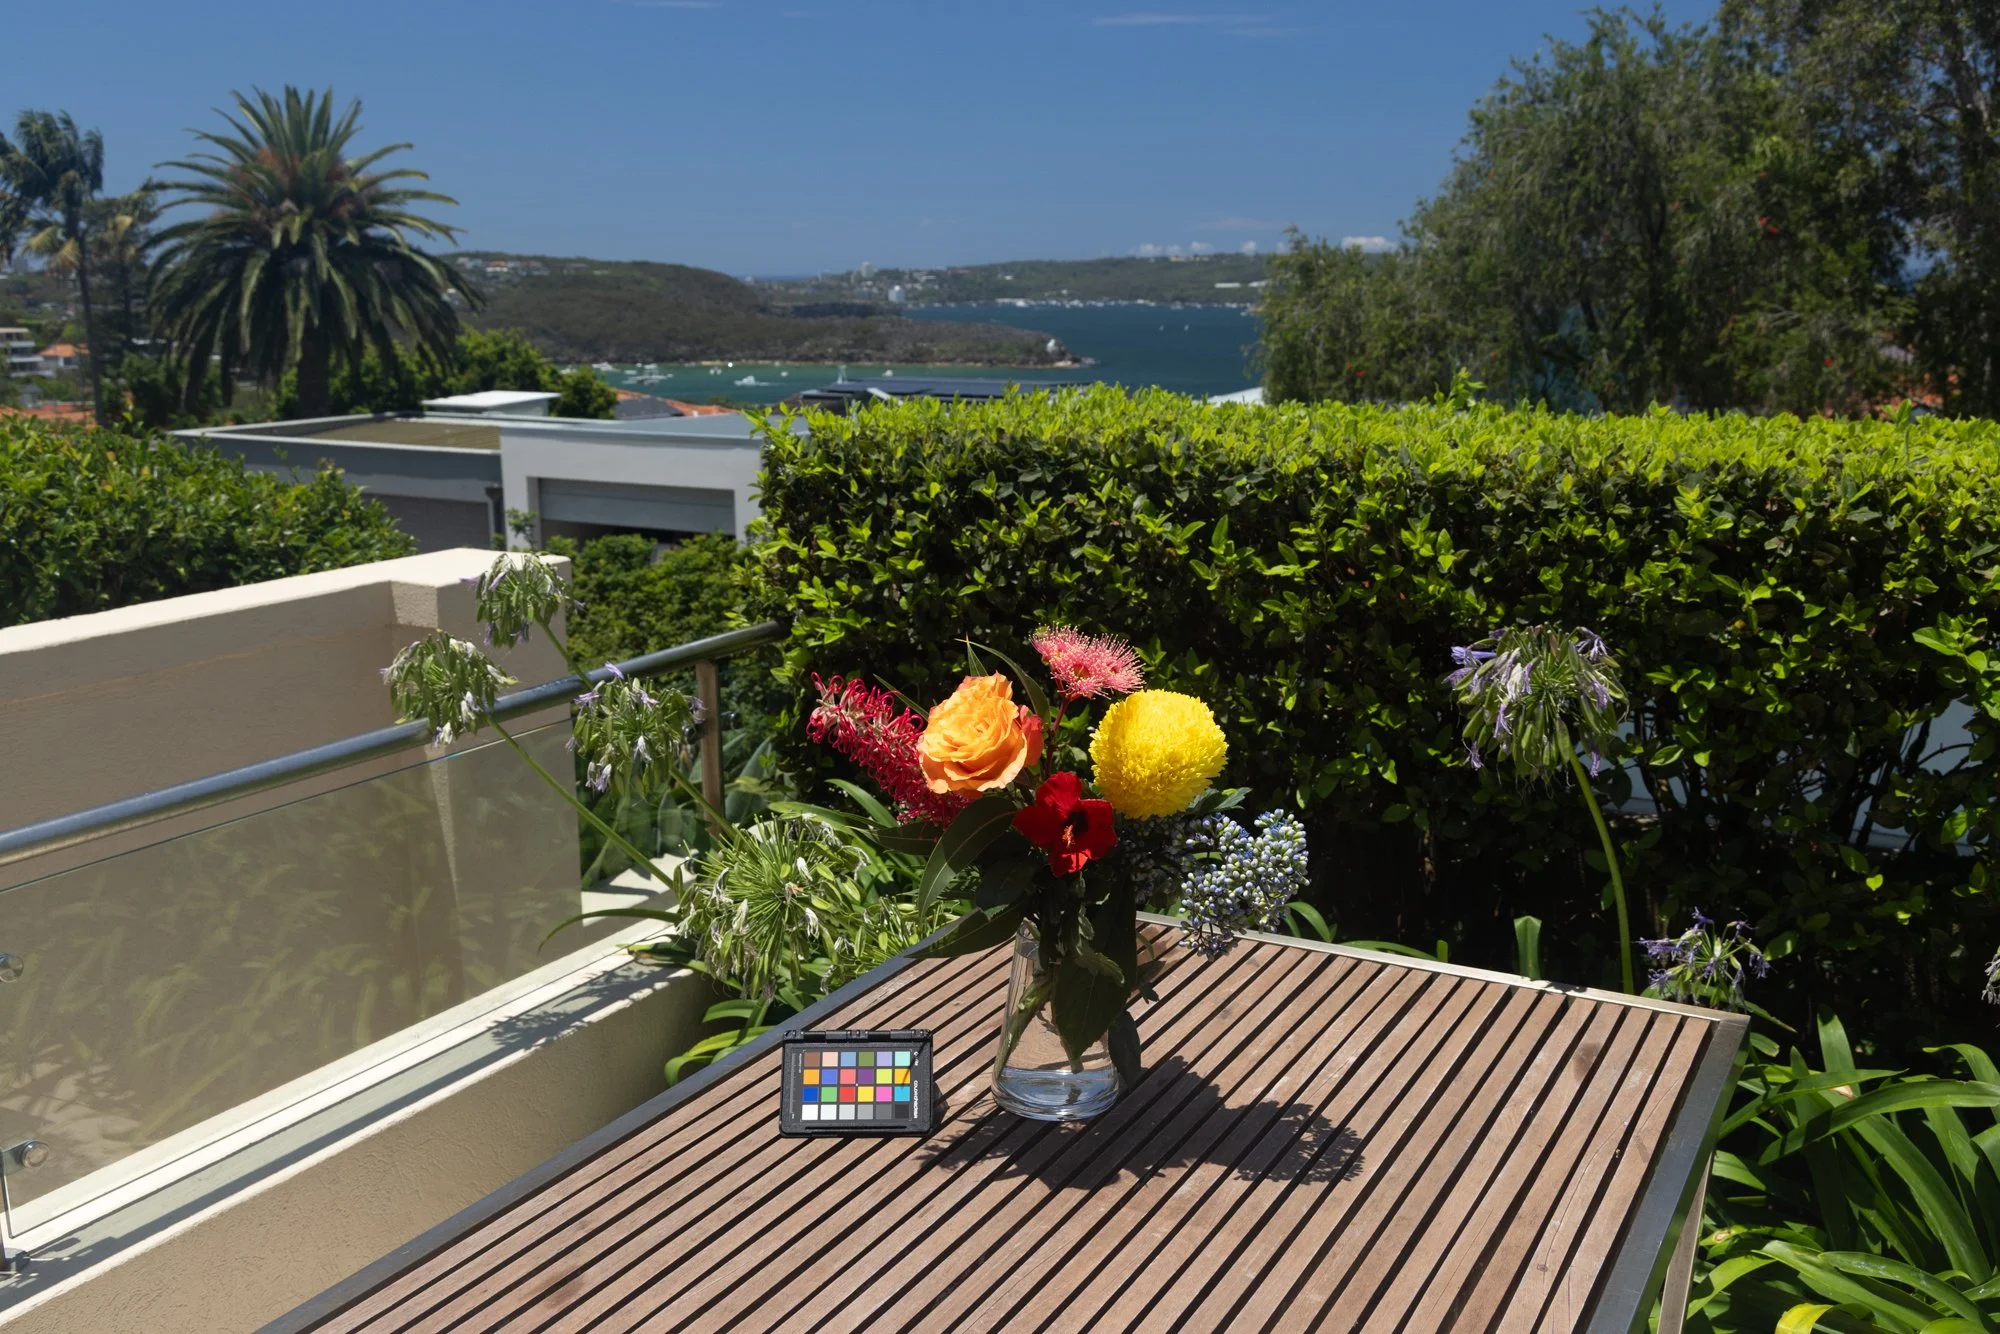
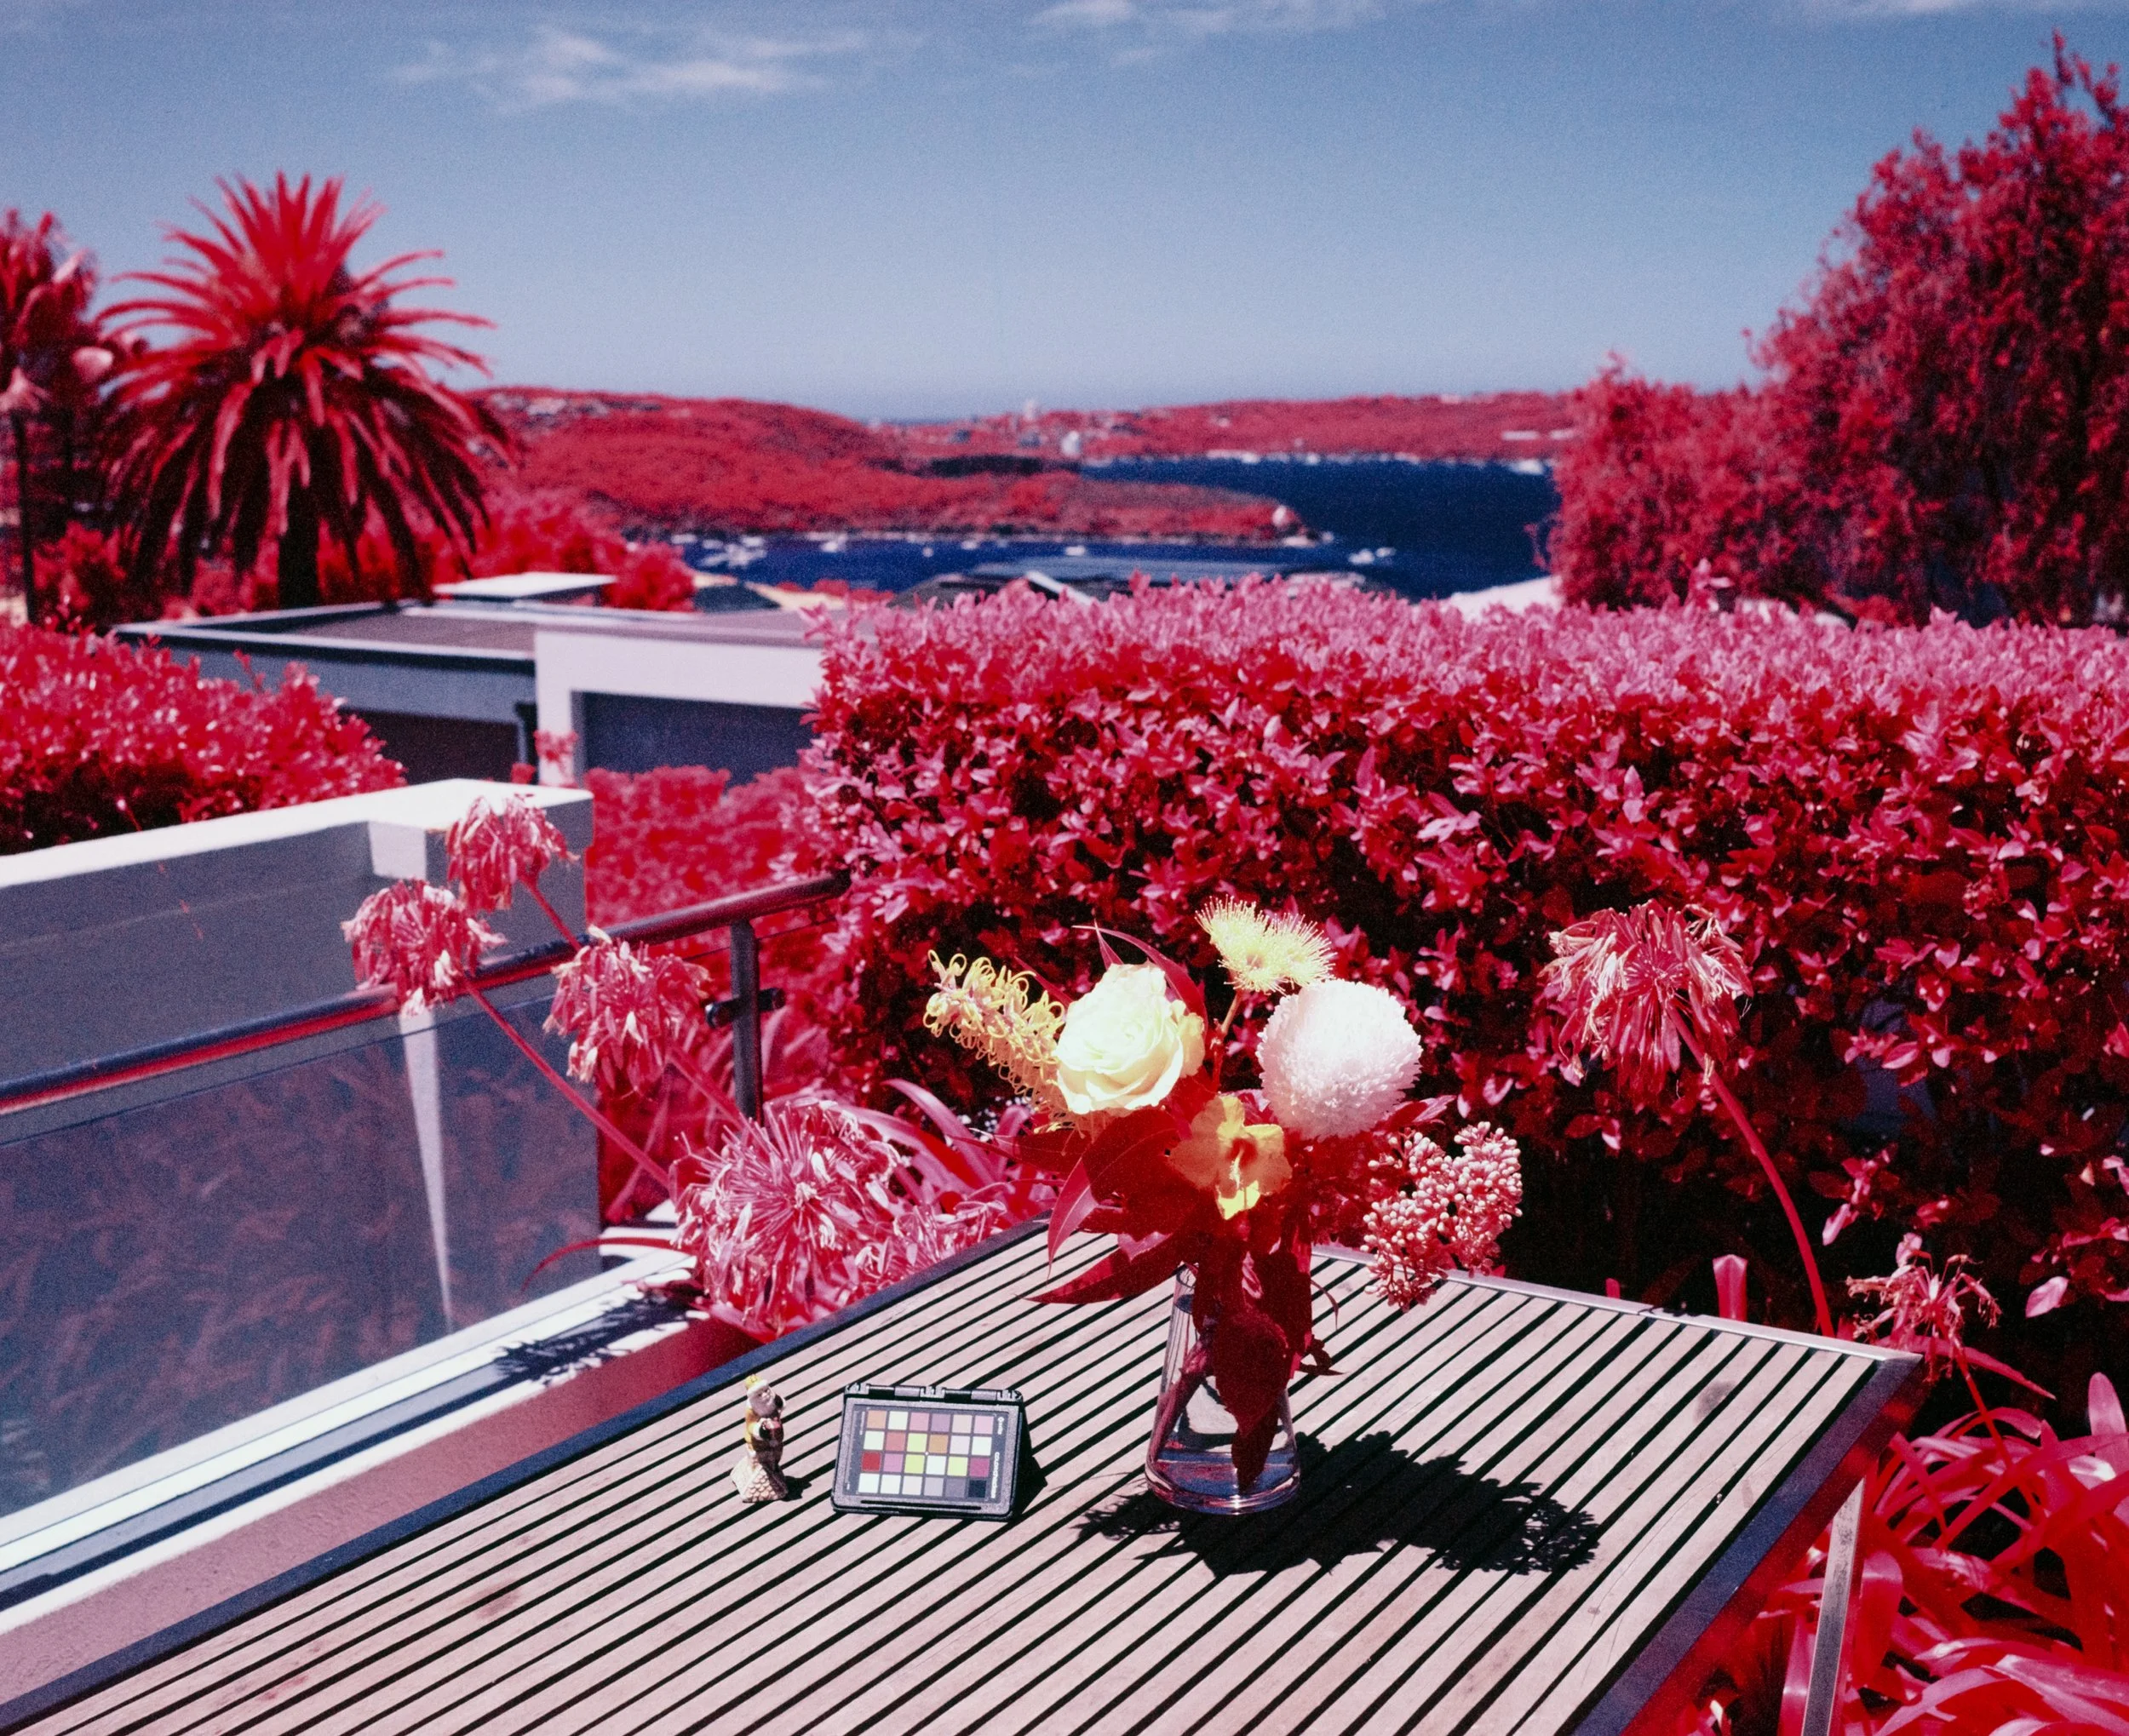
Using a Polarisation Filter with Aerochrome
A polariser can be very helpful when shooting Aerochrome. A polariser (be it circular or linear polariser), generally darken blue skies on normal colour film as they effectively cut out all the different orientations/directions of light except for the one that it allows through (picture it as a vertical slit, and if the light doesn’t line up with that slit, it is not transmitted). You can of course vary the orientation of the polariser (i.e. the orientation of the slit), changing how much light gets blocked by the polarising filter.
All the colour emulsion layers in Aerochrome are highly sensitive to blue light. You therefore need to use at least a yellow filter (if not an orange) to reduce the exposure of blue light onto the film. So if you shoot Aerochrome of a blue sky normally, when you use a yellow filter (also known as a minus blue), what you see as blue in the resulting Aerochrome image, is actually not blue light, but mostly green light (which renders as blue on Aerochrome). The polarisation effect is then compounded on Aerochrome because you are cutting out lots more blue light, which should already be mostly absorbed by the yellow filter, making it go much darker/black.
If you have never used a polariser before, my suggestion would be to test it out on a digital camera first or a roll of normal slide film to see how the different orientations of a polariser effect the image. You can go way too strong with polarisation, which can cause issues with uneven skies (e.g. refer below image (B+W 040 orange filter + B+W polariser), which you can see the unevenness of the polarisation). This effect is compounded with wide angle lenses (which see more of the sky) and when you are shooting sky that is 90 degrees from the sun (as that is where polarisation will always be at its strongest). However in this image, if I hadn’t used a polariser, the sky would likely have been blow out white entirely (i.e. not the ideal time of day to shoot Aerochrome, but I was working with what I had).
Depending on the lens you use, I would recommend the B+W F-Pro or XS-PRO Kaesemann High Transmission Circular polariser. If you have a wide-angle lens, you may need to consider going for the B+W XS-PRO Kaesemann filter (which is physically a lot thinner than the F-PRO version to prevent vignetting). You can see a bit of vignetting on my previous photo due to stacking two filters (orange B+W 040 filter + B+W polariser + UV filter). If I had my time again, would take off the UV filter as that’s unnecessary (I just keep mine on for protection). The high transmission is probably worth the extra money, it just means the polariser still does its job without blocking as much light. If you need to save more money, I’ve also had great experiences with Hoya HD polarizing filters but nearly all my filters are B+W brand.
Don’t buy a linear polariser unless you know what you are doing (noting they can provide nice results). They work in a slightly different way and will have limited applications with modern cameras (particularly they are thoughts to trick the autofocus and exposure meters on most cameras). Circular is the way to go – same effect, slightly different method of polarisation.
In terms of adjusting the ISO of Aerochrome/EIR when using a polariser, it depends on what camera you have/what your method has been for metering. For the vast majority of the work I’ve been shooting, I trust my camera’s spot meter through the various filters I use. This has worked for me in E6 processing with an ISO of 400, orange #16 filter and polariser. So yes I would be willing to take the stated filter factor, but note there are some quirks with filter factors (which are not designed with Aerochrome in mind, they are solely designed for standard visible light sensitive films). The other problem is that polarisers have a variable filter factor depending on which orientation they are in and which direction you are facing relative to the sun. That’s why I would be more inclined to meter specifically through the filters either with a separate spot meter (set to ISO 400 and metered through the filters) or mounted on a camera with a good meter (I use a Pentax 67ii but also have used Mamiya 645AFDII with good results – most modern cameras should be good).
Different polarisers will have different transmissions which will effect the overall filter factor. If you have a standard cheap polarising filter, you may lose 3 stops of light, whereas the high end B+W polariser may only lose 1 stop. That’s quite a big difference, means you can keep your shutter speeds fast for hand held sharp shooting, or stop the aperture down to get more depth of field/sharper pictures.
All the shots I’ve included in this section handheld and didn’t require me to use a tripod but I would not hesitate to use a tripod if needed, the film is rare and much more important to get the optimal settings. E.g. say the light was a bit lower and your settings were f5.6 and 1/60th, to me that’s likely to be too slow to hand hold and get sharp images reliably, I would happily get a tripod out and shoot at f11 at 1/15th.
Long Exposures/Night Photography on Aerochrome
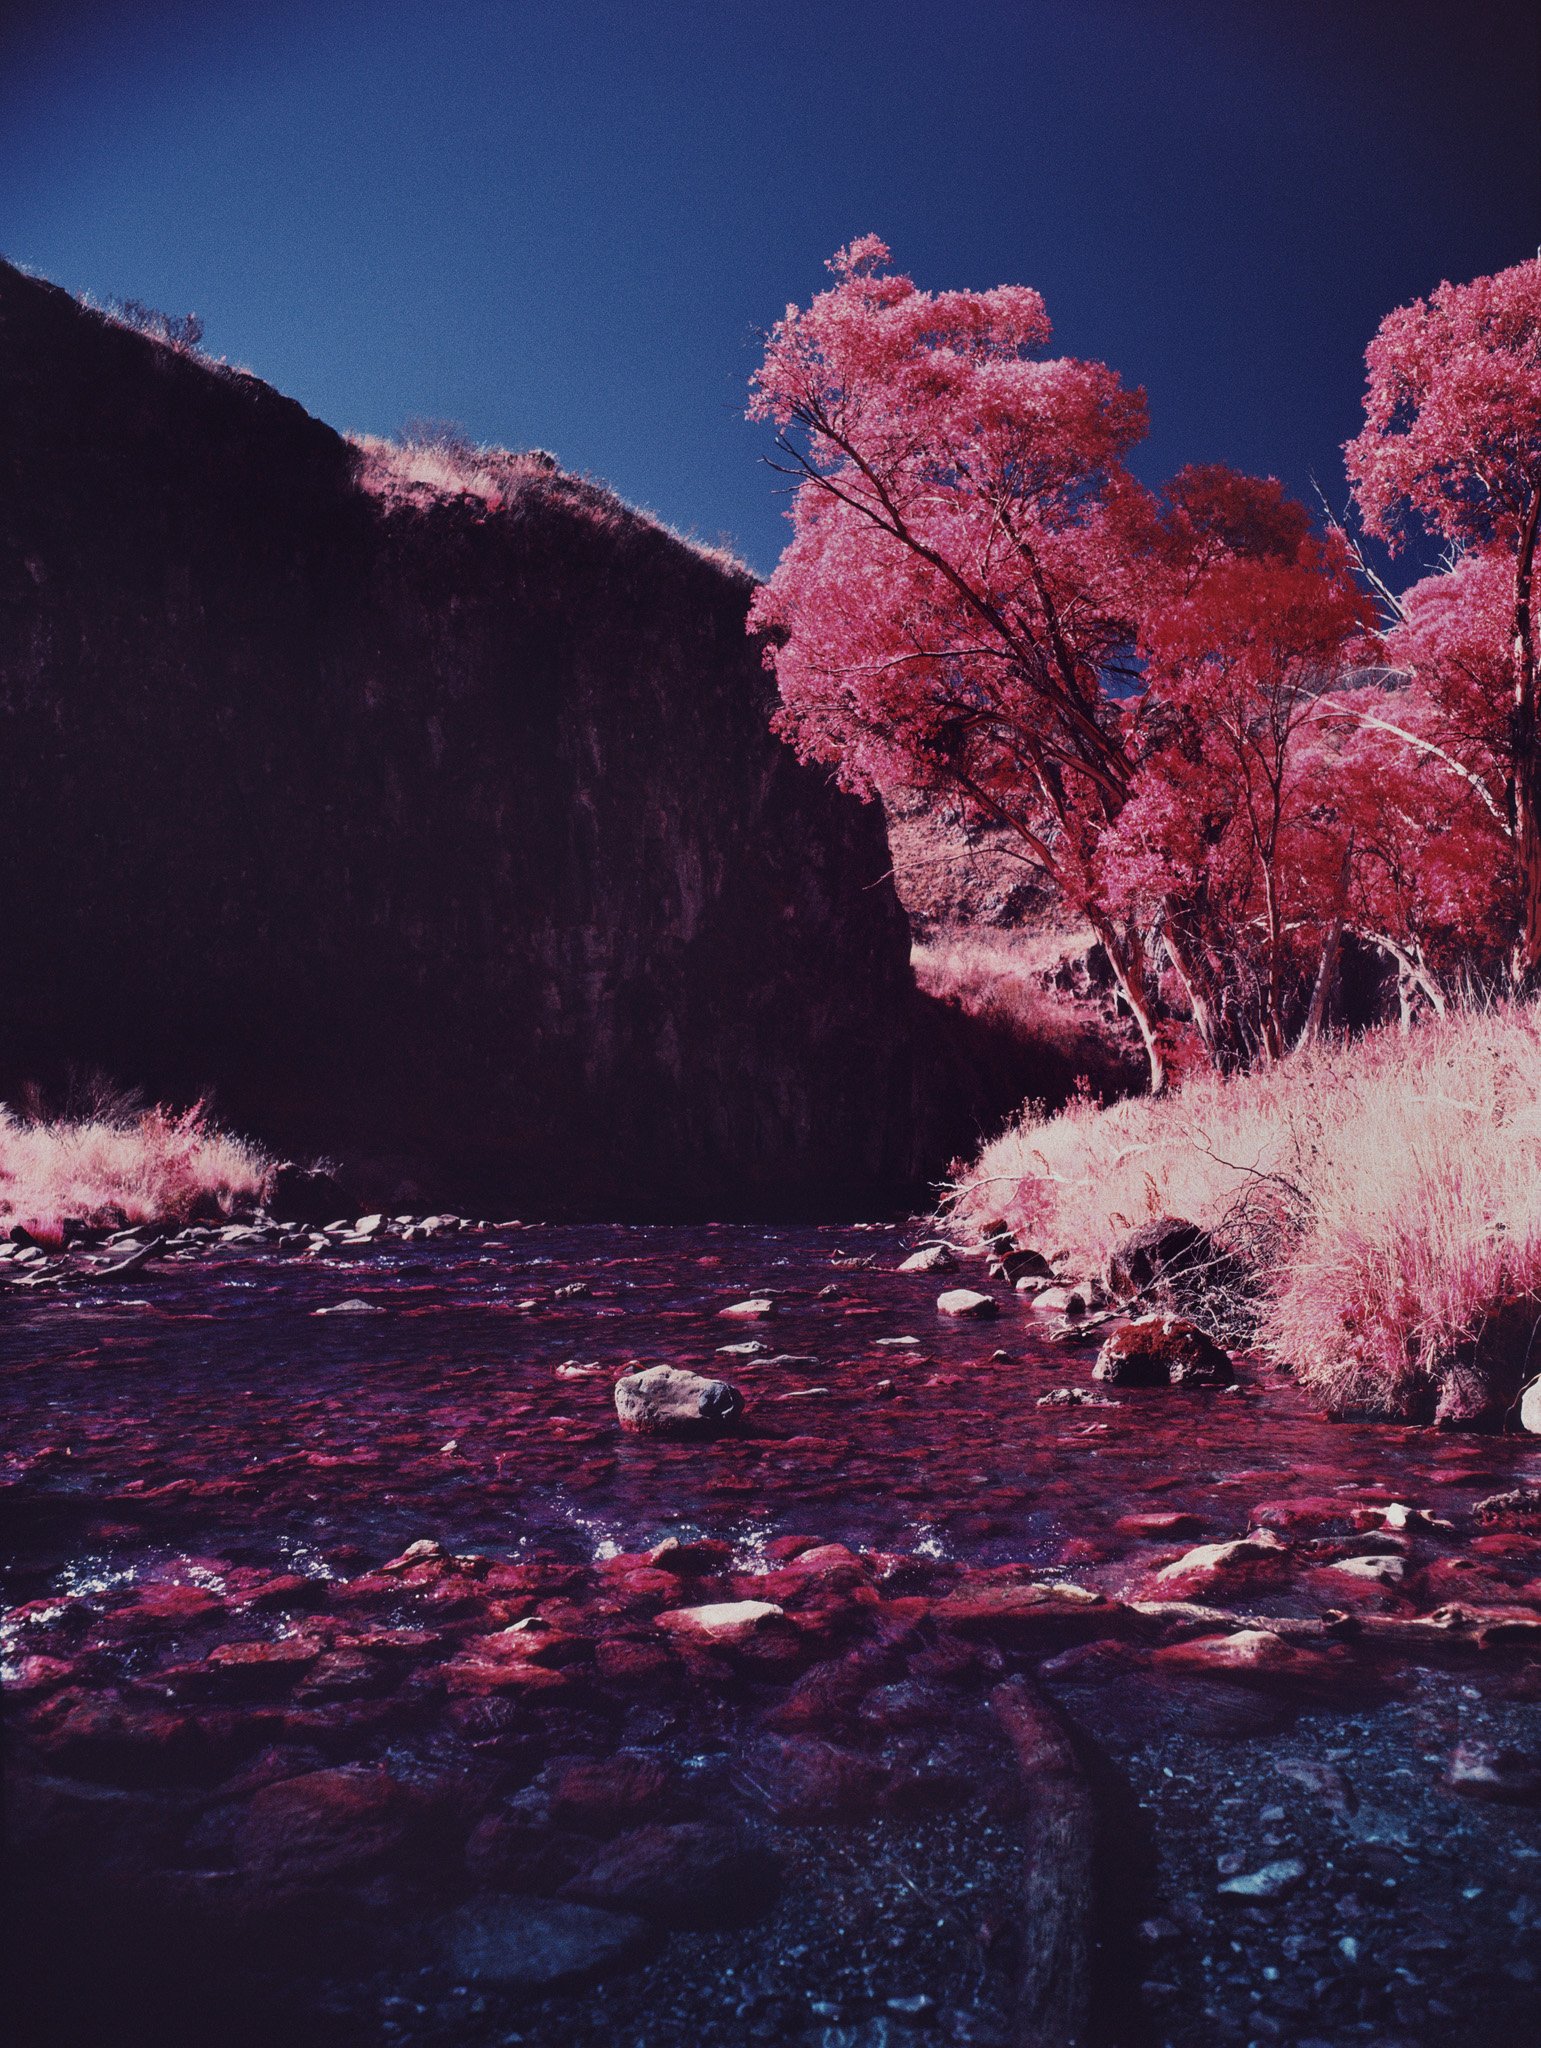
While it is definitely possible to do long exposures on Aerochrome, it is a bit challenging to get a perfect exposure. I haven’t done many long exposures during the daytime, but have seen some good examples by Mark on Flickr. The datasheet (AS-77) for Aerochrome III 1443 is similarly not helpful, stating “No filter or exposure adjustment is required for exposure times from 1⁄1,000 second to 1⁄100 second”, which implies that there is some adjustment required for longer exposures. Unfortunately without doing tests, you are essentially going to be guessing. C41 is probably the best bet in terms of maximum flexibility - but I think this image could’ve been quite nice if the direction of the moon rise was actually conducive to illuminating the subject/not entering the frame.
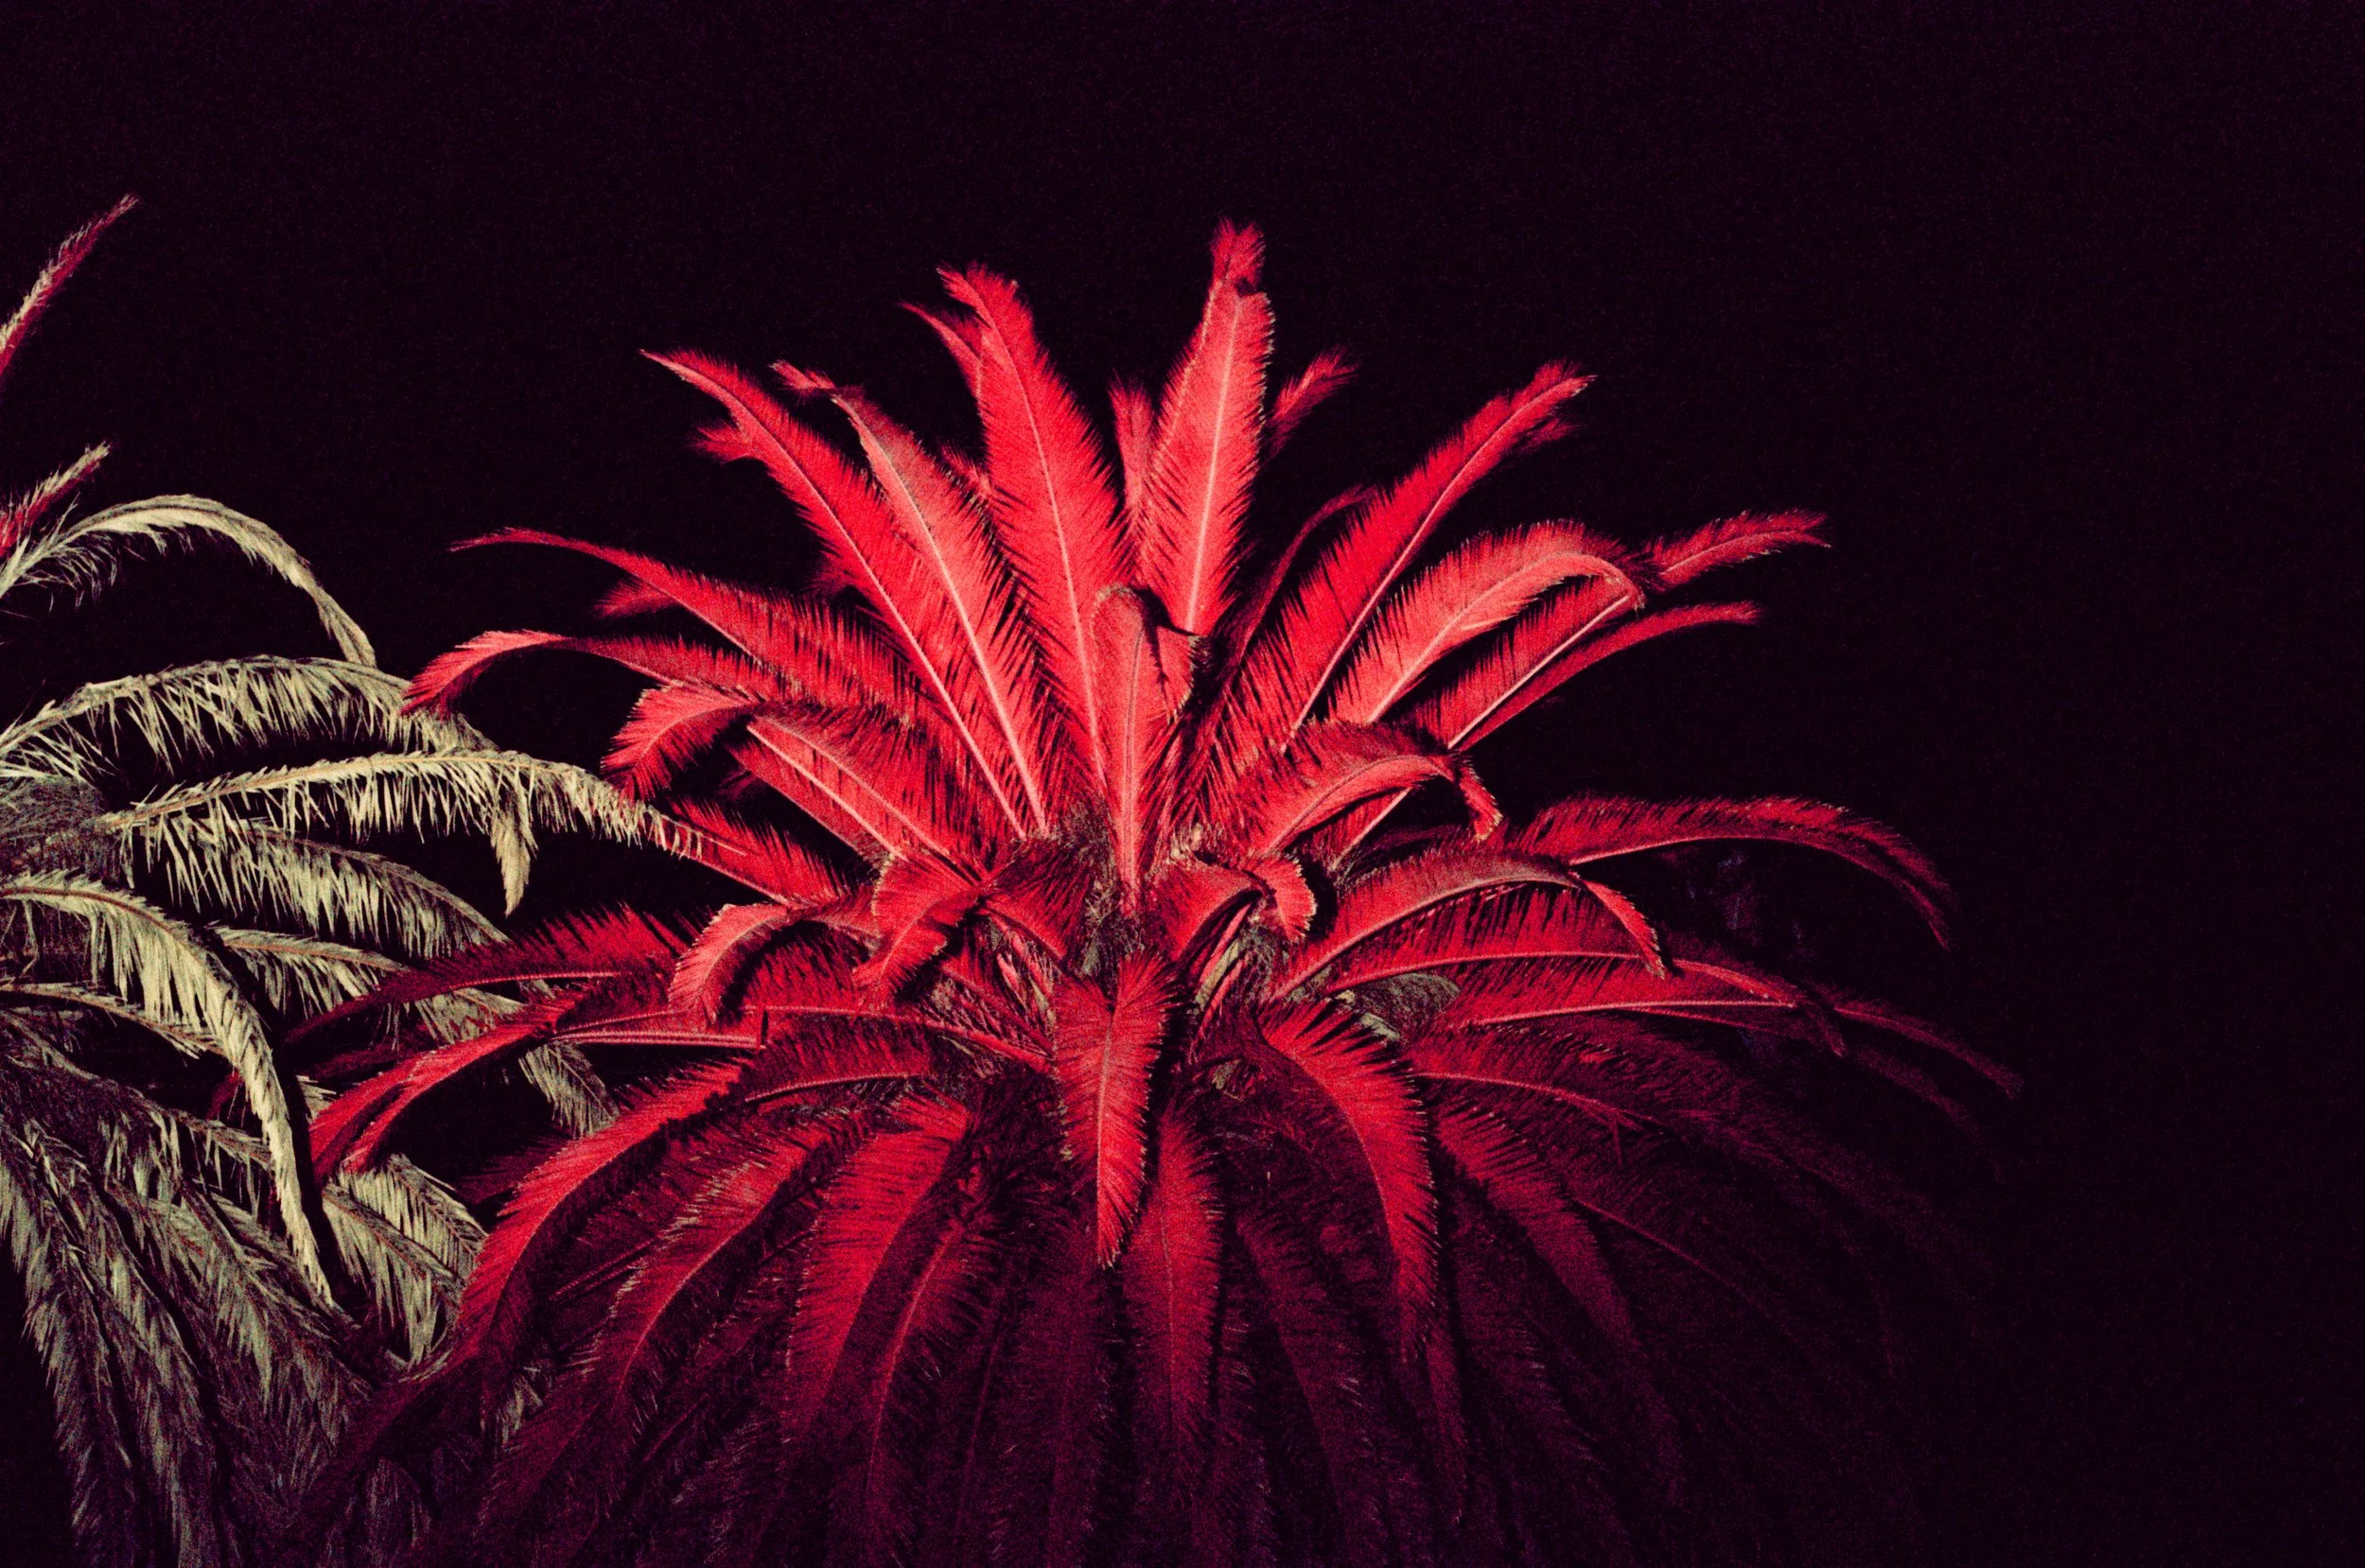
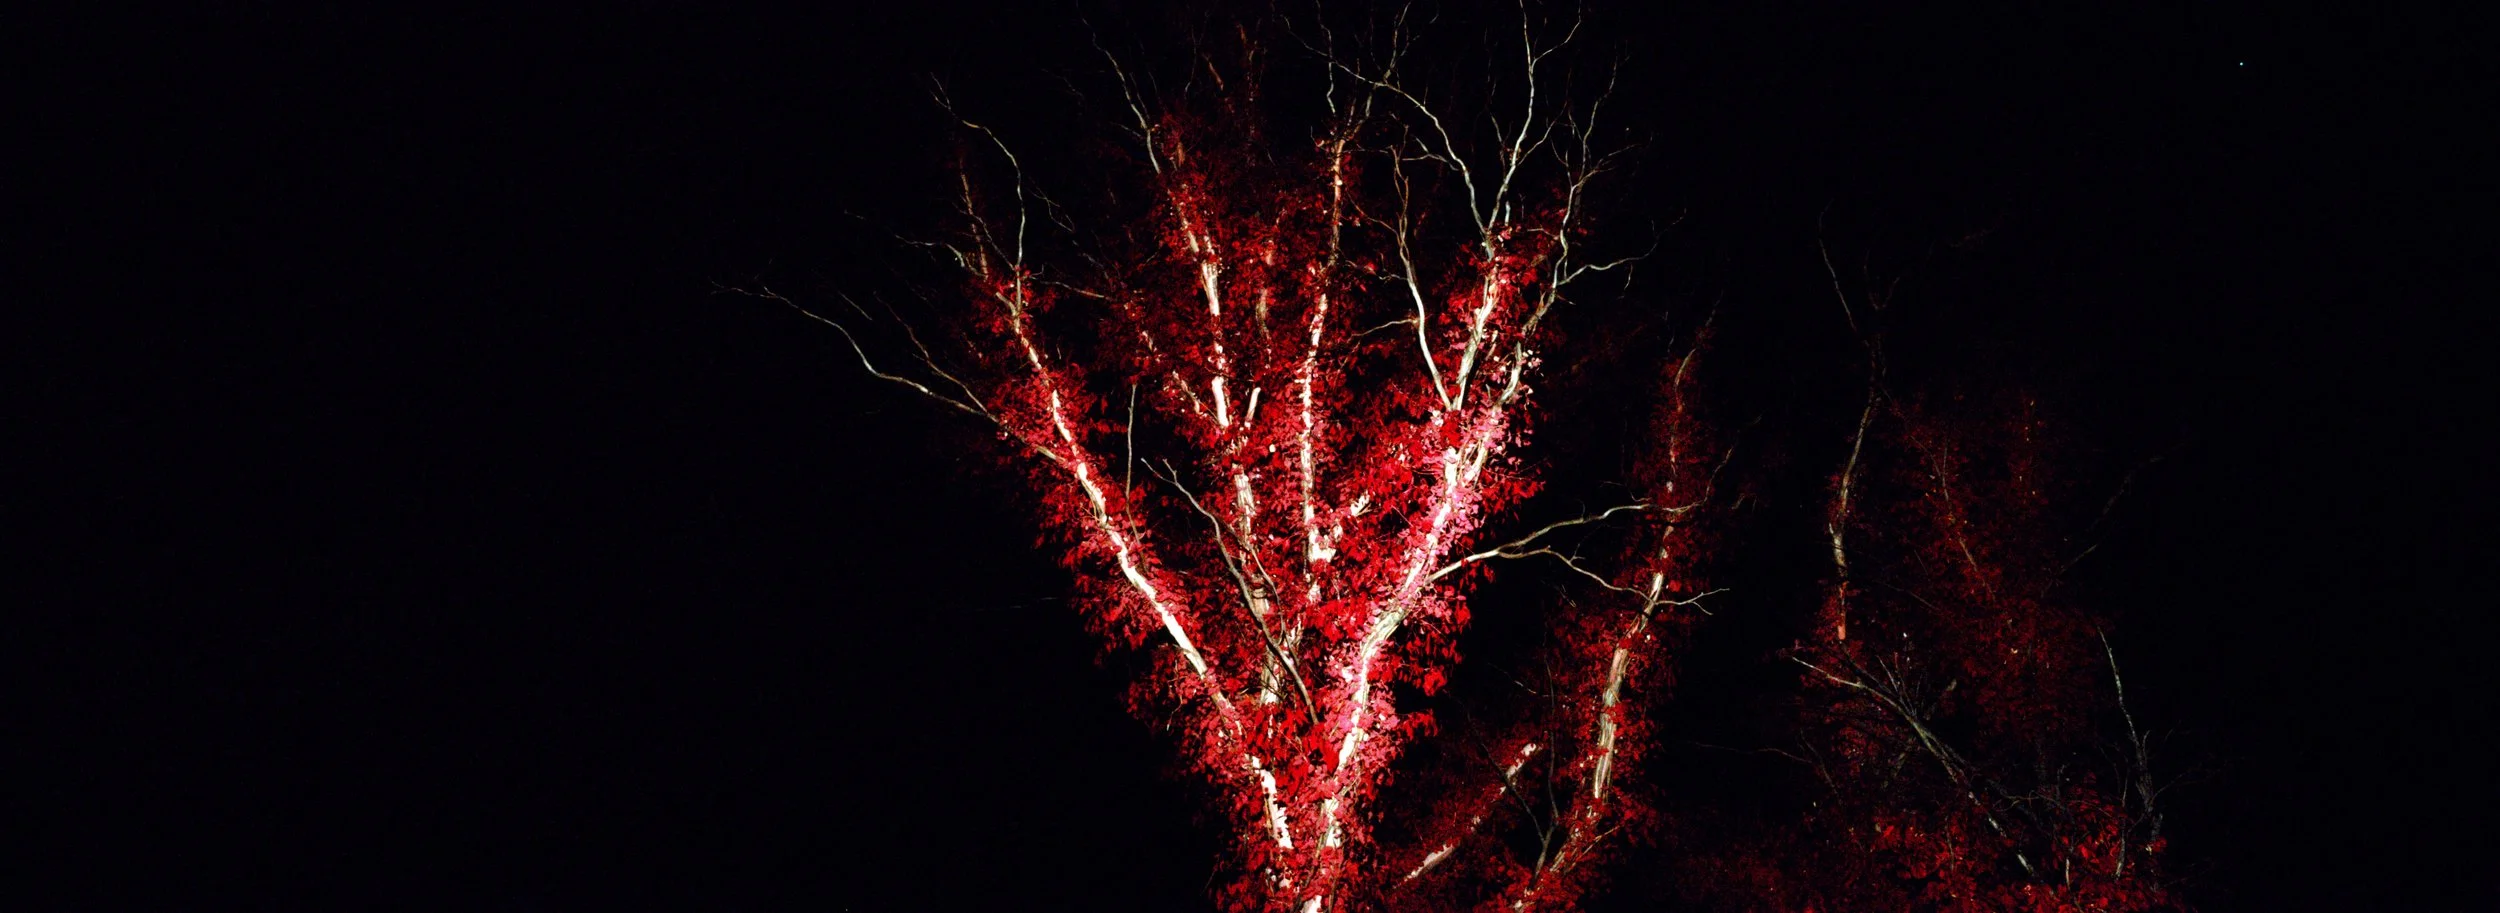
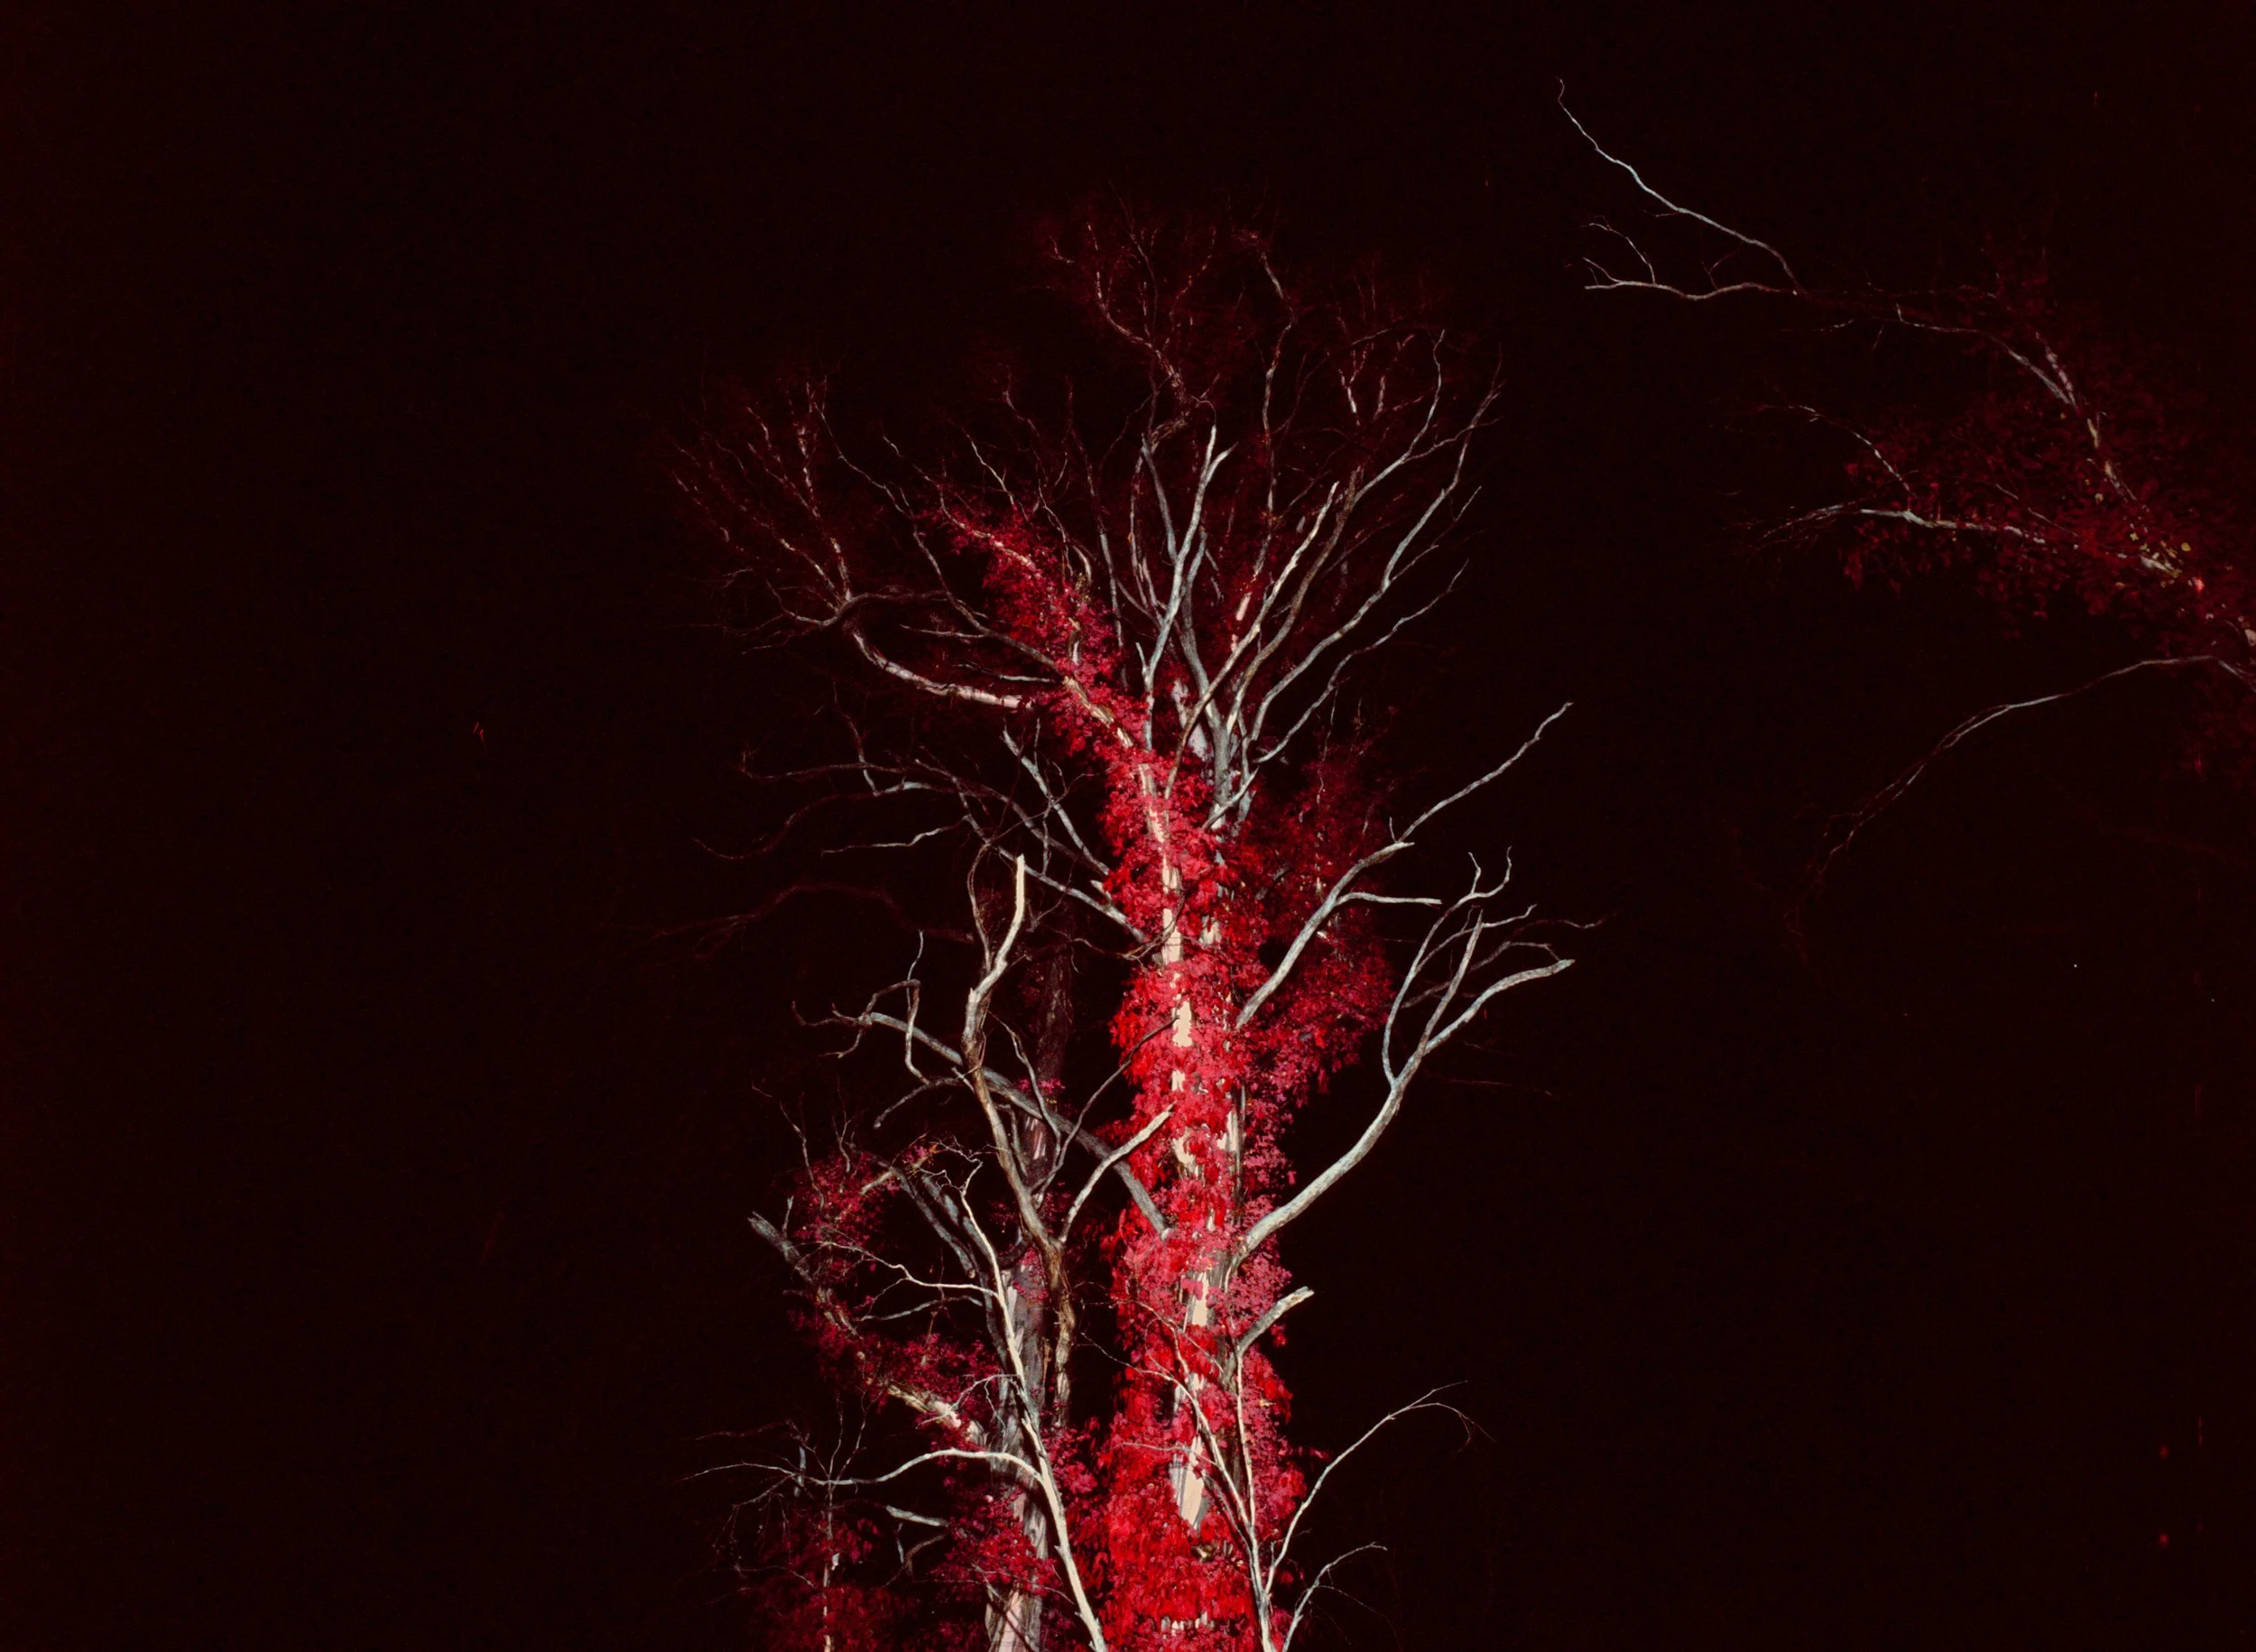
I have done a few images of star trails (which I also manually triggered a Godox AD200 flash a few times at full power towards the end of the exposure); the below was shot for approx 1 hour 40 minute exposure at f8 with a #12 or #15 filter (55mm lens on Pentax 67ii), with four bursts of the full powered flash at the end. Unfortunately the moon was rising and was about to enter the frame so I had to cut it shorter than I wanted. The image probably worked ok given the use of the flash for the foreground, and also the full moon was actively lighting the scene (e.g. visibly to my eyes could see some green colour of the trees). If there is no illumination, it seems unlikely that you will get a good result.
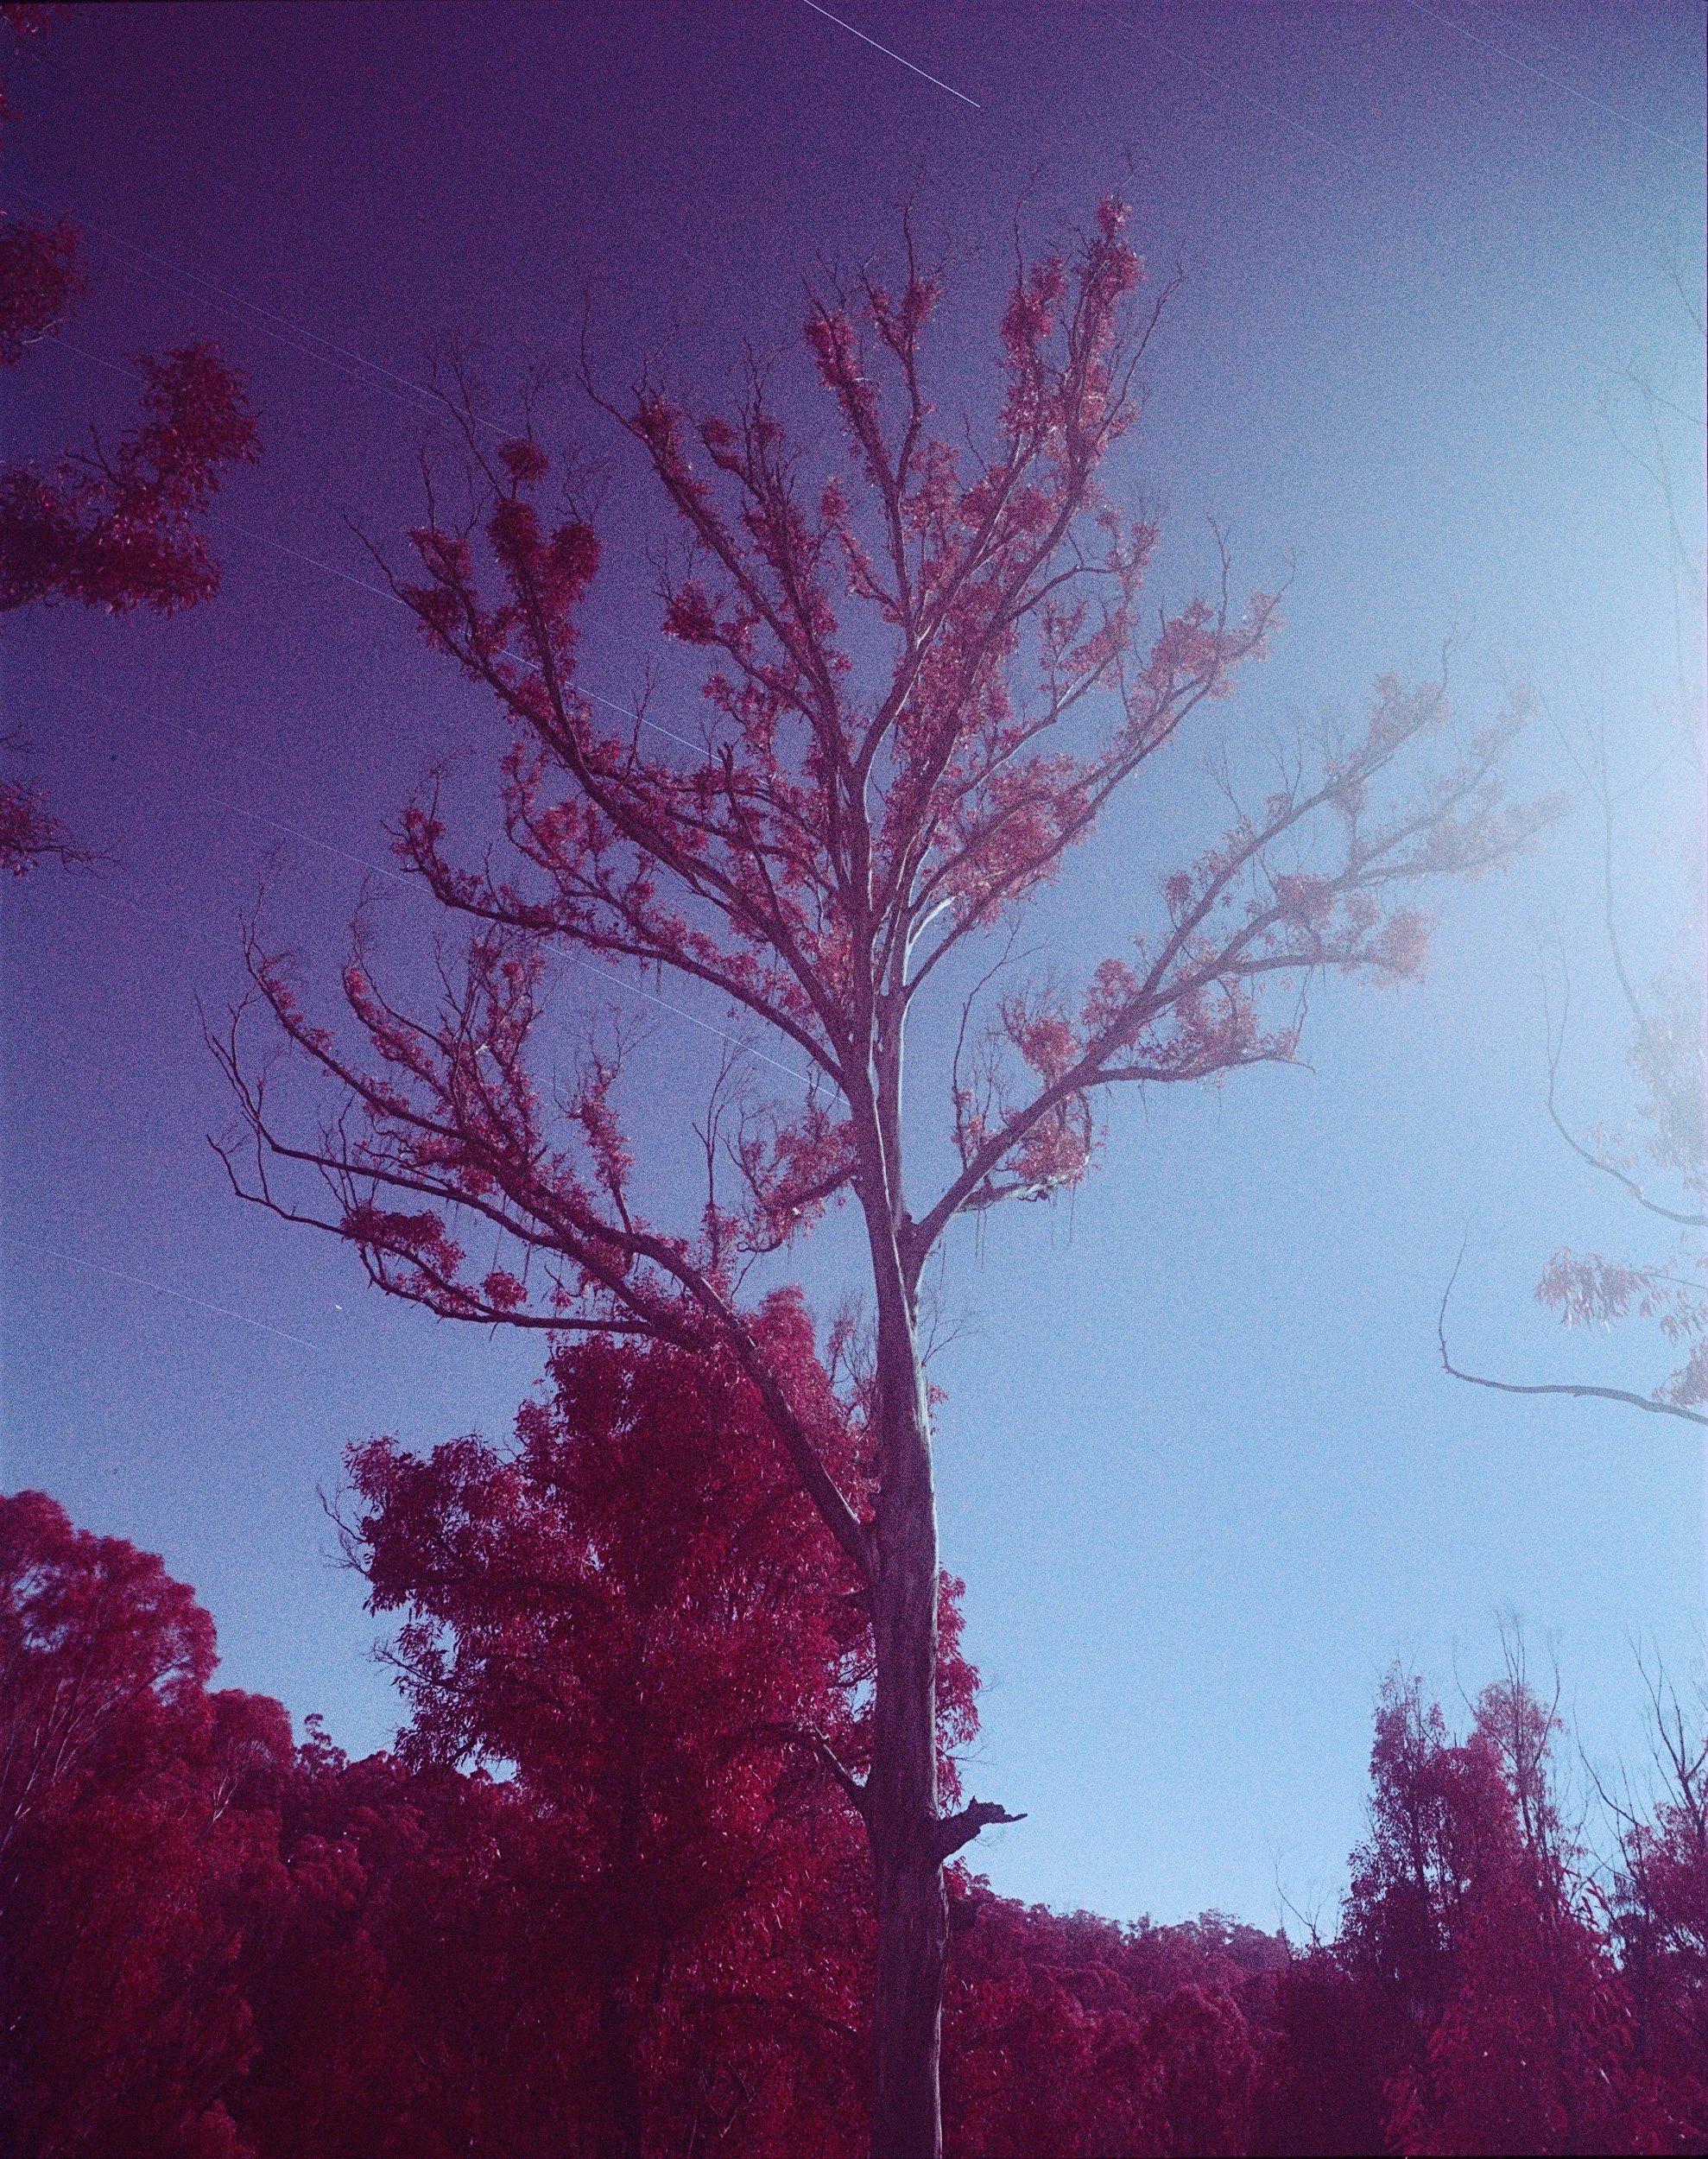
Long exposure (1 hr 50 mins) at f8 on Kodak Aerochrome 1443 (C41 processed), using Pentax 67ii, 55mm f4 lens, and yellow #12 or #15 filter. Flash was used at the end of the exposure to partially brighten the tree, but doesn’t seem to have made that visible an effect.
Kodak EIR film (35mm only)

As mentioned above, Kodak also had another E6-processable colour-infrared film available known as Kodak Infrared EIR (which was the successor to Kodak Ektachrome Infrared film, which was an E4-process only film). I haven’t shot nearly as much of this as I have of Aerochrome, but can hopefully still provide a few tips based on my experience (a lot of the advice above for Aerochrome about metering/filtration applies here, with the main difference between the two being the nominal ISO 200 for EIR vs Aerochrome is 400).
Some of the batches of this film that I have were clearly quite poorly stored, and when processed in E6 give either very washed out slides or a heavy magenta cast over the images. As a result, for my batches of this film I almost exclusively shoot them for processing in C41 with increased exposure (set ISO to 100 or 125 on my xpan’s meter) and I use a light yellow (#8 or #12 filter) to help cut through the fogging/give me increased flexibility when scanning and inverting.
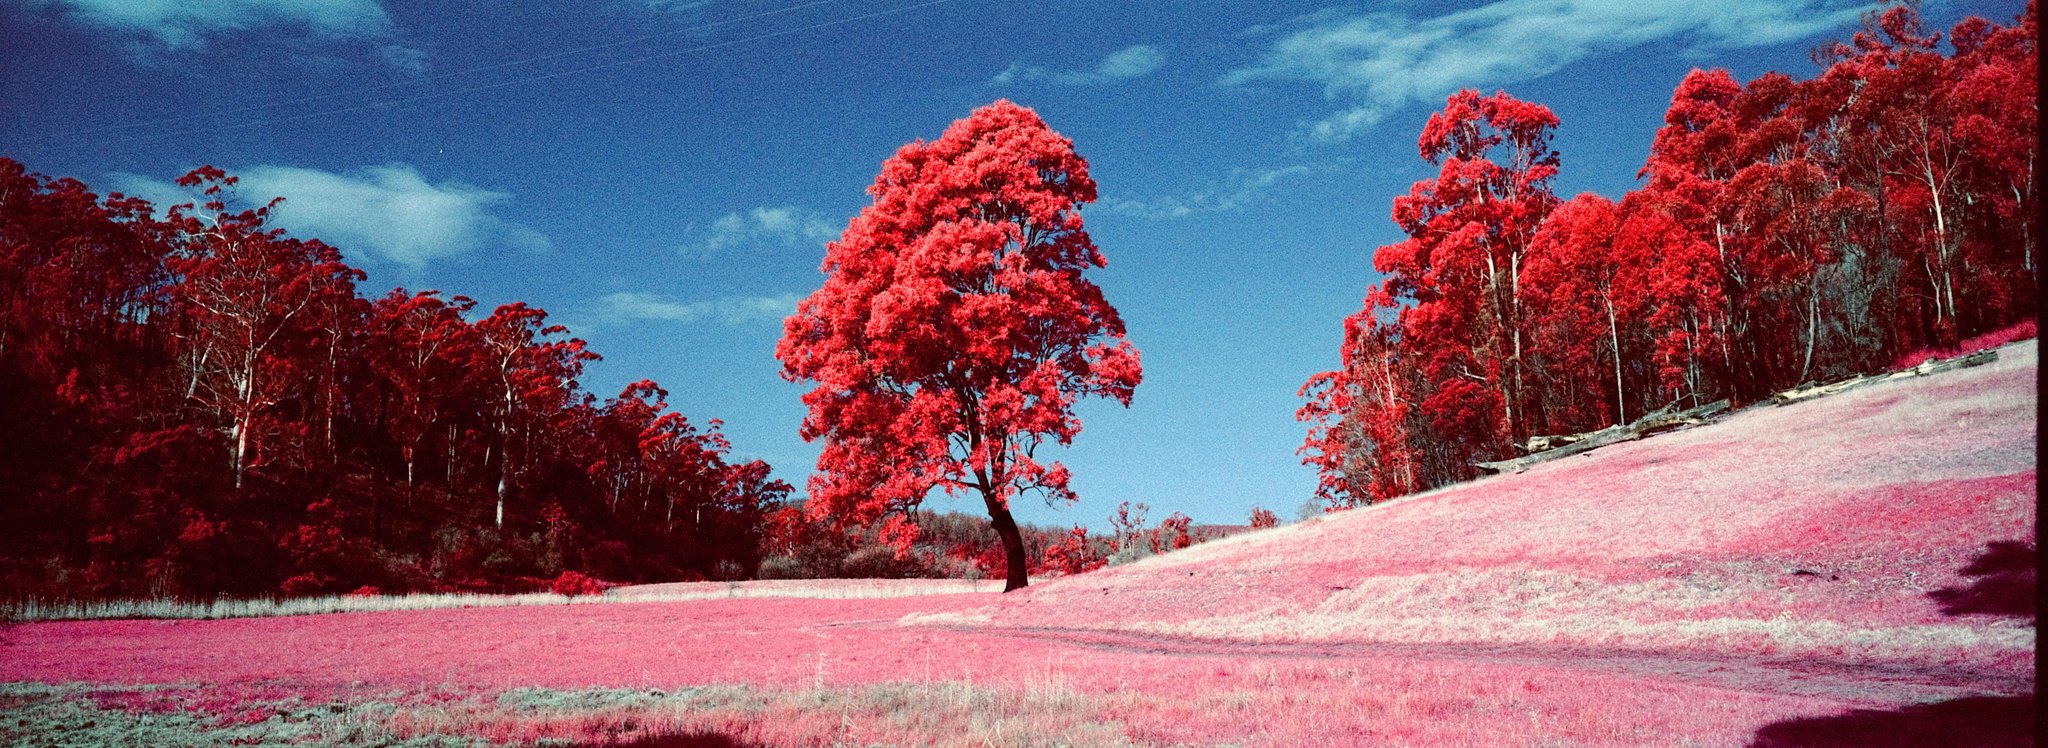
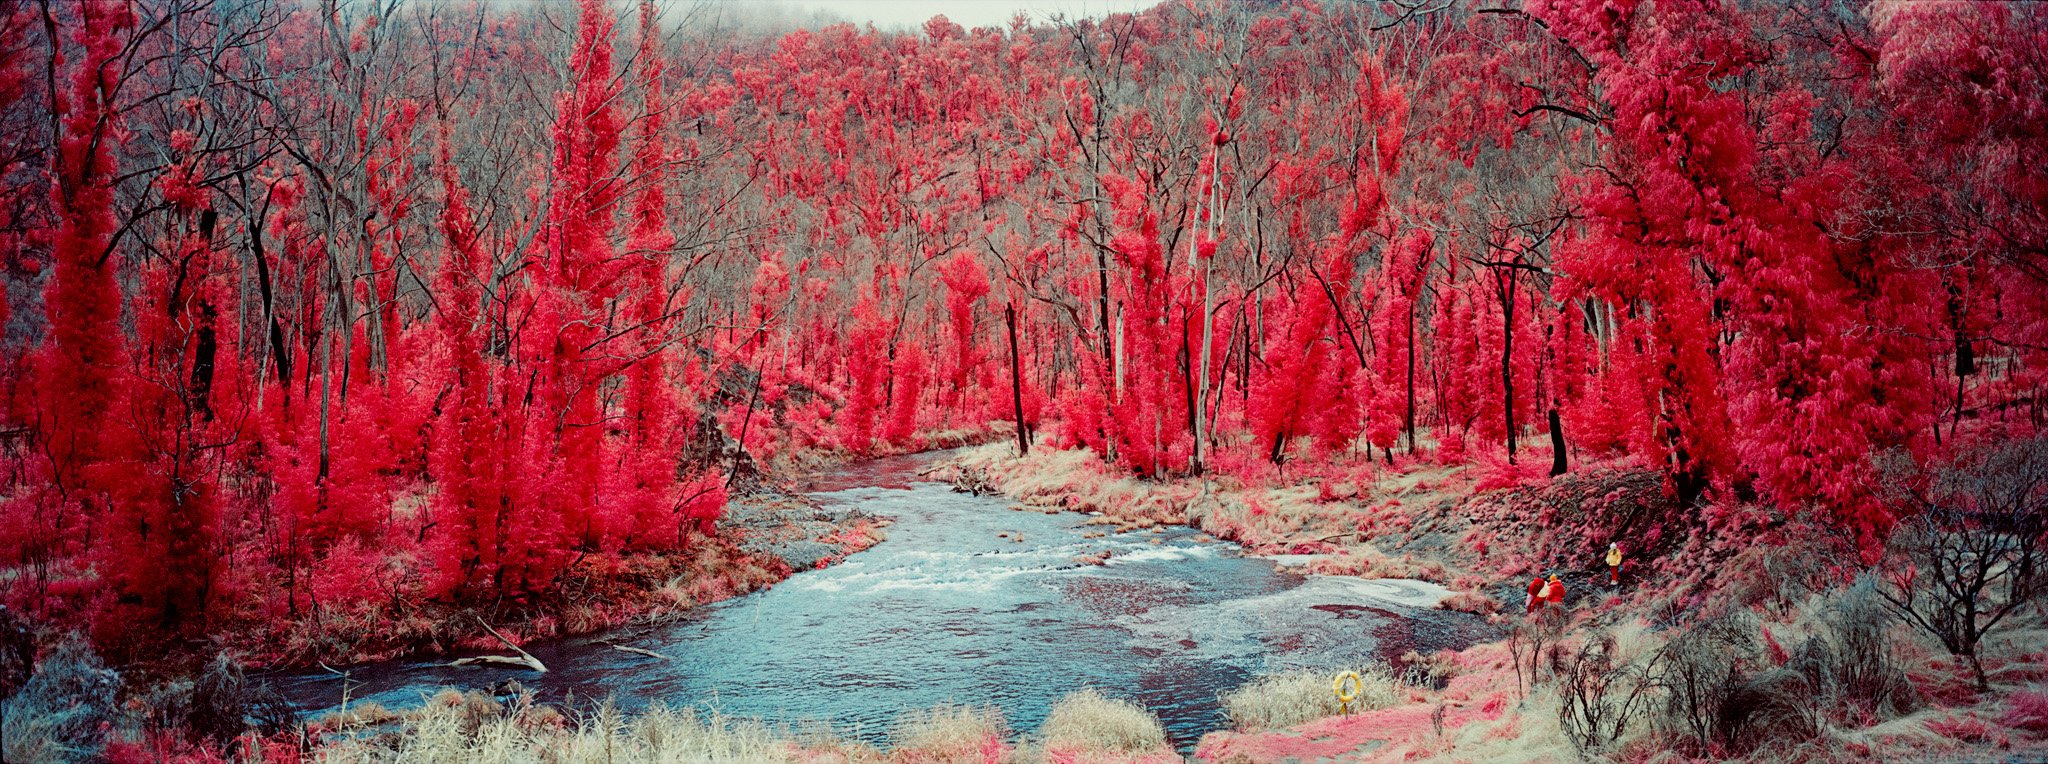
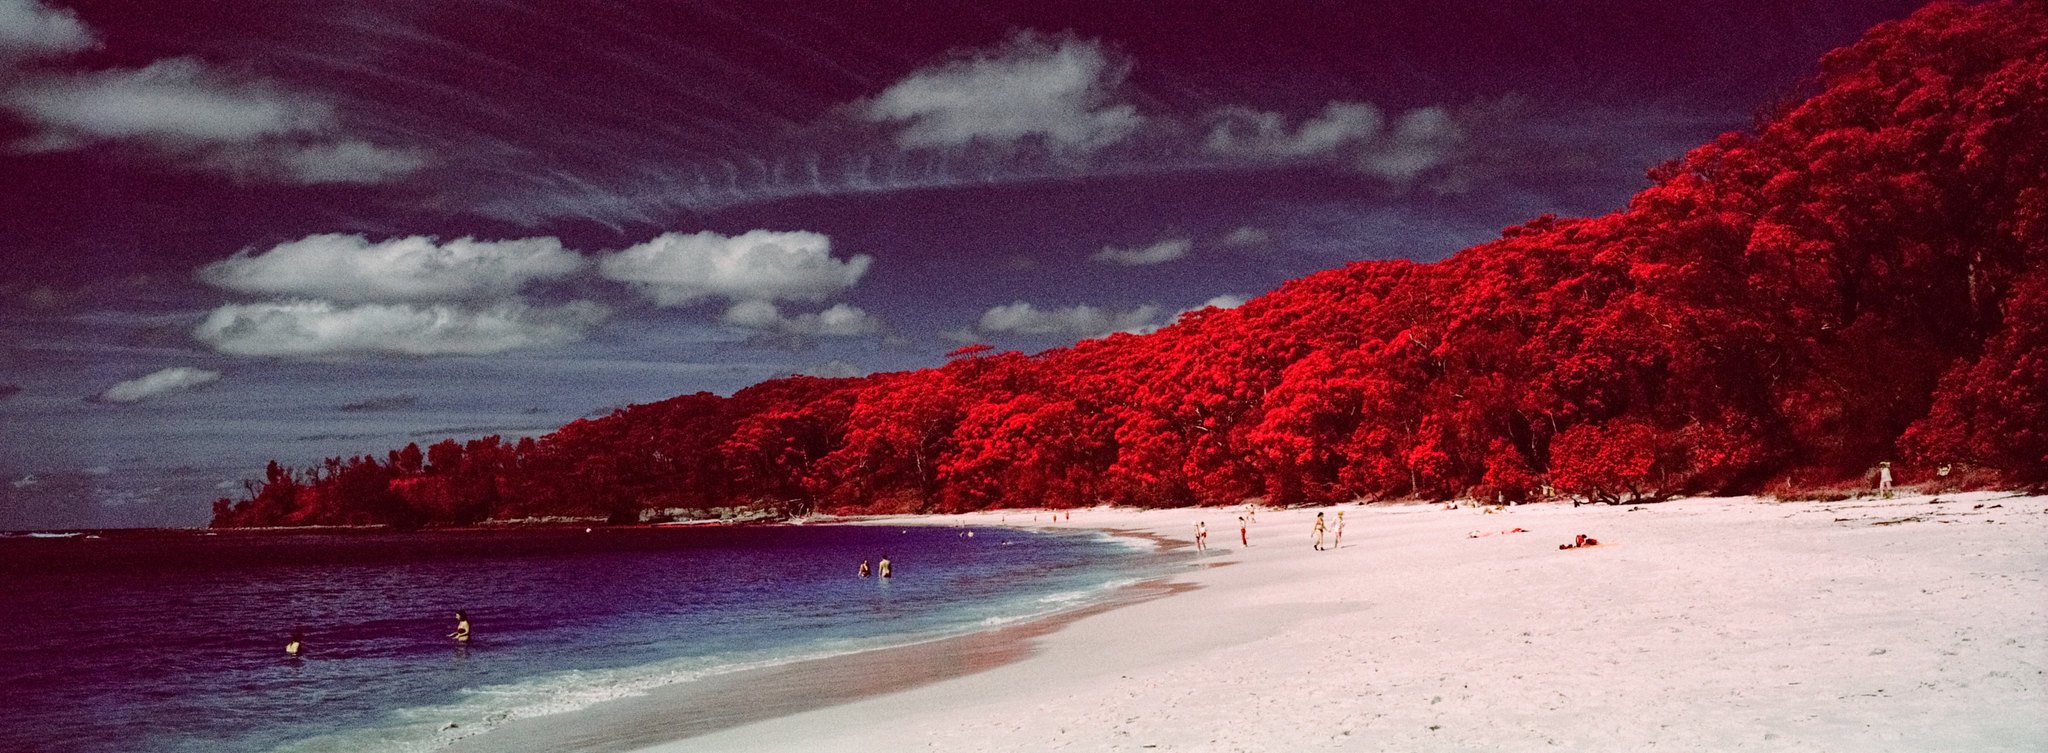
On the right is a shot of Aerochrome/EIR positives and negatives on a light table. Top is Film Photograph Project (FPP) ‘Infrachrome’ (which is just Kodak Aerochrome 1443 which they respooled) and this batch appeared excellent in E6 (no fogging). Bottom are both Kodak EIR 35mm processed in C41 chemicals to give a negative; the batch on the left clearly has some sort of fogging (whether from age/heat is unknown) but still gave excellent results when scanned (Image #1 and #3 below are from this same batch). However well stored EIR should look like the Bottom Right image (which is an almost clear base). Note you can also see the slight fogging that my Fuji TX-2 (i.e. Xpan II) has on the edge of the sprocket holes as discussed earlier.
History of Kodak Colour Infrared Films

35mm false colour IR films
Various false-colour infrared film emulsions were available at different points and I will briefly try to summarise the history here (noting information on some of the older emulsions is quite scarce).
From top to bottom:
Kodak Ektachrome Infrared Aero [8443] ~ 1968
Kodak Ektachrome Infrared (IE) film [2443] ~ 1994
Kodak Ektachrome Professional Infrared EIR film [2236] ~ 2001
The first colour IR film ever developed was “Kodacolor Aero Film, Camouflage Detection” (also known as “Kodak Ektachrome Aero Film (Camouflage Detection)”) which was developed in the early 1940’s and supplied to Allied Armed Forces beginning in 1942; this film was designed to emphasise the difference in infrared reflection between green vegetation and most camouflage made of visually similar green paint.

This was subsequently replaced by “Kodak Ektachrome Infrared Aero Film” (also known as Aerochrome 8443) false colour infrared reversal film on 5.20-mil triacetate support that was introduced in 1959 and was an E-3 process colour infrared film. This new film was “three times as fast as the older product and has improved definition and less granularity.”
Kodak Aerochrome 8443 was discontinued in approximately 1970-1974, and was replaced by Kodak Aerochrome Infrared Film Types 2443 and 3443 (which had identical emulsion and sensitometric characteristics, but with the 3443 film being on a thinner film base (2.5mm Estar base vs. 4mm Estar base on the 2443 variant). The thinner film base versions were designed to reduce weight for aerial/space missions. The E-4 process (which had been introduced in 1965) as a successor to E-3 process with a faster reversal process operating at higher temperatures (E-4 achieved reversal through chemical fogging with its colour developer, which contrasts to E-3 which required re-exposure of the partially processed film to light for reversal).
In fact there was also a short lived Aerochrome II 2443 which from the datasheets looked identical to 1443 (same sensitivity curves/ISO etc.), which was an update on 2443 to be capable of being processed in E6, however I am not sure what the difference was between Aerochrome II 2443 and Aerochrome III 1443 (and whether it was purely a marketing name change).
Kodak Ektachrome Professional Infrared EIR (EIR 2236) was introduced in 1997 and was an E6 version of the (confusingly) same film code Kodak Infrared Ektachrome (IE 2236) which was E-4 processed. The consumer version Kodak EIR was unfortunately discontinued in 2007. Note that the E-6 process was introduced in 1976 (with the first films being Ektachrome Pro 50 Tungsten/Pro 64 daylight [EPR]), but it took many years for an E-6 version of Aerochrome to be released (presumably due to its use in the military / the long term contracts that probably existed for providing the E-4 2443 variant).
Based on my reading, it appears Kodak Aerochrome III 1443 (and the NP SO-734 variant which had increased infrared sensitivity) were introduced around ~June 2001. Unfortunately Aerochrome III 1443 was eventually discontinued in October 2009, with a Kodak News release dated 19th October 2009 saying "Due to decreasing demand, Kodak announces the following product discontinuance. Kodak will accept orders for these products [KODAK AEROCHROME III Infrared Film 1443 9.5 in x 200ft, 9.5 in x 400 ft rolls] through November 13, 2009, and such orders will be filled on a first come, first served basis."
Various other special versions of false-colour infrared film also existed (with many being custom for NASA), including Kodak’s Special Order (SO) film codes such as:
SO-117: Kodak Ektachrome Infrared Recording Film (Estar-AH Base), which had the 8443 emulsion on 4-mil ESTAR polyester support and was used for missile re-entry studies;
SO-180: Kodak Ektachrome Infrared Aerial Film - 8443 emulsion on 2.5-mil ESTAR polyestar support
SO-127 and SO-131: Kodak high resolution colour IR film
Kodak Aerochome III Infrared NP Film SO-734 (which was similar in speed and processing to 1443 film but features increased infrared sensitivity for exposure at altitudes above 15,000 feet or where greater infrared response is required).
Shooting & Processing Kodak Aerochrome 2443 (aka Kodak Infrared Ektachrome)
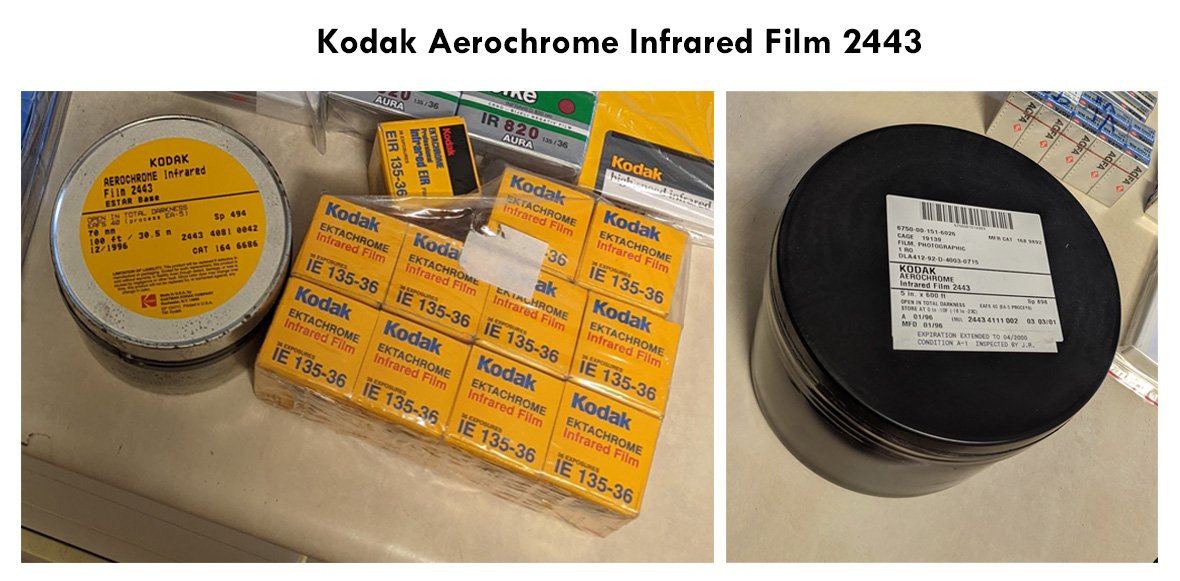
As mentioned above, I got really lucky and managed to find two huge bulk Aerochrome 2443 rolls (70mm and 5” wide). The original 2443 emulsion (E-4) was quite a lot lower speed compared to 1443 - from what I had read (and seen in the supposedly identical 35mm emulsion of Kodak Infrared Ektachrome IE - which says its a 100 ISO film).
I use a value of ISO 16 to expose this film which was arrived at from a bit of prior experience with Kodak IE in C41 chemicals; I had tried ISO 50 previously and the negatives were a bit thin and clearly need a bit more exposure - so I went down to ISO 16 on the basis of trying to overexpose than underexpose (particularly given the film's age and using the wrong process for development (C41 vs E-4); generally the negative processing indicated you lose at least half a stop of film speed with CIR films).
Development Suggestions for modified room temperature C-41 processing of E-4 Kodak Aerochrome 2443
Temp 20 °C
Several tests were done with hardener (e.g. formalin/C22 or E-4 hardeners) which appear to do nothing to properly ‘harden’ the film emulsion
C-41 dev time must not exceed 7 min; 5 minutes is preferable
Bleach on visual inspection and remove immediately upon bleach being acceptable. When bleaching by inspection, in darkness place the developed sheet in bleach then waiting 30 seconds before turning on light. Lift film slowly and gently once every 30 seconds after to inspect bleaching
Fixing: follow the same process as bleach. Gently remove from bleach and put in fix; repeat the same method for fix (as for bleach)
Do not wash between steps
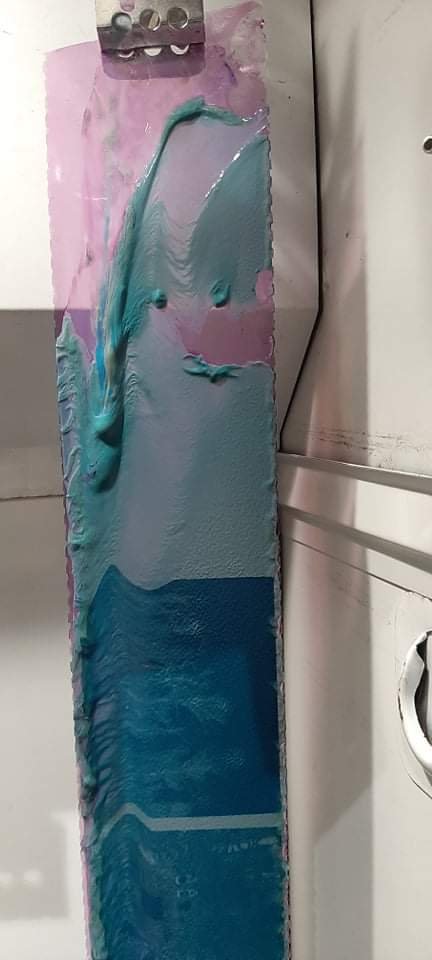
Do not apply any agitation (the emulsion is so soft and swollen that it can just slide off the film base)
Wash in still water
Any deviation from the absolute minimum agitation/washing can rapidly cause the process to decline into a wreck and have the film emulsion melt off the base.
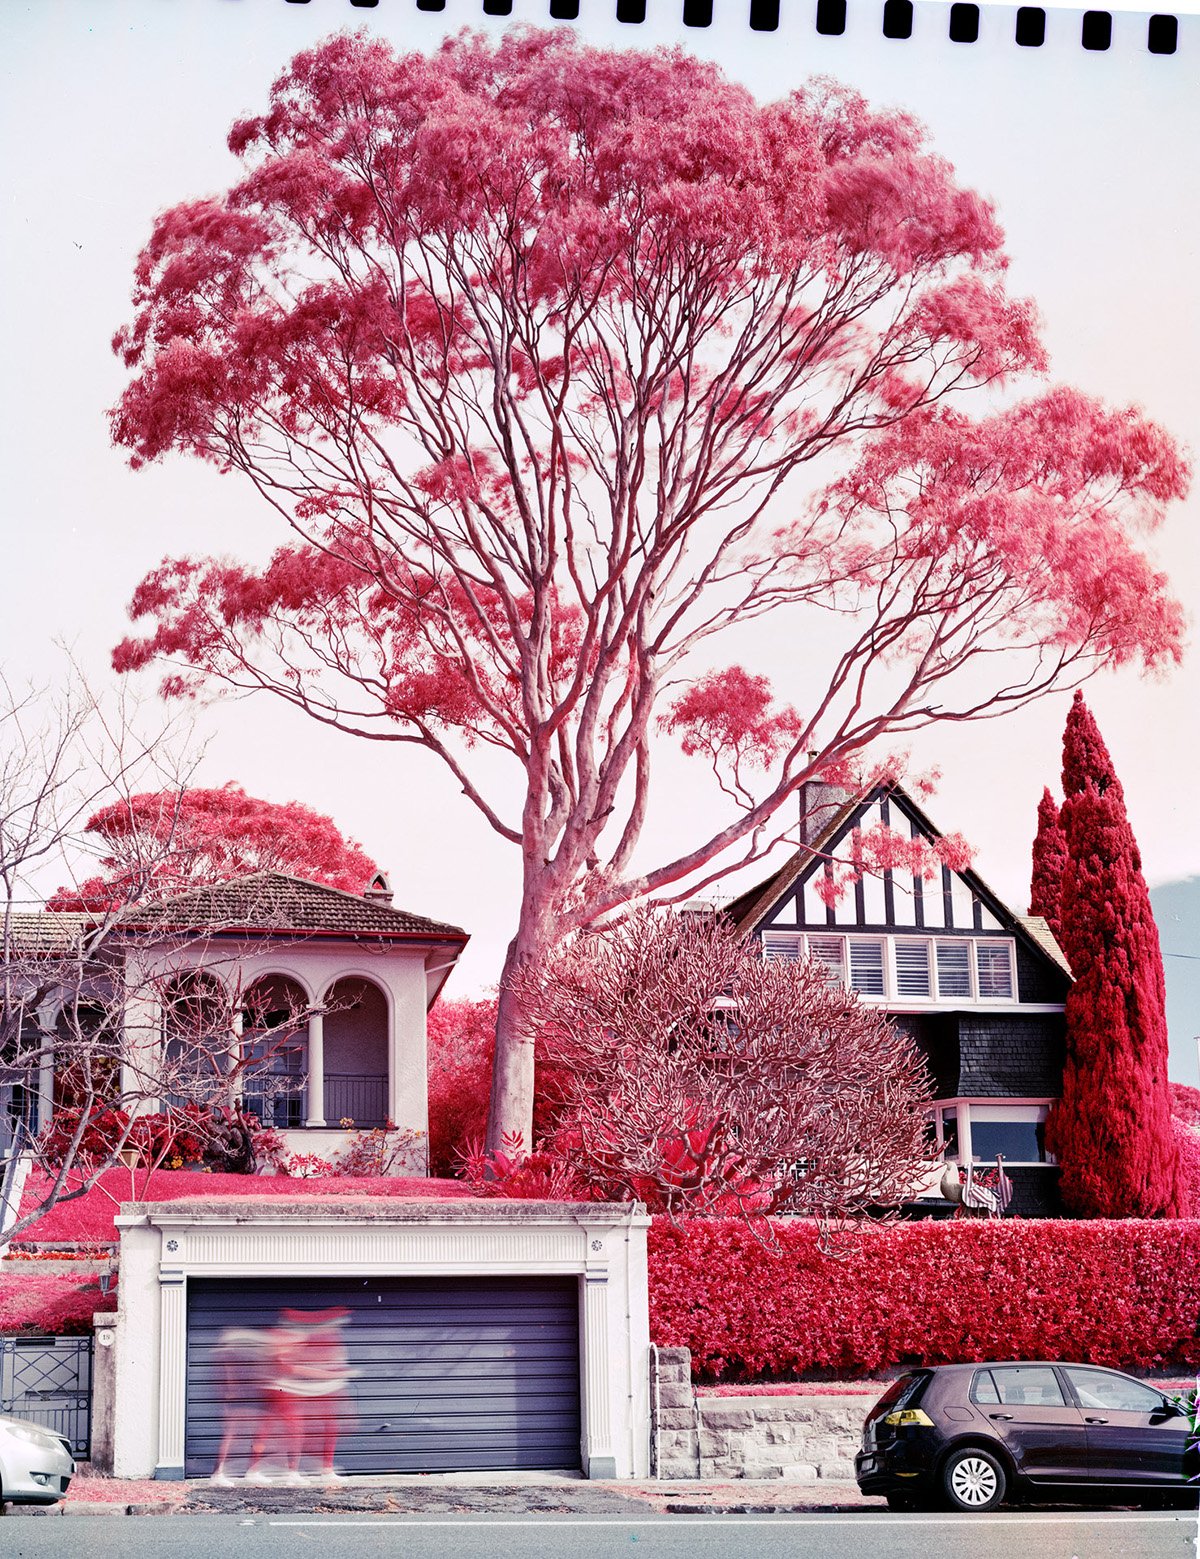
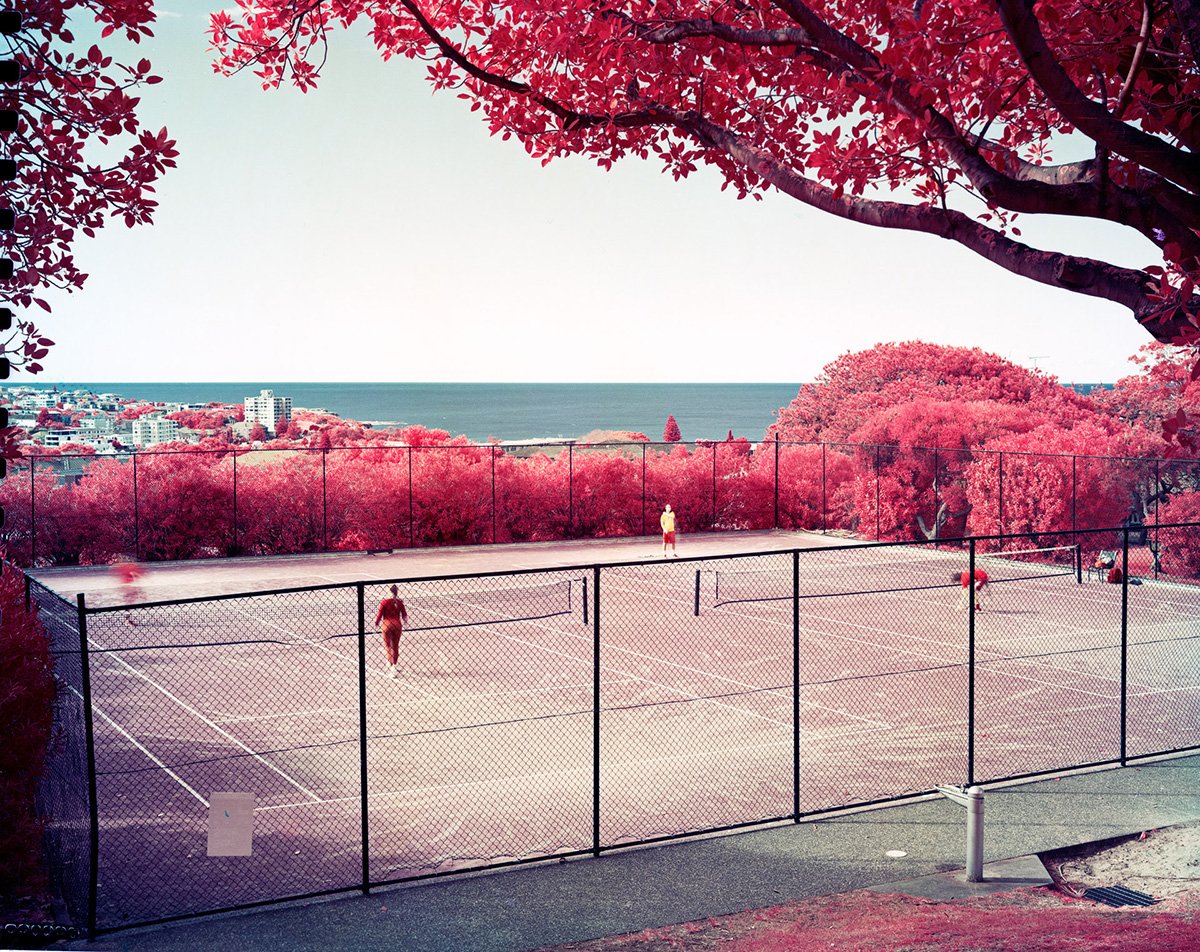
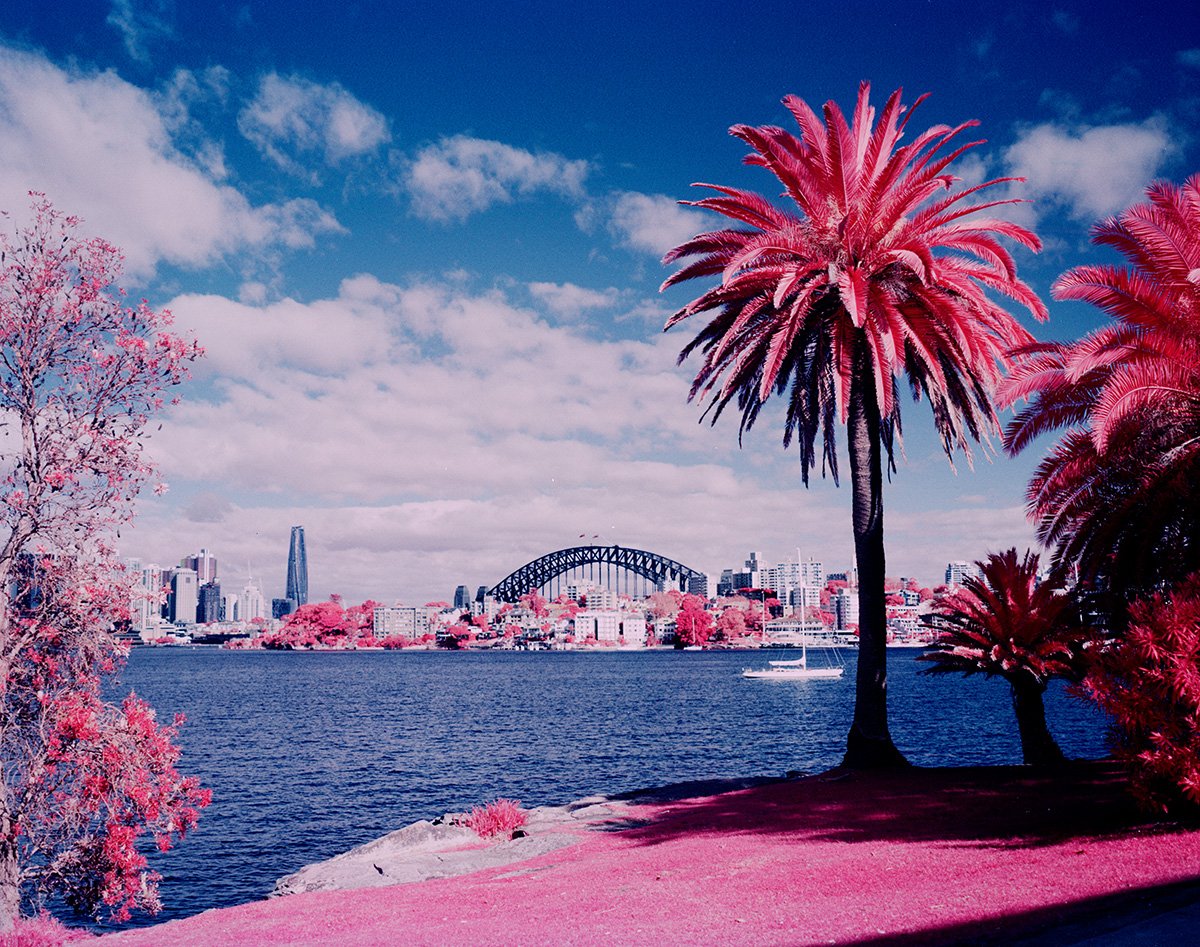
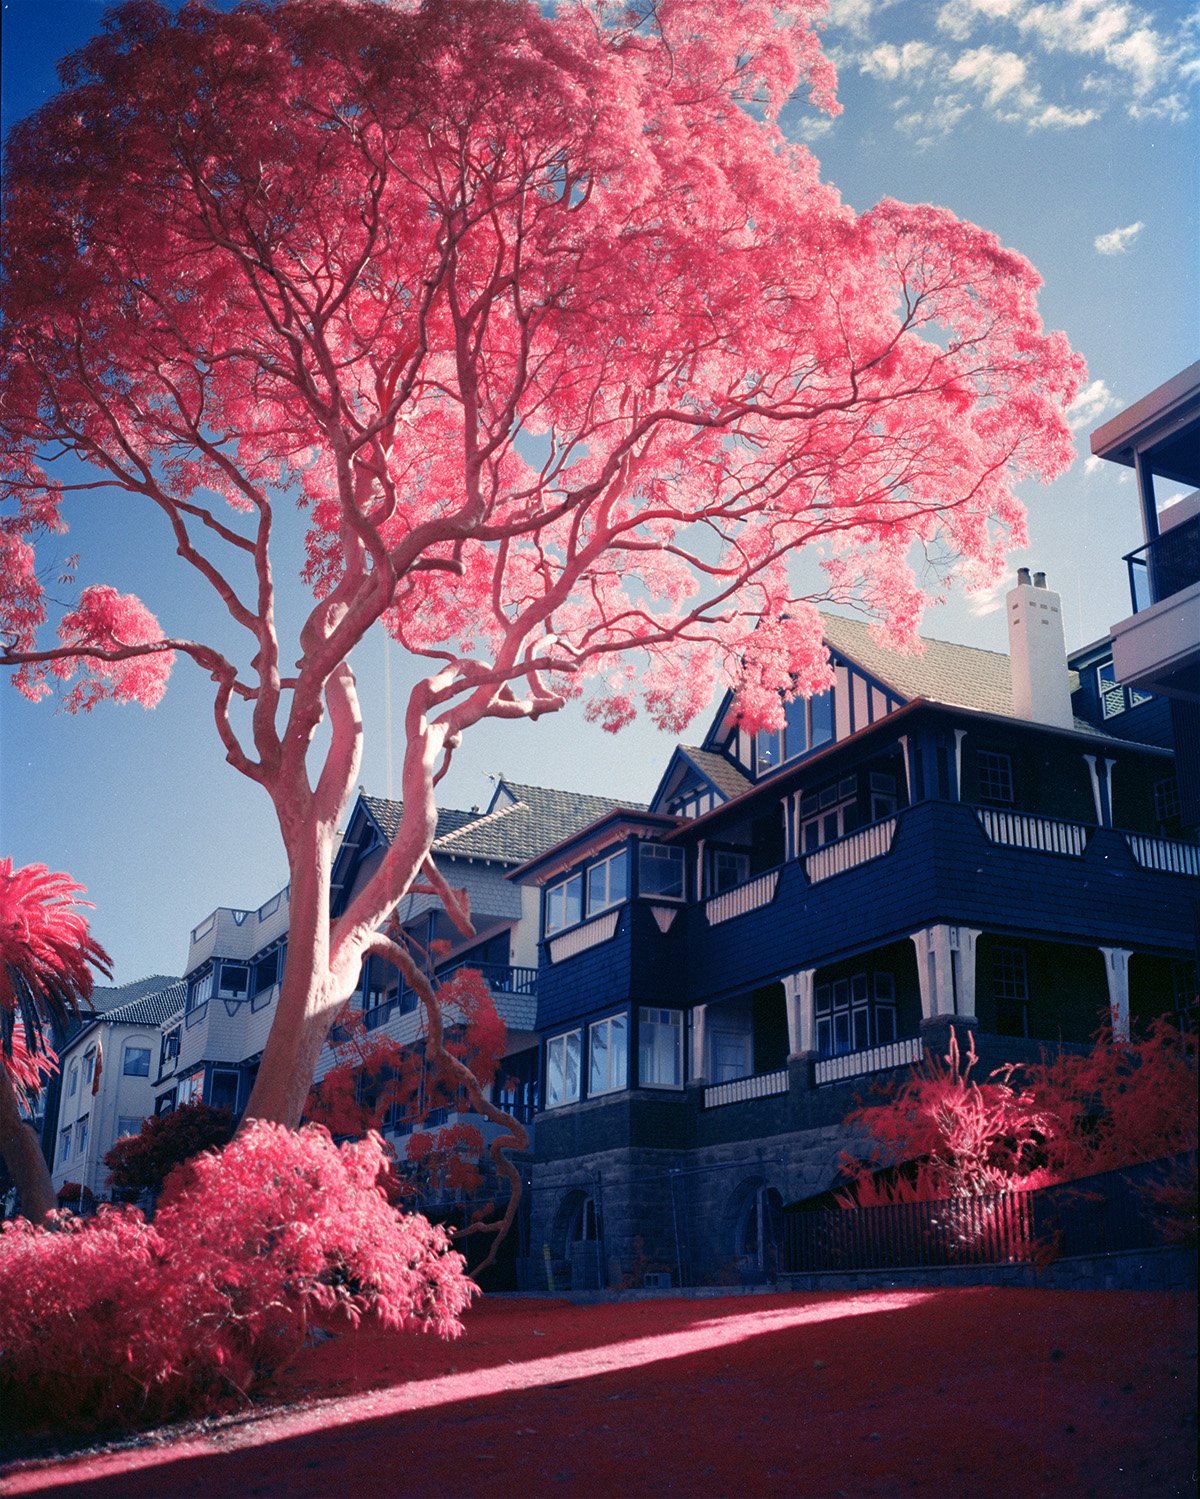
In the gallery below I have include some examples from the 4x5” sheets, the 70mm (cut down to 120), and the 35mm Kodak Ektachrome Infrared (IE) - all processed in C-41 as described above. For these emulsions, I would advocate using ~ ISO 8-16 (but this will be very process dependent) and bracketing heavily; I would also suggest the use of a light yellow #8 or #12 filter. In the last shot below (cropped from an xpan negative) you can see the reticulation that was caused from too high a temperature; this was one of my first tests and later was significantly improved by following the process used above by my lab tech Steve @ Rewind Photo Lab). You can also see the emulsion melting off in one of the other images.
CIR320 Colour Infrared Film (120 size/4x5)
Note there was also another somewhat mysterious false colour infrared film being sold by Dean Bennici called “CIR 320 Infrared Negative film” which on his website he quoted as:
“This is not Aerochrome stock. I found this "anonymous" film through a private supplier [in Russia] and there was no accompanying information other than the label CIR and the date 2010. The film processes in C41 to yieled a negative. The film does NOT process well in E6. Please see example pages to compare the CIR look with Aerochrome.”
The example page he is referring to is here: https://www.aerochrome.shop/cir-color-neg-1
I have used maybe 5 rolls of this film (back in 2020 Dean was kind enough to have a special where if you ordered 5 rolls of Aerochrome you got a free roll of CIR320") and its lovely stuff. Personally whilst I can see some small differences in the film base colour, I can’t see all that much of a difference between the results from this film and Aerochrome (when processed in C41 and manually inverted the scans, which is my preference) so perhaps this stuff is really just Aerochrome [but please do reach out if you have any more useful information about the origins of this film]. It is possible that the subtle differences between this film and Aerochrome are due to some fogging that caused the E6 results to not look great yet the C41 results to look excellent (which is my experience with other dubious batches of colour infrared film, C41 is the way to go in these instances). The skies can tend to be a bit cyan but that is also probably a result of the scanning and inverting process (when I scan/invert myself I can get the skies looking much nicer blue like the first two images in the gallery below, but lab scans tended to have more cyan in them).